

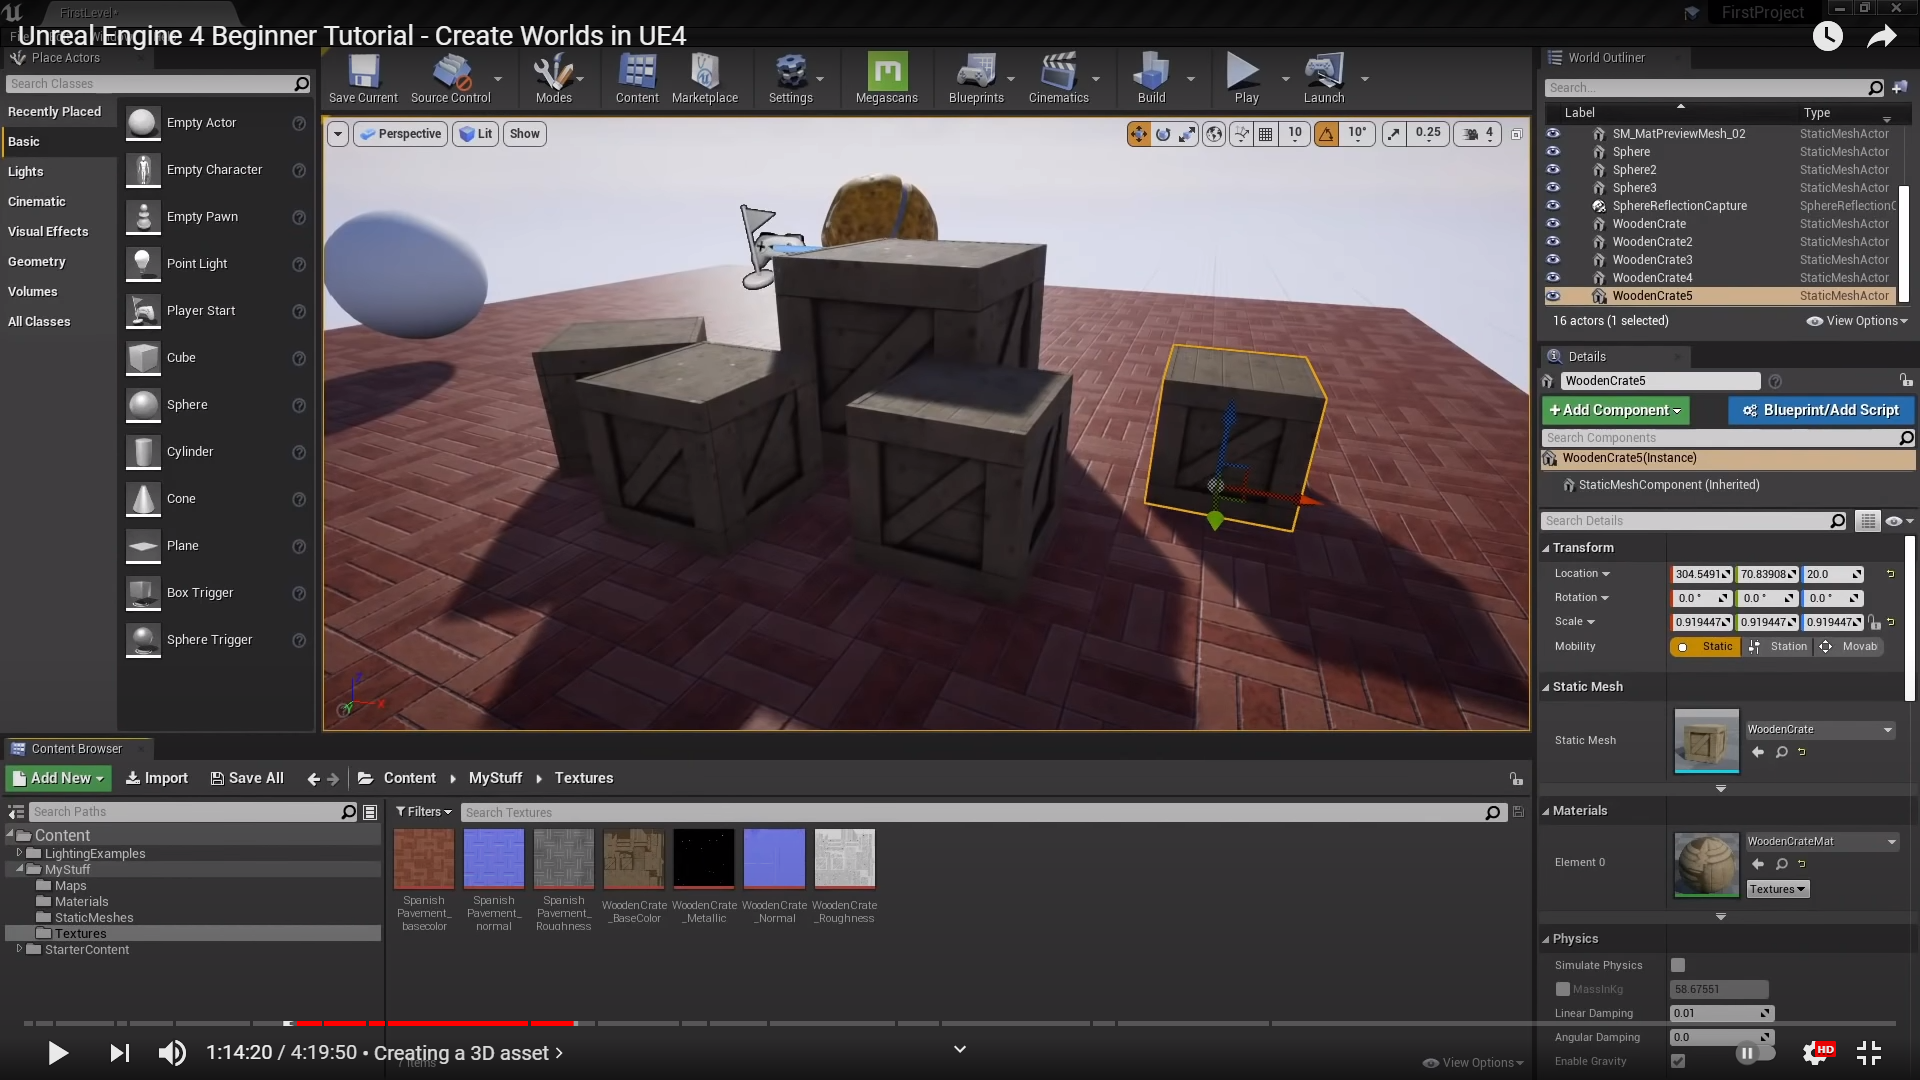
and we have just successfully made a 3D asset.
what is cool about creating assets we didn't have to touch the material graph editor and it saves time.
이미 메레리얼 에디터를 모듈화 시키고 시스템을 만들었으니까 할수 있는 말이다.

To make this assets turely complete , Let's link the static mesh permanently to our material
(아마도 아직 연결 상태가 불안정하거나 이름 그대로 고정적일려면 뭔가 추가로 작업을 해야하는것 같다.)
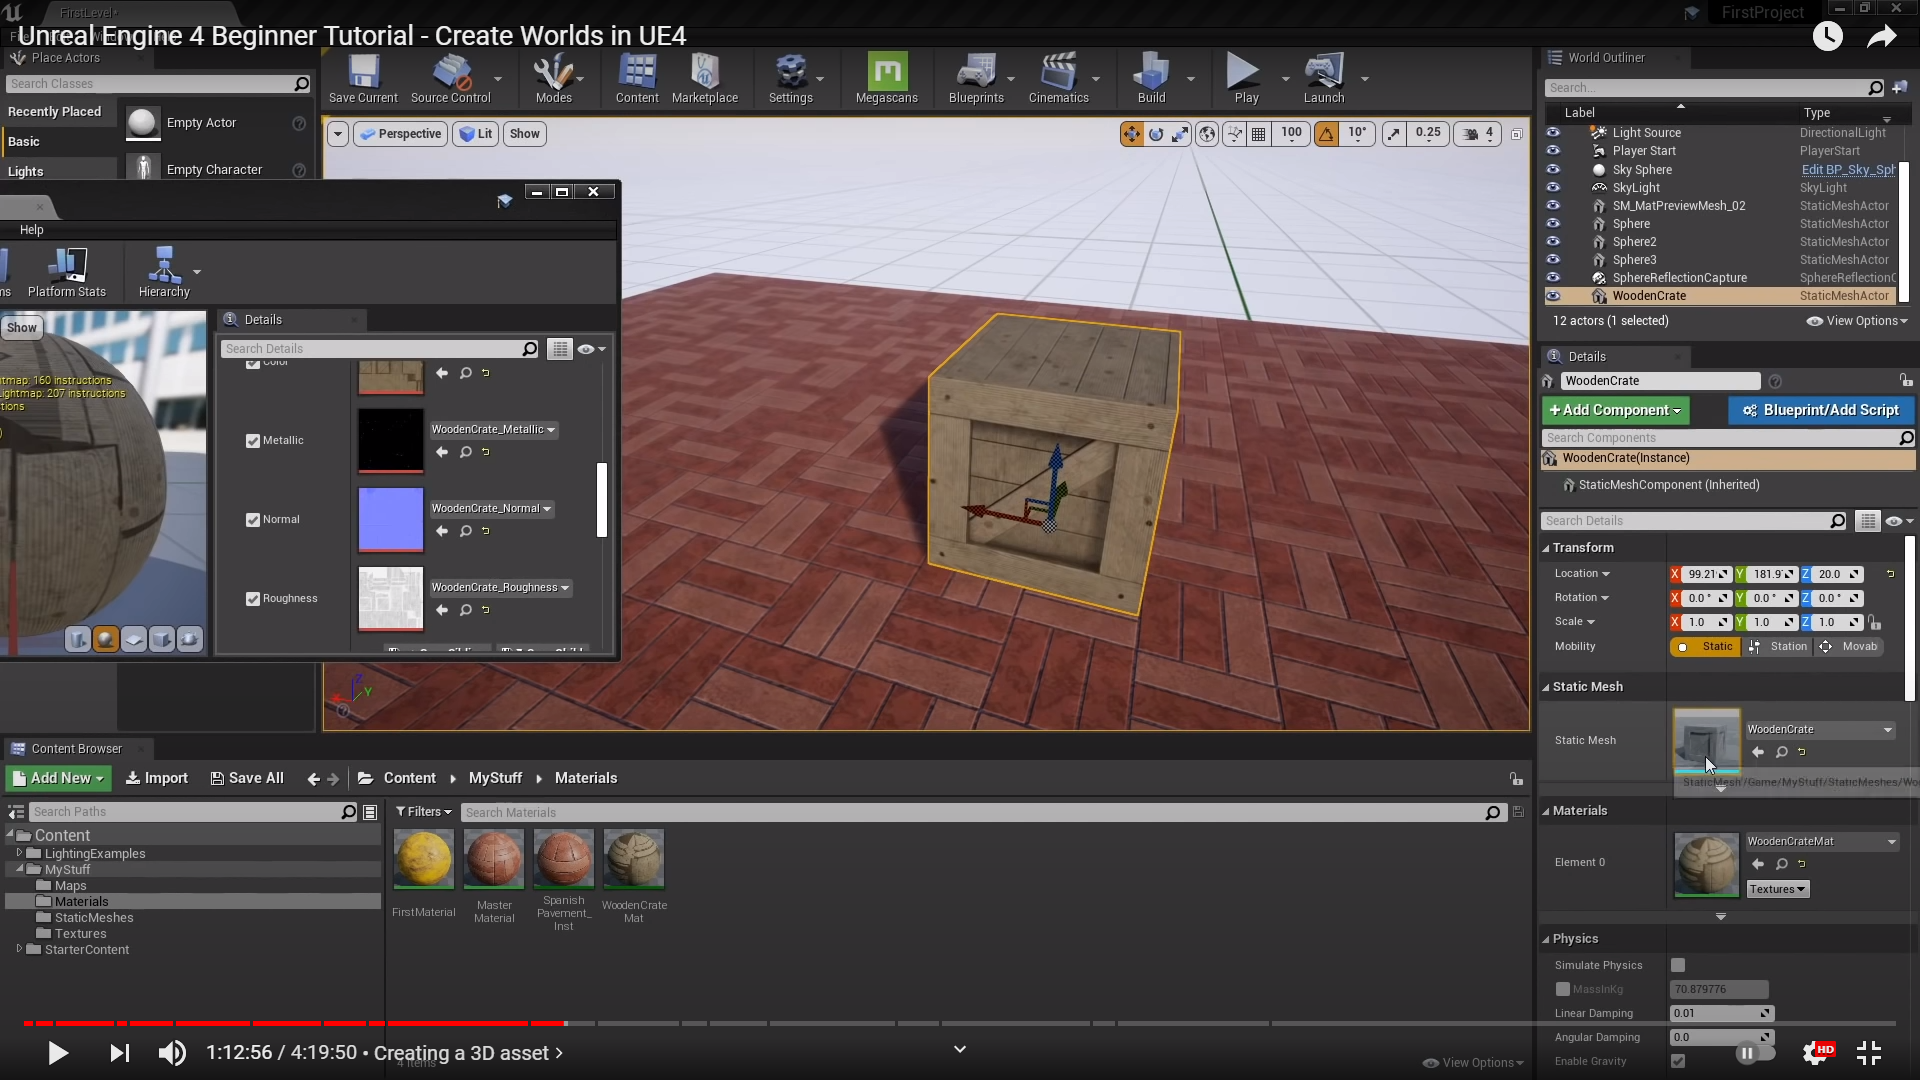
To do that, we have to open up the wooden crate static mesh when you come here, and double click on it.


and now the wooden crate static mesh editor, I can drag the wooden crate material onto this
and now it is permanently connected to static mesh, I click and go out the window.
여기까지 정리하면 우선 사물에 더이상 메테리얼을 추가 시킬 필요가 없게끔 바로 배치하자마자 이전에 설정했던 메테리얼을 할당하게끔 하는 방법에 대해 서술한것 같다.---------------------------------------------------언리얼 엔진 쓰다가 배운점 1. Ctrl 클릭으로 사물을 이동 가능2. Ctrl +Shift 클릭으로 사물과 함께 이동 가능
다시복습1. 사물은 Ctrl+ C, Ctrl +V 로 가능하나 이것은 제자리에 바로 복사되서 겹쳐보이게 된다.2. Ctrl+ W를 하면 약간 비스듬히 안겹치면서 복사가 된다.3. Alt + gizmos 클릭으로 이동하면서 복사가 가능하다.
---------------------------------------------------

So that is one way go about creating static material, another way people go about and creating materials,
and this is used a lot of video games to save memory is that take the roughness map and the metallic map

and they combine them into one texture, using the separate RGB values or RGB channels

and I know it is really confusing taking two textures and make it one, but it can be really helpful if you want to save time or just save our memory space. So, think it s important and go over and show everyone what that tells.
back into texture folder, I am going to import texture that I skipped before hand

called woodecrate_MetallicRoughnessOcclusion and drag in it.

and if we open this up, we are going to get another blue texture each channel is on individual texture
(즉 RGB 채널 모두 하나하나의 텍스처 정보를 가지고 있다는것 같다. 기존에 방식인 RGB 채널이 하나의 텍스처가 아니라)
So, we can actually isolate in Unreal and view each channel independently of the others
by going on a view menu if I want to red then I can turn off the Green, and Blue Channel

아쉽게도 내 예제 파일의 Png 에서는 Red 채널에 메탈릭의 값들이 빠져있다.

아무튼 다른 채널들을 보면 텍스처가 잘들어가 있다. 이것은 그린채널

and if we go to the blue channel and we have ambient occlusion map
namu.wiki/w/Ambient%20Occlusion
Ambient Occlusion - 나무위키
이 저작물은 CC BY-NC-SA 2.0 KR에 따라 이용할 수 있습니다. (단, 라이선스가 명시된 일부 문서 및 삽화 제외) 기여하신 문서의 저작권은 각 기여자에게 있으며, 각 기여자는 기여하신 부분의 저작권
namu.wiki
Ambient Occlusion 에대해 그냥 넘어가기 보다는 한번 서술하고 넘어가는게 좋겠다.
요약하자면 정확한 그림자, 구석에 진 그림자를 찾기 위해 존재하는 노말맵인거 같다.
노말맵 처럼 미리 계산하거나
-----------------------------------------------------------------------------------------------------------------
빛의 차폐로 인한 감쇠 근사치를 구하는 이펙트입니다. 현실에서도 방의 구석 부분은 훨씬 더 어둡듯이, 구석이나 틈 같은 곳을 더 어둡게 하여 더욱 자연스럽고 사실적인 느낌을 낼 수 있도록, 표준 글로벌 일루미네이션에 더해 미묘한 이펙트로 사용하는 것이 보통 가장 좋습니다.
-언리얼 엔진 가이드 중 SSAO에 대한 설명에서 발췌.
렌더링 과정 중 셰이딩의 한 방식. 각각의 표면이 광원에 얼마나 노출되어 있는지를 계산하여 그림자를 더해주는 기술이다. 일반적으로 광원과 물체를 던져놓고 지역 조명 방식[1]으로 처리를 시행하면 그림자는 있지만 실제와 미묘하게 다른데, AO는 이를 보정하고 실제에 더 가깝게 보이도록 만든다. 리얼타임 레이 트레이싱으로도 구현되고 있다. HBAO와의 비교영상

다시 돌아가서 Also again this is technically not color, this is a collection of linear gray (scale or skill)
둘중 발음이 흐려서 잘 안들렸다. 아마도 스케일일거 같긴한데...

아무튼 컬러가 아니라서 SRGB를 당연히 체크 해제하고, 이 텍스처가 어떻게 작동하는지 머테리얼을 값들을 설정함에 따라 알려준다고 한다.

So first of all back to materials, RMB and Create New materials


Go in to the material and we are going to set it up to the traditional way

go the the textures folder and all we need is base color the pack tectures(which involved Metallic,Roughness,and Ambient Occlusion), and the normal map
We don't need metallic or roughness because again these two texture maps are being (어차피 이미 한텍스처에 포함되어있으니까 필요없다는건데 끝에 발음이 흐려서 잘 듣지는 못 했다.)
그리고 저 3개를 메테리얼 뷰에 드래그 해서 가져다 좋으면 된다.

Now for this, we can select the individual channels, So the Green channels is roughness, the Red channels is metallic

and you can see, which is one texture, we can get the functionality of three textures.
즉, 체계적으로 효율적으로 관리하기 편하다는거다. 이렇게하면
and Not only does this save time, but the also save a lot of memories
but this also saves a lot of memory, So you will see this happen a lot of video games, although
if you are going for visual like in the movie industry or architecture you won't see this too often.
You just see the individual textures map because they can be easier work with when you are actually creating textures (아마도 게임은 실시간 랜더링이기 때문에 이런 방식을 사용했지만
건출묵이나 영화는 좀 유동적이지 않고 고정적인 측면 때문에 이런 방식은 잘 사용할 필요가 없다고 하는것 같다.)

and we can see virtually no difference
이렇게 해서 적용해서, 시간도 절약, 메모리르 절약 하는 방법에 대해 배웠다.
이번주는 여기 까지 서술하고 다음에 이어서 서술하겠다.
'Unreal_Engine' 카테고리의 다른 글
| Unreal Engine 4 Beginner Tutorial- Create Wolds in UE4_11 (0) | 2021.04.24 |
|---|---|
| Unreal Engine 4 Beginner Tutorial- Create Wolds in UE4_10 (0) | 2021.04.17 |
| Unreal Engine 4 Beginner Tutorial- Create Wolds in UE4_8 (0) | 2021.04.10 |
| Unreal Engine 4 Beginner Tutorial- Create Wolds in UE4_7 (0) | 2021.04.03 |
| Unreal Engine 4 Beginner Tutorial- Create Wolds in UE4_6 (0) | 2021.04.03 |


