
https://youtu.be/NA-Q_hJoZFY?list=PLqcjDvhaF8_iroTlS5OC5CpYgg-Vx85va
Summary :
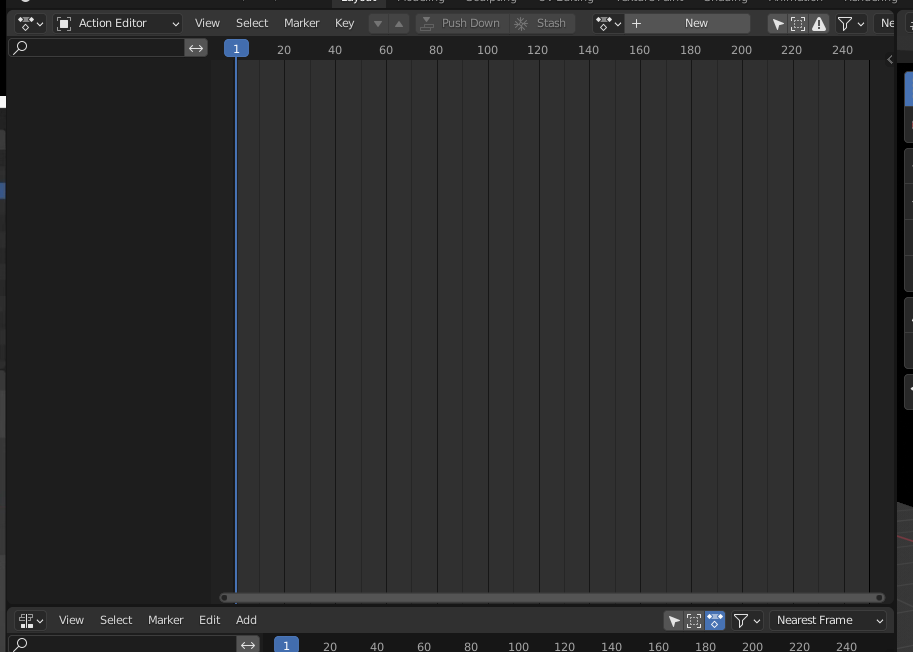
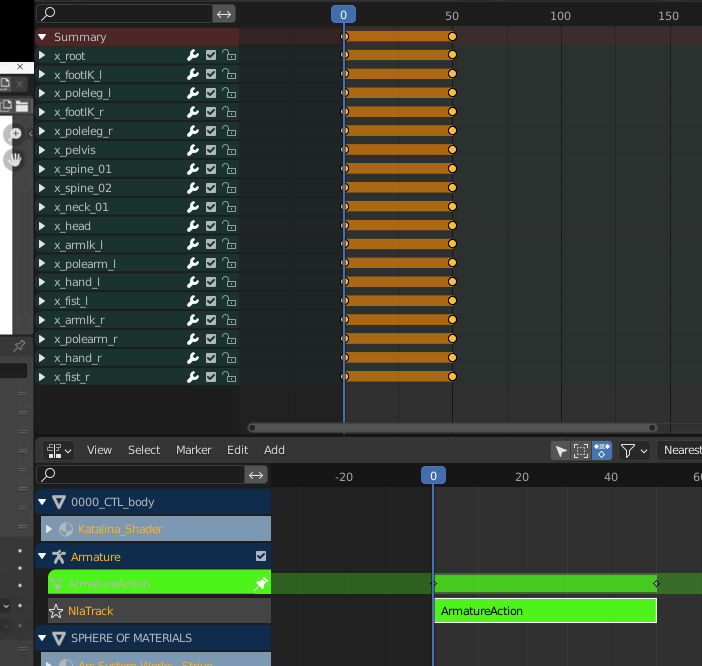
일단 창 2개를 새로 만들어주는데
강의에서는 Dope Sheet -> Action Editor로 바꿨다.
as a quick summary in the dope sheet you create certain animations for certain things
dope sheet is everything like action animator
is just for
So we are going to change this to the action editor because this is for bones
for armatures and we are going to create a new and we call this poses
and I want to create a pose???
5:06
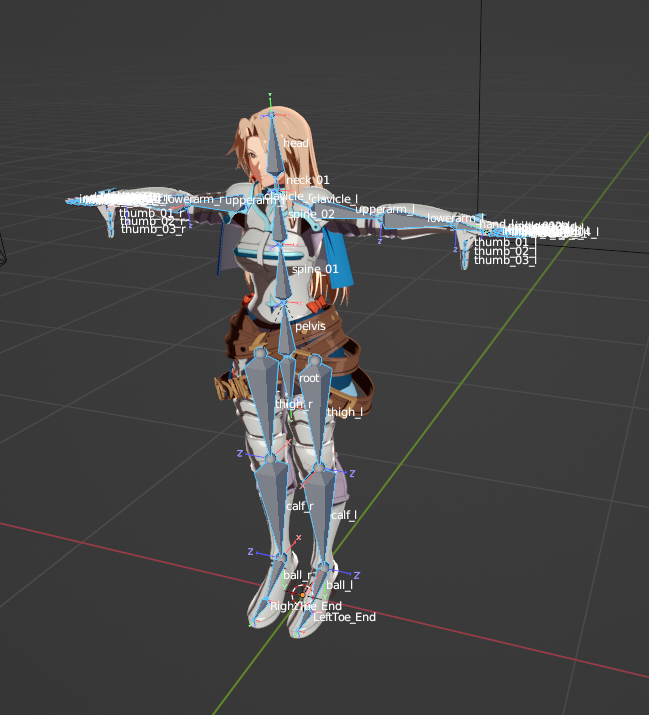
5:48 select all of them (Only Ctrl rig)
일단 애니메이션 프레임에 Location, Rotale, Scale을 추가했지만
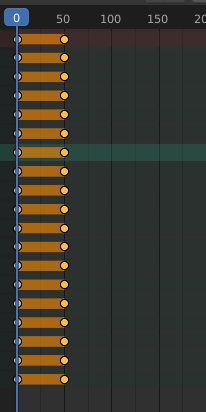
5:51 it seems to work fine at first but if we scroll here you can see something breaks
(1프레임을 움직여 보면)
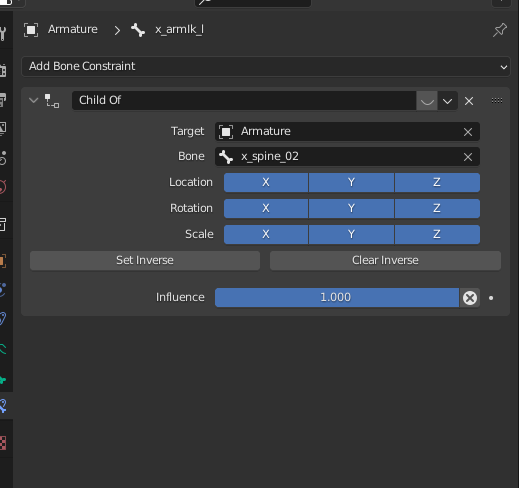
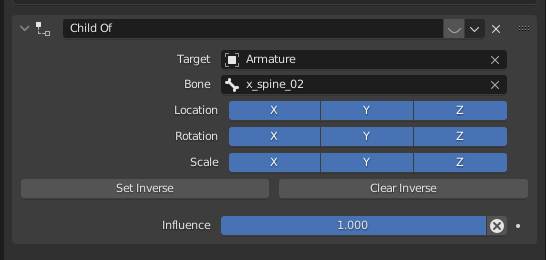
that is because IK this I mentioned this earlier we have this child of constraint
(스파인, 등뼈가 움직일때 팔도 같이 움직이게 함)

if we turn this off, it go back and get the actual position.
otherwise it s sticking together "the child of" and the key
be aware of that(차일드 오브 컨스트렌인츠를 끄라는 의미인거 같은데 정확하지 않다. )
6:13
and another thing is that we only keyed the control bones
but what we are going to export are the defrom bone(실제 Geometry와 달라붙어서 캐릭터의 움직임의 영향을 주는본)
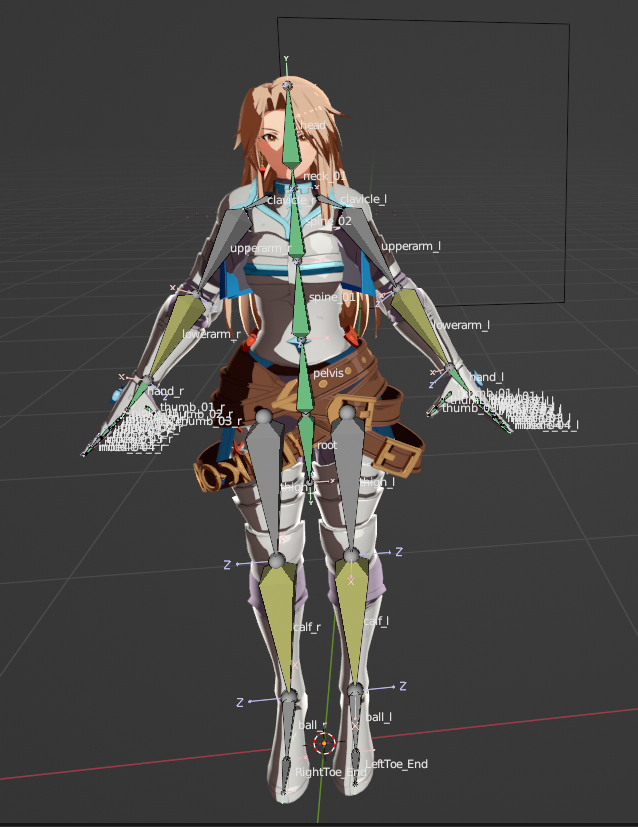
and deform bones are not keyed actually it seems like I have the control bones over here
let's move them really quickly actually just turn if off here
(실수로 Ctrl rig를 Deform bone Layer에 넣어서 )
those bones(Deform bone) are not keyed here
if we wanted to key them and actually export them because those are only bones
we are going to export (Defrom bone만 익스포트가 되는 본 이라고 언급을 했는데
왜 키 프레임으로 등록 안한건지는 잘 모르겠다.)
they are not keyed (because) they don't have actual position
we need to press "I" and Select the "Visual Location, Rotation & Scale" (보여주기용)

여기 보면은 마지막 문장에 taking into account effects of constraints and relationships 라고 나와 있는데 아마도
Bone Constraint 하고 상관관계가 있을것으로 사료
6:37 now they are actually keyed ()
if I would now turn off all the constraints, it would still be keyed
we can check this by just typing "Clear Pose Constraints"
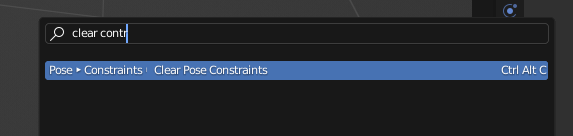
만들어 놓았던 포즈가 오브젝트 모드하고 같아졌는데..
컨트롤 리그가 아예 작동하지 않음
IK안에 있는 Constraint는 그대로 할당되어있다.
6:47 force you can see now they all removed
we scroll a little bit and we are back to our actual key position
but obviously I don't want to remove my constraints yet ( 그냥 보여주고 Ctrl +z 했는데 언급을 안한듯)
I just you to be aware that we need to key those(deform bones) in the end but
we are not going to Press I and "Visual Location, Rotation & Scale"
7:06
we are going to go in the end bake the animation
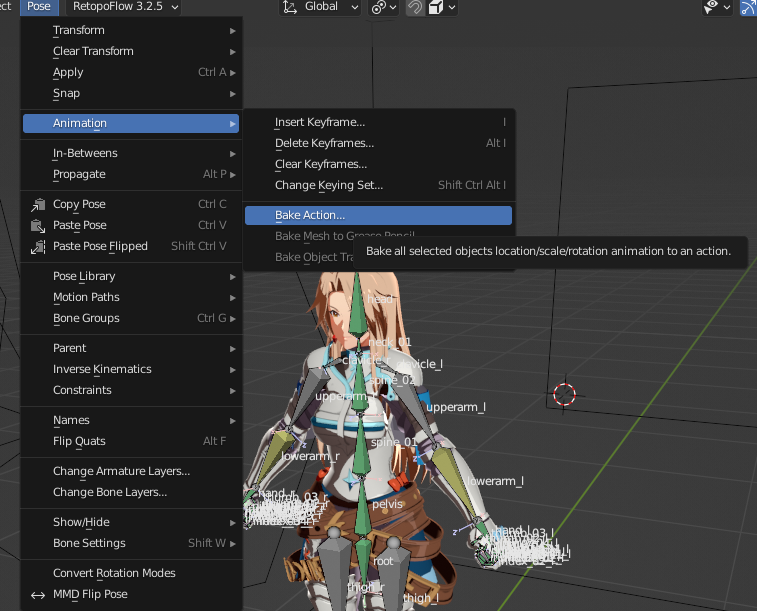
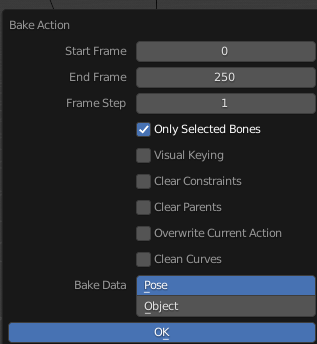
Visual Keying is the same as just pressing "I" Visual Location, Rotation & Scale.
(Ok를 눌렀을때 Start Frame 부터 End Frame 까지 대상 포즈로 다 키프레임을 채우는것 같다.)
I am going to go back to my control bones, I currently don't care about the deformation bones
(다시 컨트롤 리그로 바꿈)
Now, I am just going to key stuff and in the end we are just going to like pick it up
So, we have our first pose here and
7:20

I currently don't care about the deformation bones
now I am just going to key stuff and in the end
we are just going to like pick it up
So we have our first pose here and we have to keep in mind this "child of"if I really dislike
how the child works here that it s kind of weird but behavior
just be aware that you might want to turn this on or off or something
7:43
though we have keep now our deformation bones
and we can see we have bones here I am going to copy the bones
I am going to copy and move this up to 50. (그냥 Action Editor에서 Shift+d를 사용해 복사한것 )
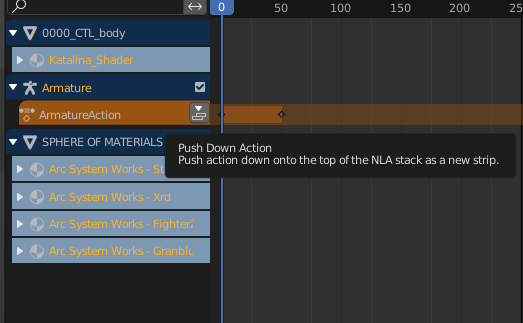
and you can see we have like a grip down here yeah if we now push this down
we can see an extra ??
I want you to notice if we going over strip in the end
he s still holding this position we don't want it
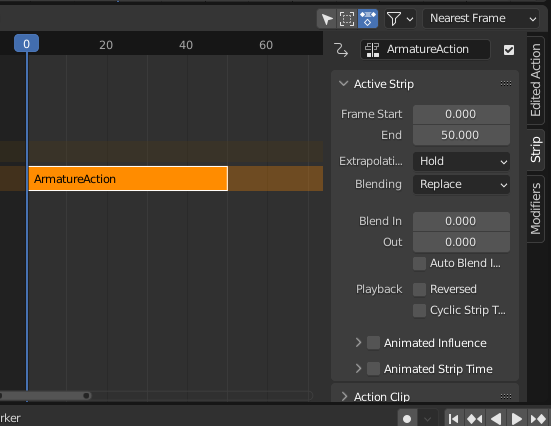
So select the strip
Select the strip press n and we are opening this window
N을 눌러 옵션을 확인하고 여기서 스트립 탭을 보면
Extrapolation이라는 옵션을 수정할수 있다.
일단 이 옵션을 Nothing을 설정하면 프레임이 해당 Strip을 지나면 원래 T포즈로 돌아온다.
and here extrapolation it says hold if it changes to nothing it s not going to hold it after
it s end and then
8:16
반대로 Hold로 설정하면 Last Frame을 계속 유지하는것을 볼수 있다.
8:23
So the reason I made this a little bit longer here is because we can just simply store certain poses
Let's say I don't know we want this pose and unreal for some reason
there are quite some poses you use or if you want a certain falling pose a certain landing posts
are certain I don't know holding on a wall pose
8:50
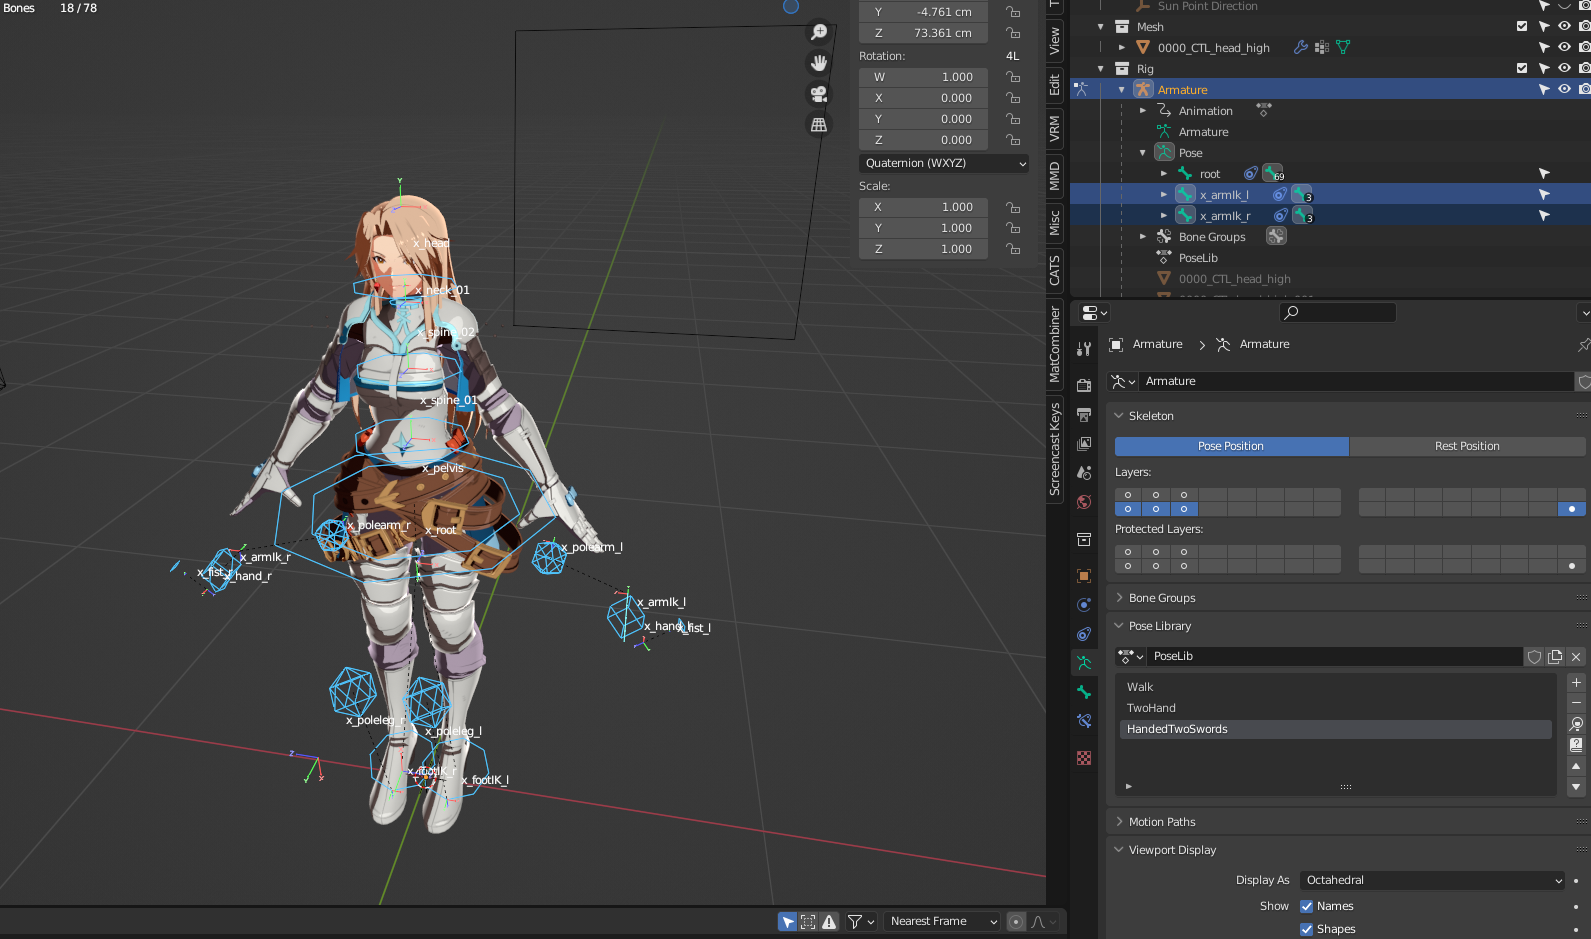
Pose library explanation
and then also has the option somewhere over here in the pose library
it literally does the same thing for you in the end
it just creates an action where you just store your poses(NLA를 말하는듯)
but I am just doing this manually because this is a lot more clear
you just go in here with a tab and grade on the frame to another pose
9:12 if you press "tab" you have to be absolutely
100% sure those keys are over there (in Action Editor)
You can see if I am going to move the keys aside
it s offset (떨어진거라고 말하는듯 처음 키하고, 이걸 이전에 만들었을때 복사해서 만들었음 )
sometimes it seems like, it s working but it s broken for the export (탭 키를 눌러서 수정하면 익스포트가 깨진다는걸까??)
So, I am being very aware where I am actually creating the animation
9:33 meaning if we are going from 0 to 50 here without pauses
we have 50 poses (??we have three here ??)
let's say frame 100 or something
it doen't matter how much space we need here really or use here so (100프레임을 임의로 설정했는데 그건 어쩃든 상관없고)
I am going to frame 100 here and we are going to start keying our walk animation
9:50
before we start our keying of walk animation (드디어 Animation Sequence를 제작하는듯)
I am going to turn on our "child of" again
10:01
there are just key frames we need to get a very simple walking animation
we only want a very simple one
now let's go into pose mode and you can see
I hit the root here because I don't want to move root at all
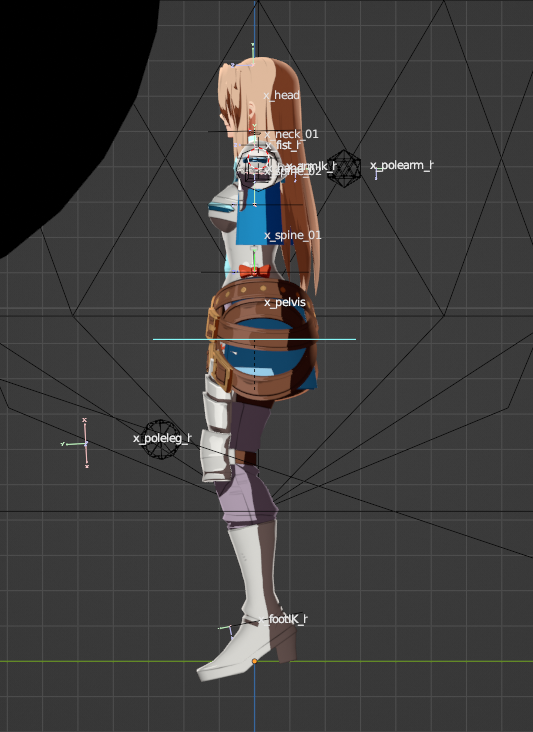
10:19 let her move this al little bit on
just so it's like a little bit angled here
10:25
and we are going to grab right leg here
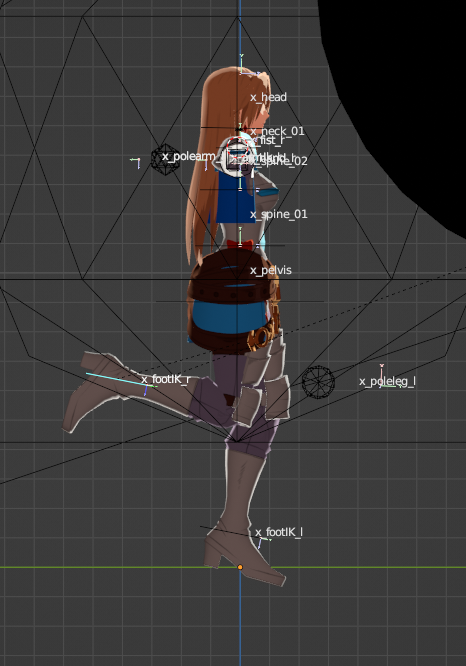
and you can see the legs are quite far apart so
잠시 포즈를 뒤로 당겨서 잡아준 정도
10:43
and there we go now this is basically the first frame we need I am going to fix arms later
but for now let s foucs on the legs then we are going to make second position for the legs
12:20 까지는 Ctrl +C Ctrl + Shift +V 를 해서 애니메이션 키 프레임을 미러하는 방법을 알려준정도
12:40 포즈모드에서 Ctrl C Ctrl V해서 선택된 부분만 미러하는 방법
see we have it perfectly symmetrical on the other side as well
So we have to select them and keep them so I am just going to G L??
12: 56 Set Inverse로 Child of (Constraints)에서 Original Position으로 돌아오는것으로 추정
15:12 and I have this wiggle bone add-on (for just showing to viewers)
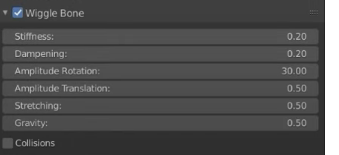
Wiggle bones now I enable this and I am going to walk you can see
how the tail is wiggling a little
==================================================================================
이 부분은 대충 기록하고 넘어가는게 좋을것 같다.
설명도 제대로 되어 있지 않고, 화면 전환도 매끄럽지 않아 따라보기가 힘듬
18:28
we go to the graph editor like I said we have to tell it that knows to cycle
'Unreal_Engine' 카테고리의 다른 글
| 언리얼 엔진 컨텐츠 브라우저 검색 팁 (1) | 2023.06.10 |
|---|---|
| AnimBlueprint Explained-3 (0) | 2023.04.18 |
| Blender to Unreal Animation FBX 옵션 정리 (0) | 2023.03.17 |
| AnimBlueprint Explained (0) | 2023.03.15 |
| AimOffset Explained -1 (0) | 2023.03.03 |


