
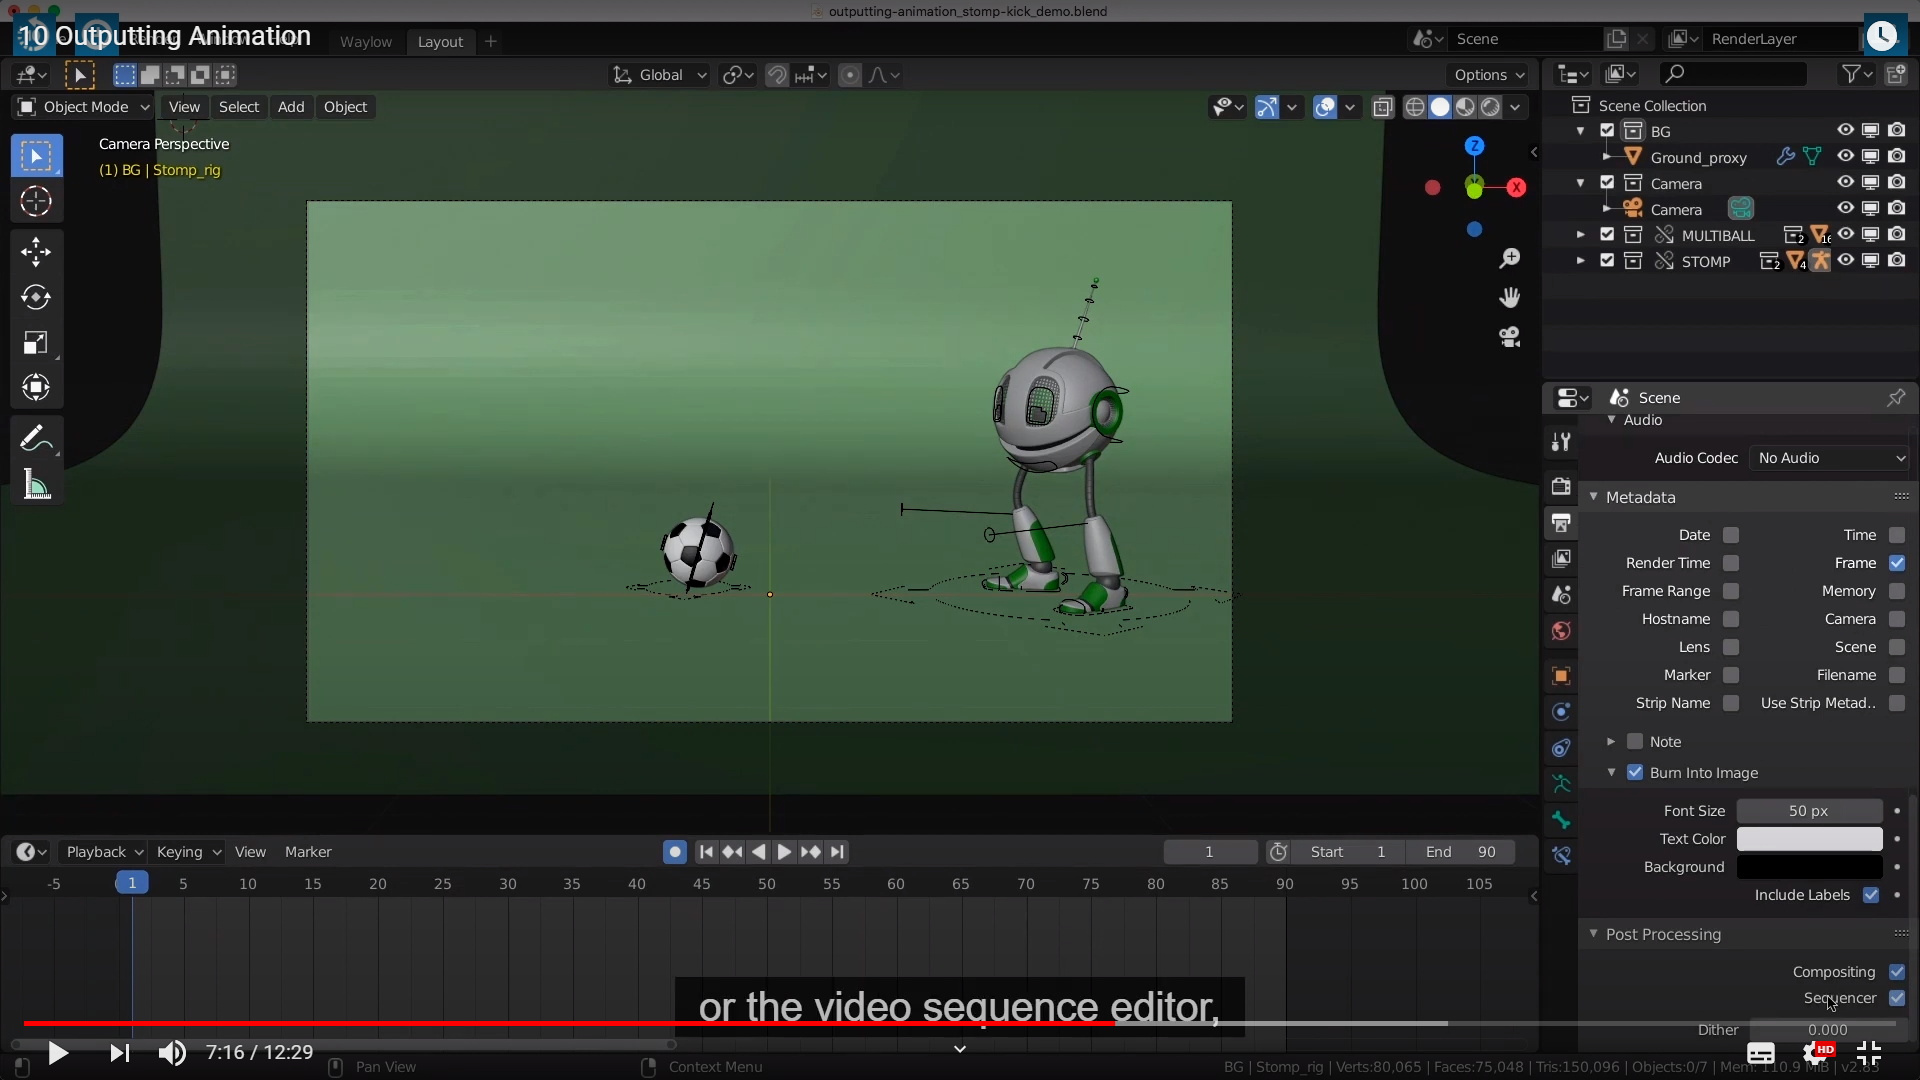
드디어 이 세션으로 왔따. Ouptting Animation 말만들어도 내가 하는것은 별거 없는거 처럼 보이지만 어쩌면 가장 중요한 챕터 일지도 모른다. 생각해봐라.. 엄청 고생해서 만들었는데 출력 설정을 잘못해서 그게 모두다 날라가거나 내가 원하던 화질, 음성이 아니라면??, 때문에 어쩌면 출력 설정의 종류와 차이점들을 잘 기억해놓는게 좋을지 모른다.
If your animation is finished, or if you just wanna see how it's looking,
there's a good chance that you will need to know how to output your animation into a video.
So let's take a look at how to do that.

Firstly, there is actually two ways of outputting your video or actually what you see.

You could do a viewport render, which is basically as the name suggests, is just outputting what you see in the Blender viewport(위에서 애니메이션을 보는 두가지 방법이 있다고했는데 하나가 랜더뷰고 하나가 뷰포트뷰인것을
암시하는것 같다.)
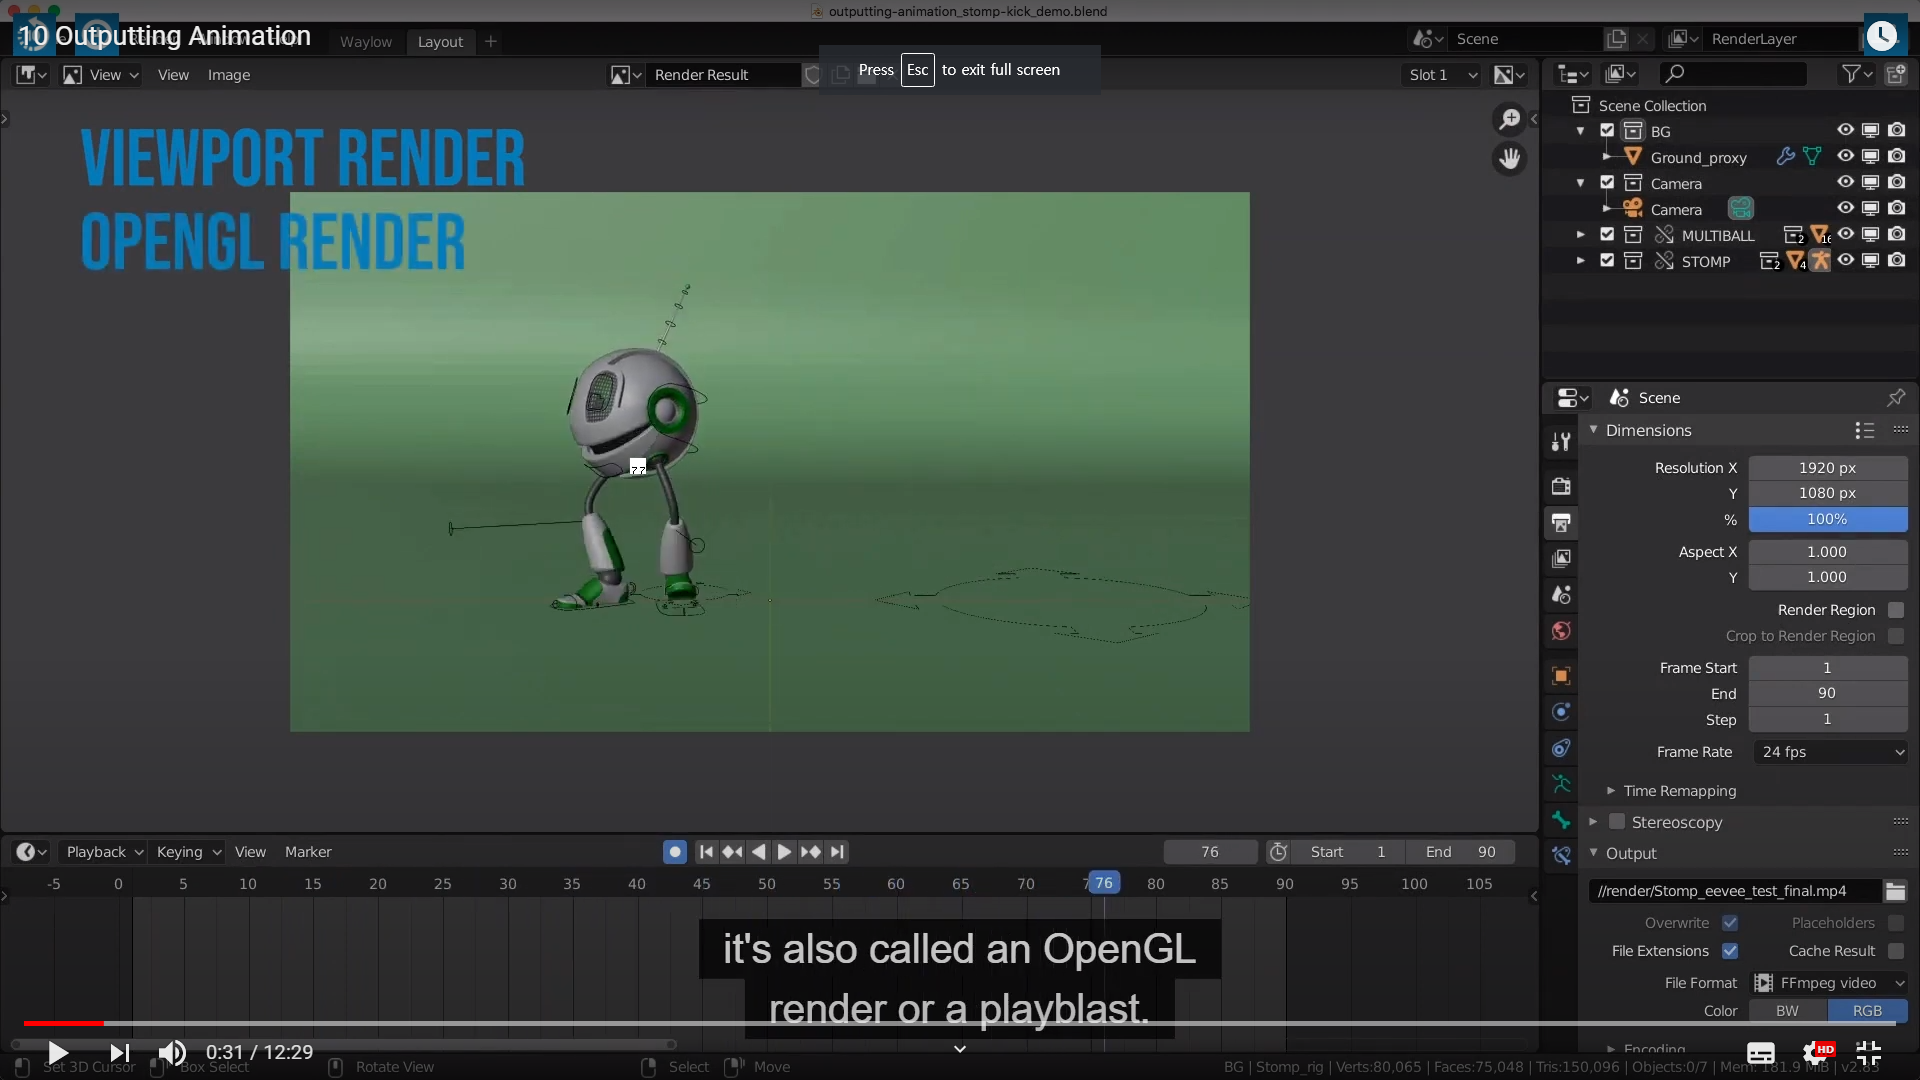
it's also called an OpenGL render or a playblast. And then there's an actual render, a real render,
for lack of a better phrase.
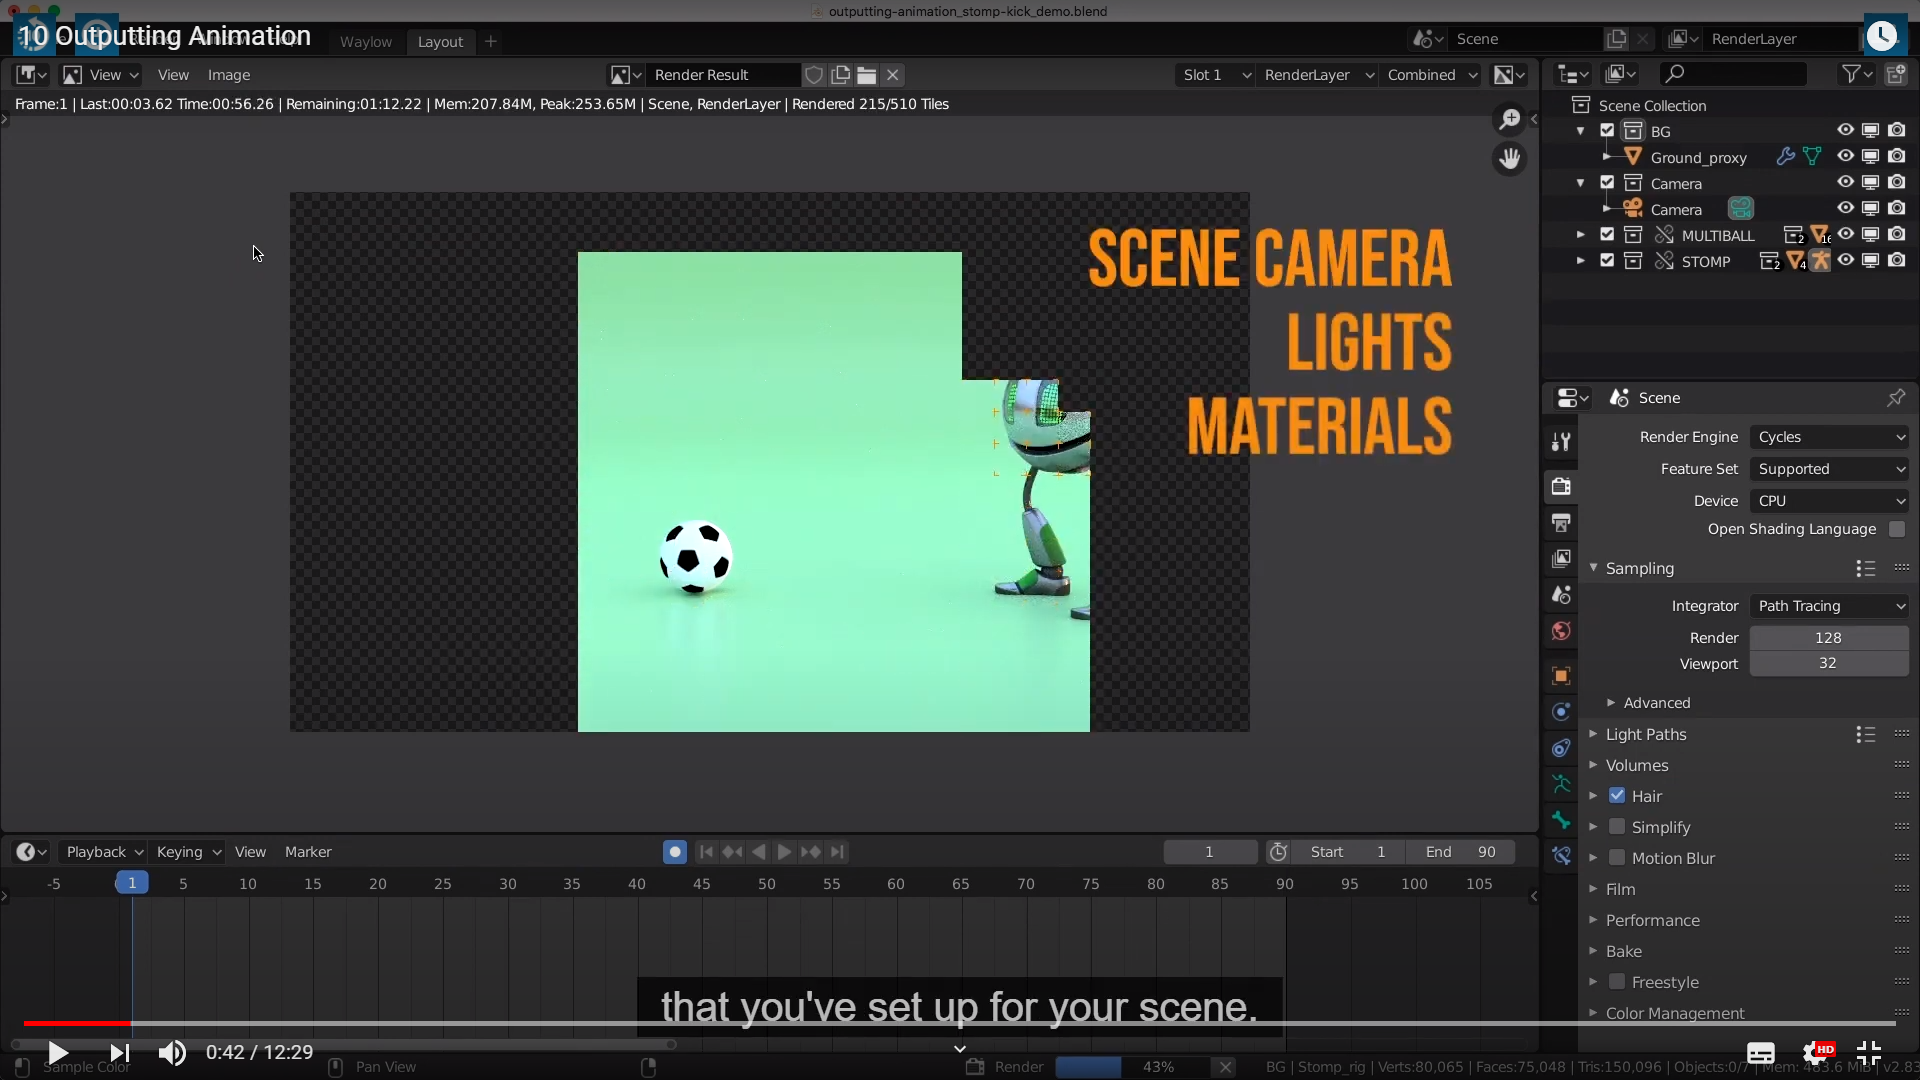
This is where we are using the scenes camera, as well as all the lighting in the materials that
you have set up for your scene.

But if you just wanna take a quick look at what you are animating, there is no point wasting hours and hours
rendering each frame just to find out that you still got some work to do.
That's where the viewport render comes in. It's really quick and really fast.
(결국, 빨리 보고 싶으면 랜더뷰 보지말고 뷰포트로 보라 이 얘기이다.)
아마 키프레임이 있는것 만 랜더가 되지 않을까 싶다.

To render our viewport, you just go to the View menu in any of 3D viewports.

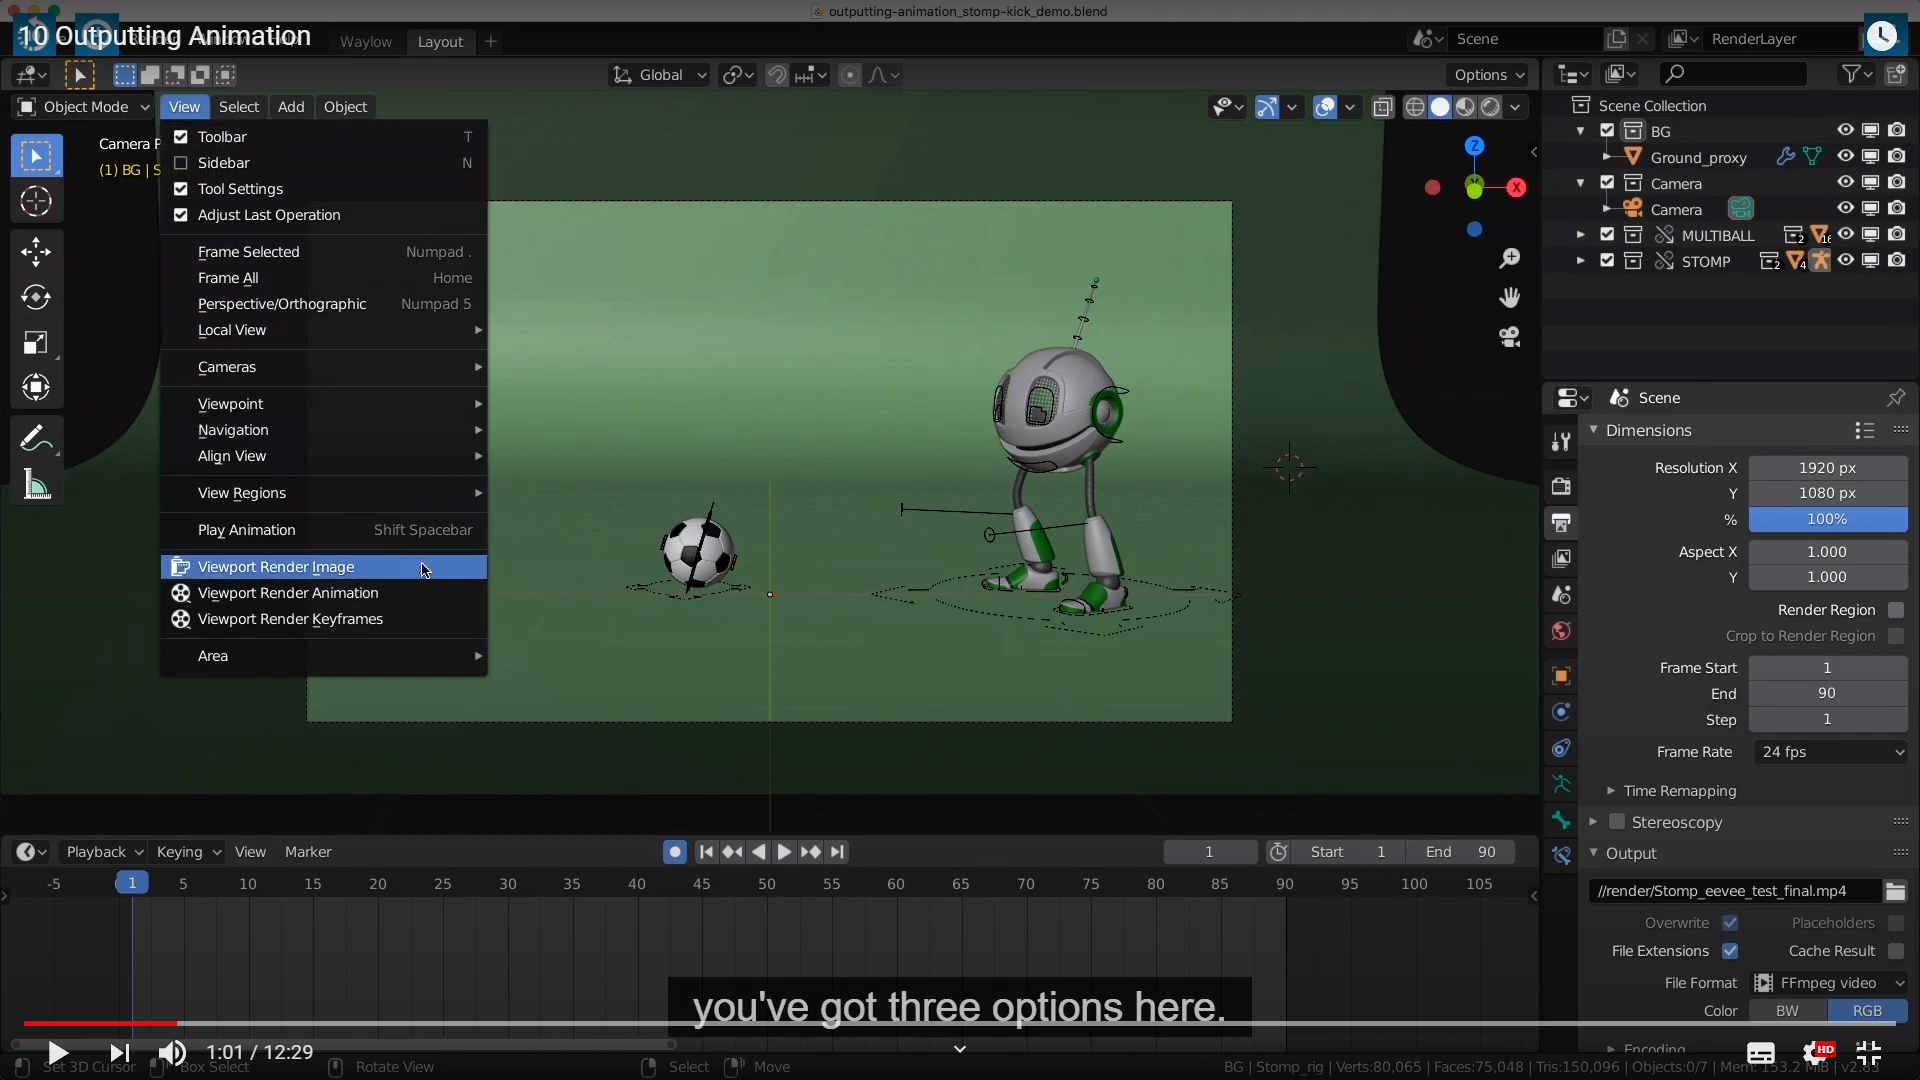

whatever the current frame is. (당연하다.. 이미지를 랜더 하는 거니깐)


for the selected object. (키프레임을 랜더 한다는게 무슨뜻인지 해깔린다.)
This is useful for character animation. But more often than not, this is the option that you would like to choose.
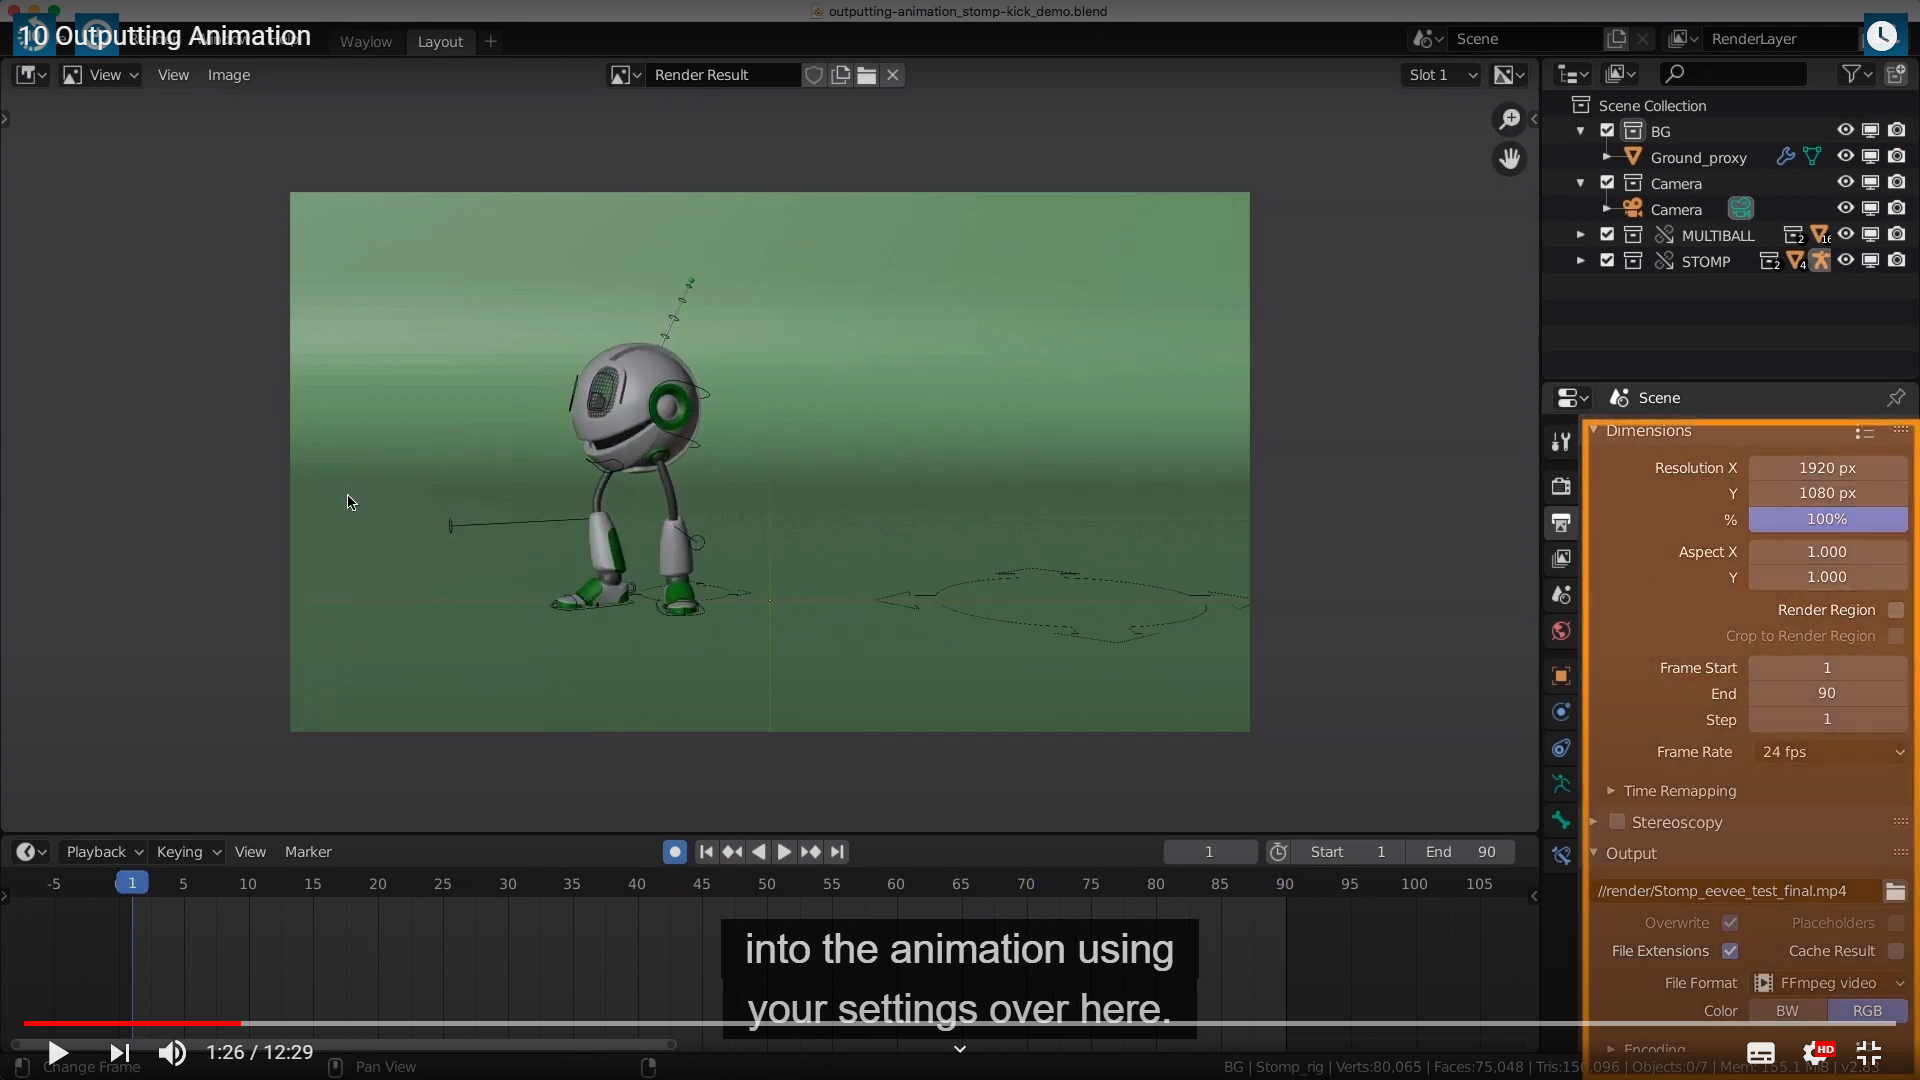
when we choose that, it will render what we see in the viewport into animation using your settings over here.

If you wanted to do a real random, that is in the Render menu up here,

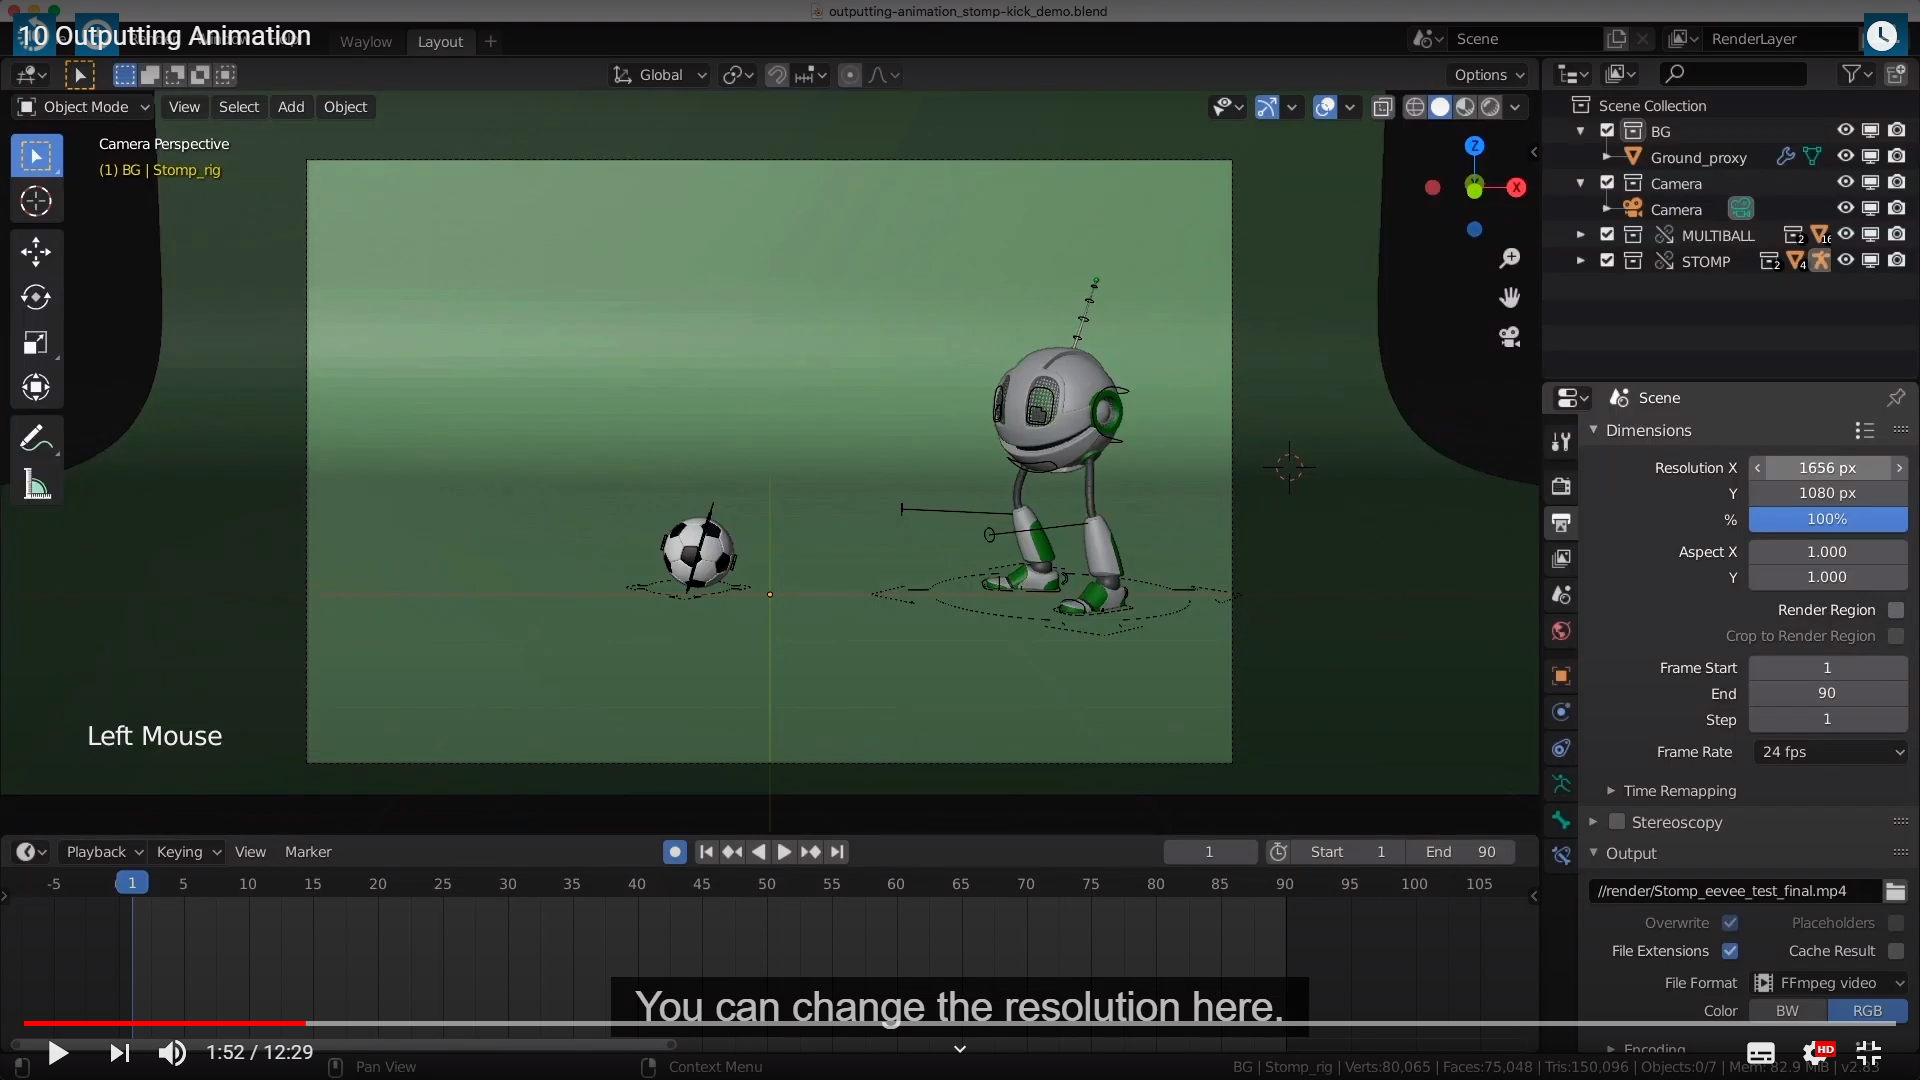


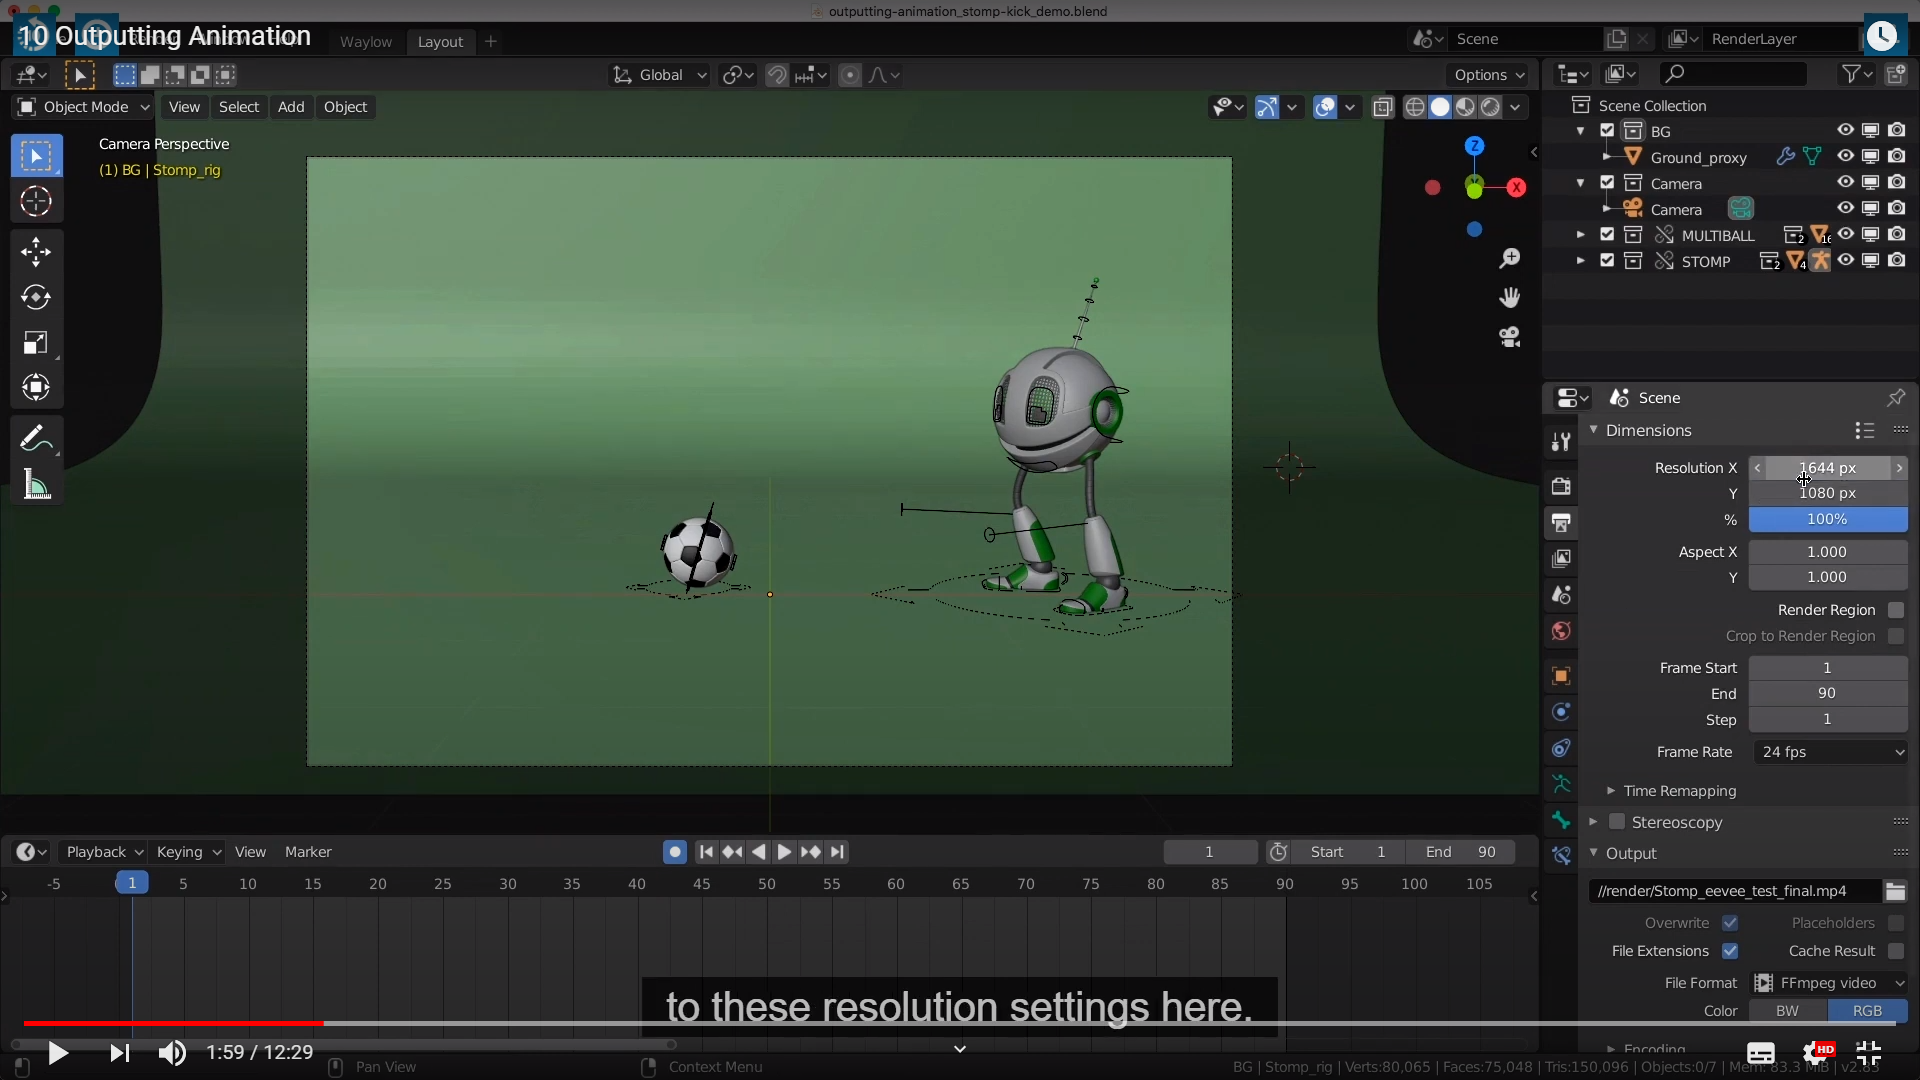


일단 화질이 높아지는건 확인했는데 몇 K인지는 모르겠다.


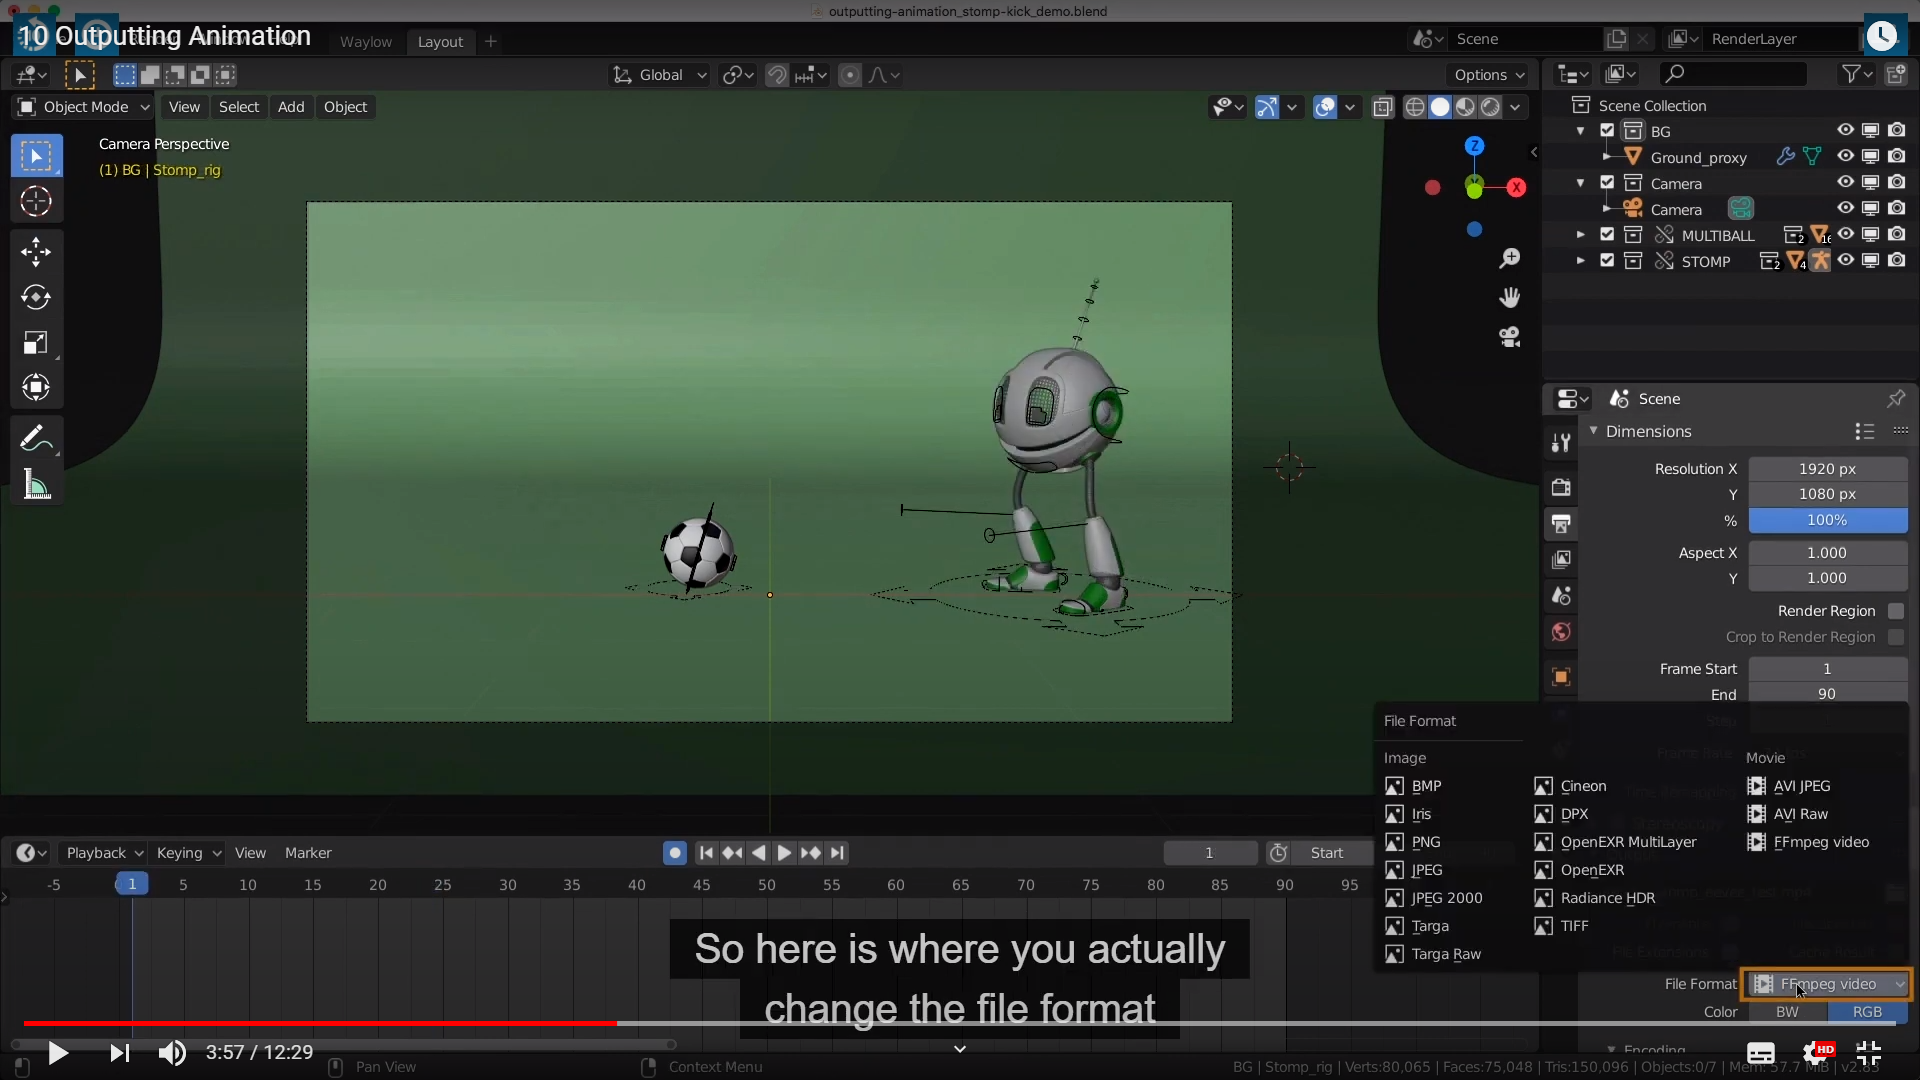


Mp4로 바꾸고 싶으면 저기를 바꾸면 된다.





'Blender_Study > Blender_Animation' 카테고리의 다른 글
| 13_Interpolation Practice (0) | 2021.06.19 |
|---|---|
| 12_Graph_Editor_and_Interpolation (0) | 2021.05.01 |
| 8 Animation Practice,9 Auto Keying (0) | 2021.04.14 |
| Animation_Fundmentals_2021.04.05(Keyframes and Channels) (0) | 2021.04.05 |
| Animation_Fundmentals_2021.04.03(Timeline) (0) | 2021.04.04 |


