
A Keyframe, or key for short is something you hear quite a lot in computer animation. So what is it?
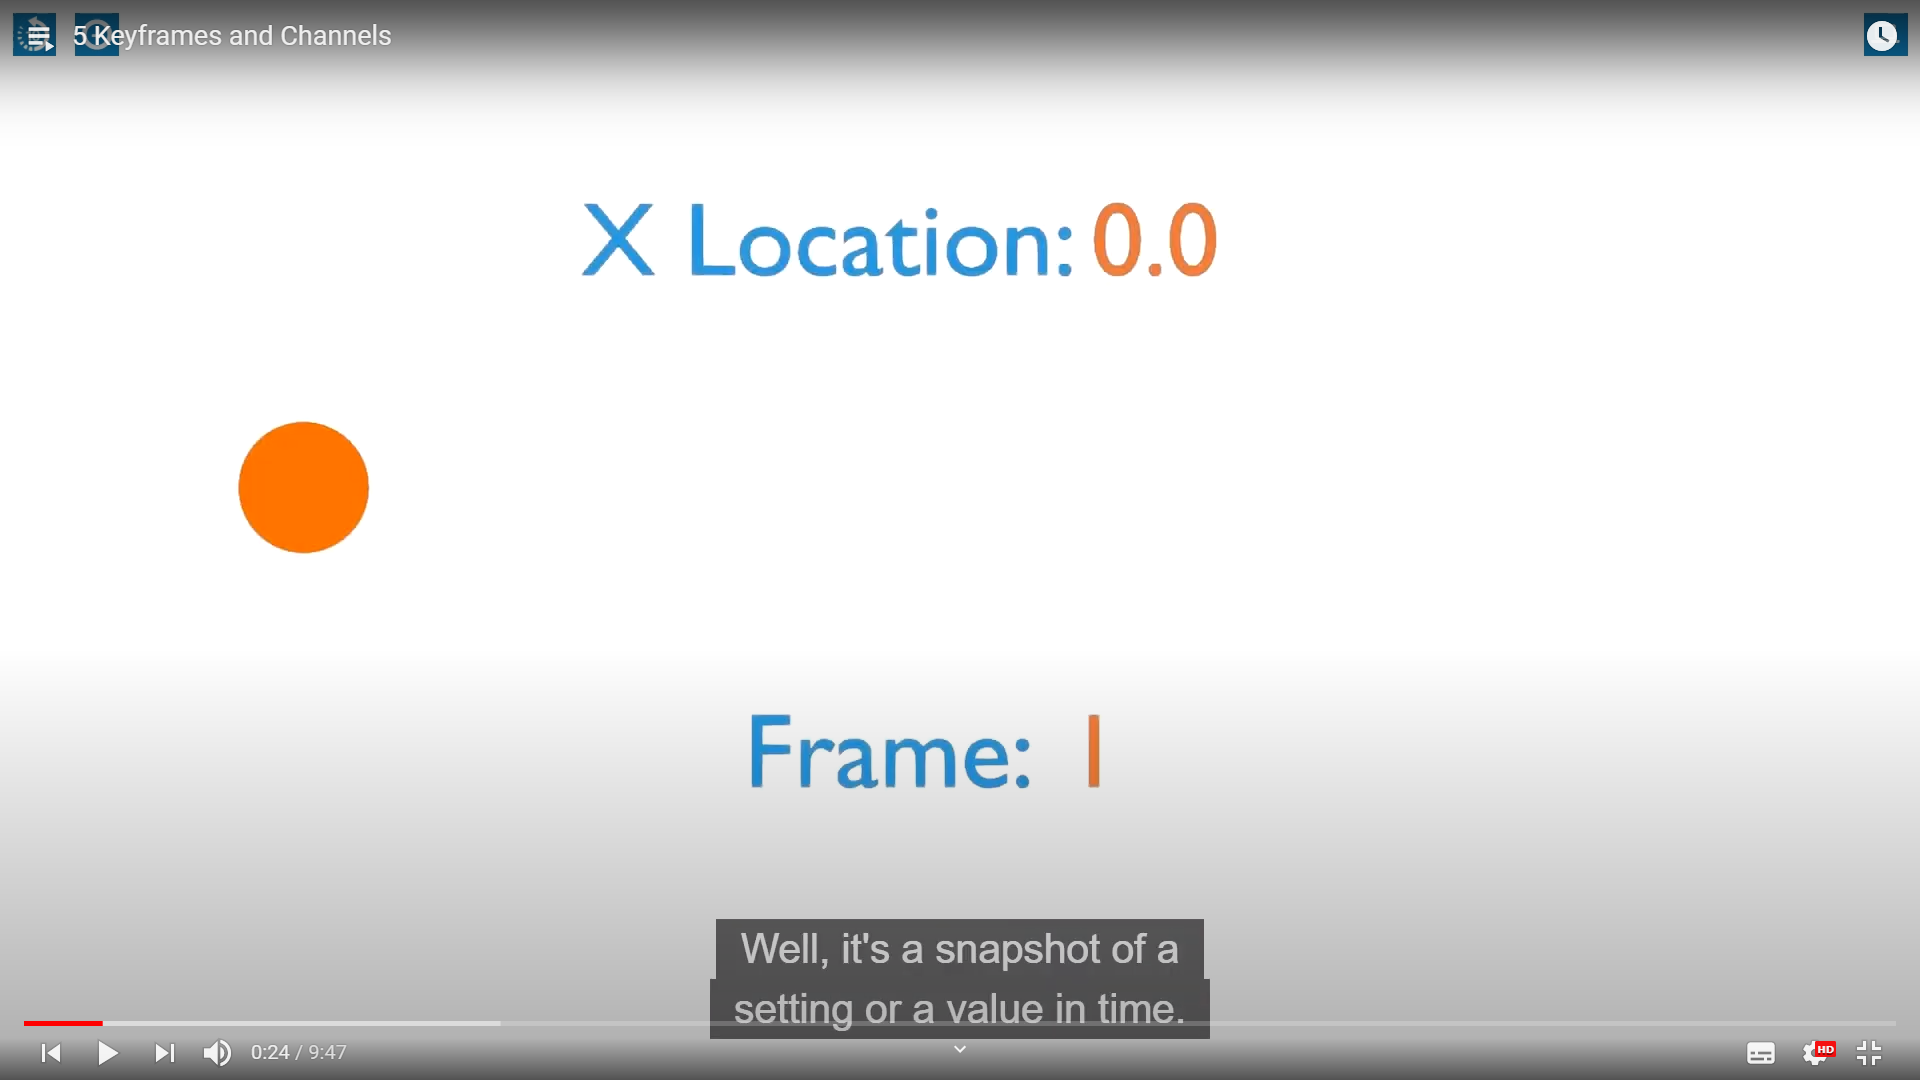
Well, it s a snapshot of a setting or a value in time.지금 필자는 Keyframe 에대한 정의를 하면서 snapshot 이라는 용어를 꺼냈다.
뭔가 일시적 기점을 저장하는 형태를 아마 snapshot 인걸로 기억한다.
itstorageaws.tistory.com/entry/%EC%8A%A4%EB%83%85-%EC%83%B7%EC%9D%B4%EB%9E%80
스냅 샷이란?
스냅 샷(SnapShot)이란? 스냅 샷은 기술적 인 용어로, 특정 시간에 저장 장치의 상태를 나타내며 스냅 샷의 동작으로 보존되어 데이터 저장에 실패한 경우 데이터 백업 기능을 복원합니다. 스토리
itstorageaws.tistory.com
다행히 바로 인터넷 검색하자마자 자료를 찾았다 모르면 검색하고 보면된다. 참으로 공부하기 편리한 세상이다.

We tell the computer to remember this value at a specific moment in time or frame,
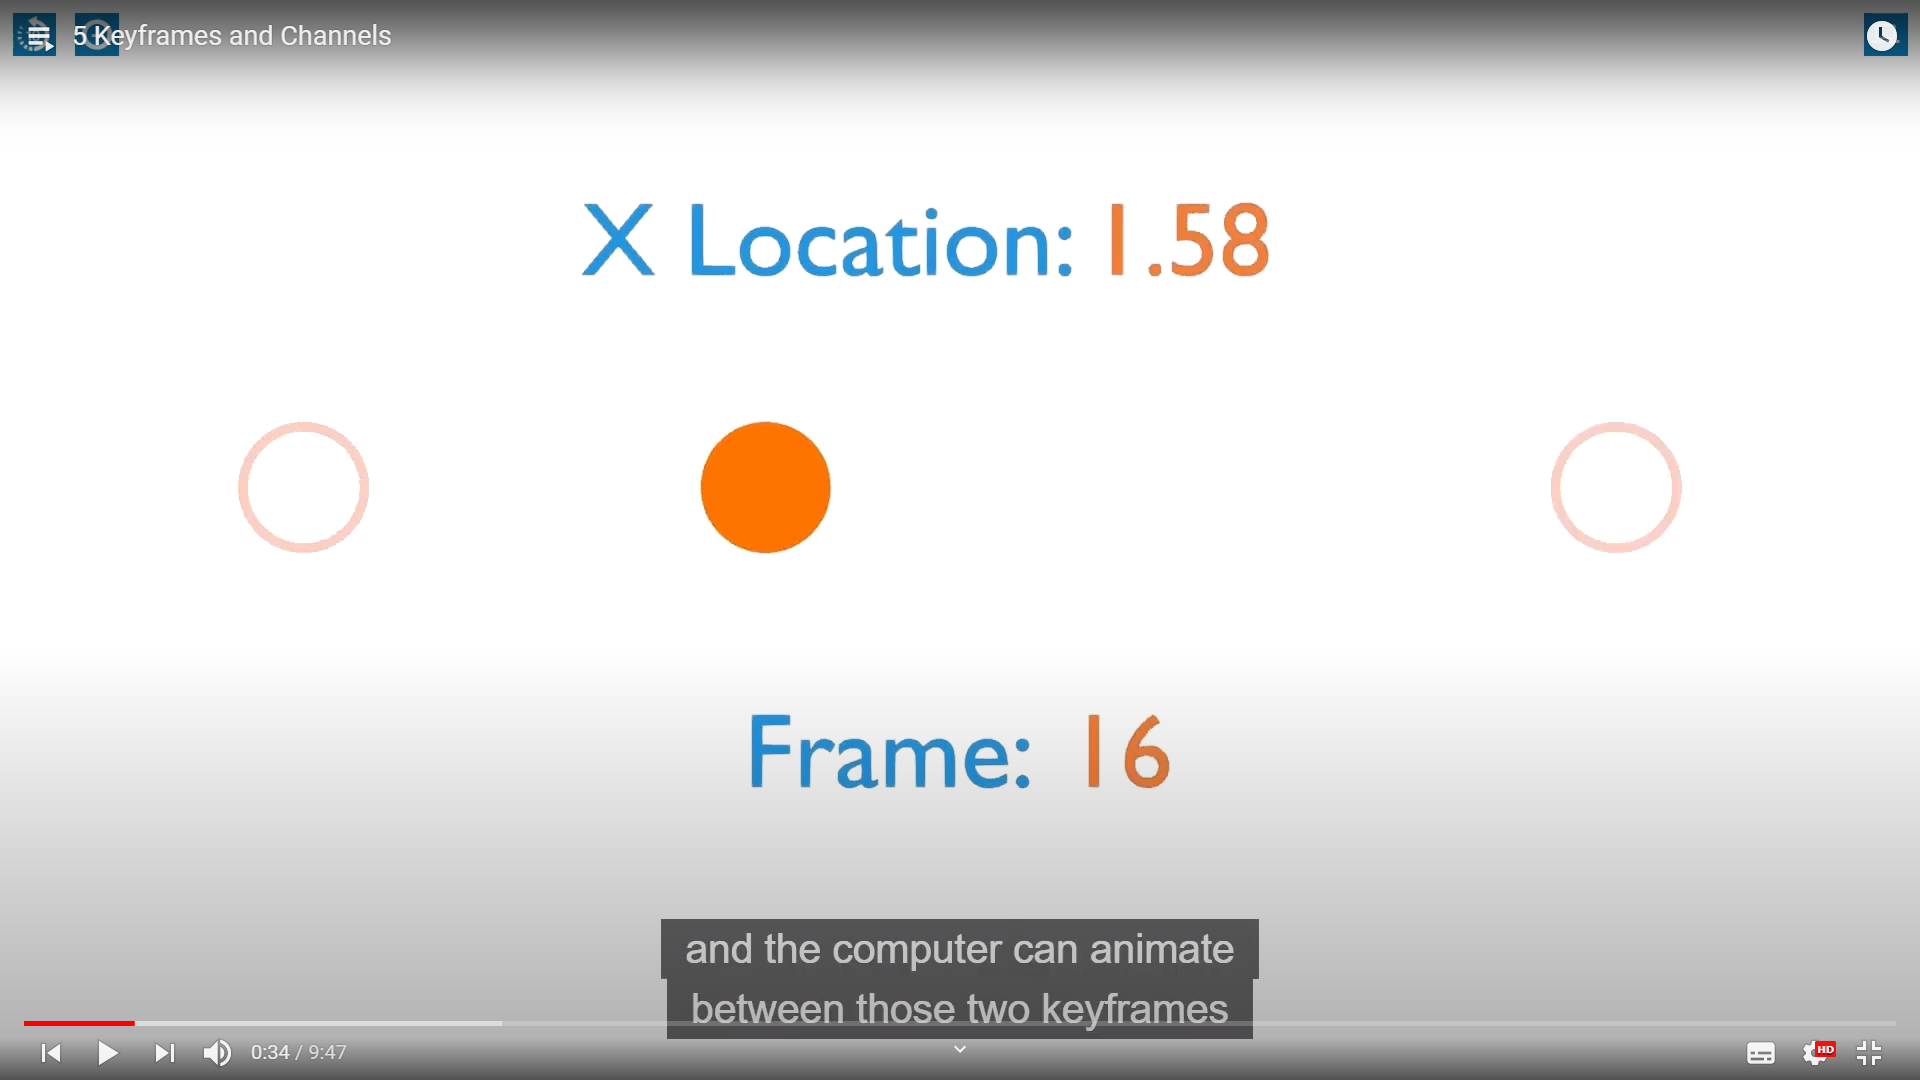
then we go to a different moment in time, create another snapshot, and the computer can animate
between those two keyframes. when we play it back. (즉, 3D의 기본적인 애니메이션 방법은 두 키프레임 사이의 보간법이라고 할수있다.
유니티에서도 마찬가지이다.)
즉, 아마도 내가 이해하기를 ,여기서는, 프레임이라는것을 기준으로 Location data를 매순간 저장 or 기록한다라고
볼수 있을것 같다.
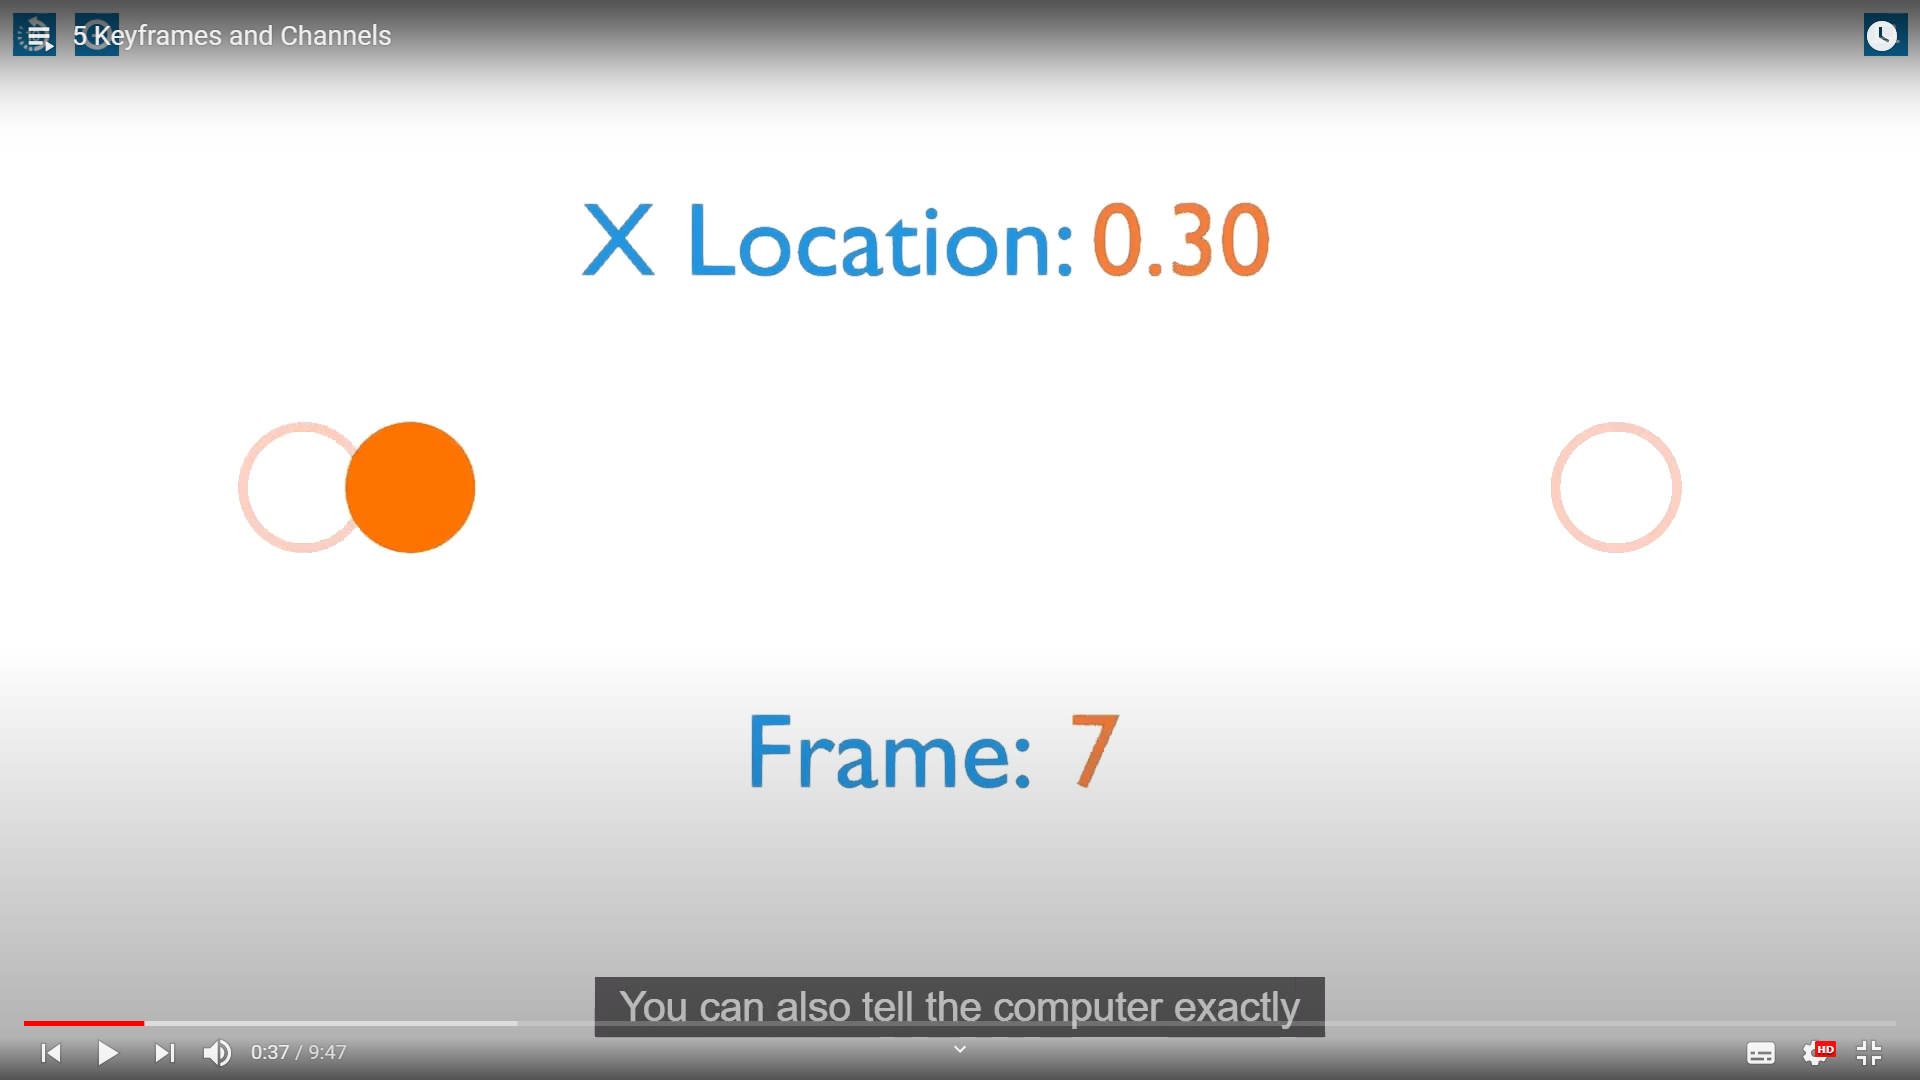
You can also tell the computer exactly how you want to interpolate between those keyframe.
But we'll come back to interpolation later.

Such as Materials, Properties, Drivers, Constraints, ... the list goes on, like I said almost anything.
(솔직히 여태 애니메이션 데이타를 건들이면서 위치,회전,크기 말고는 건들인적이 없어서 잘 와닿지는 않는다.)

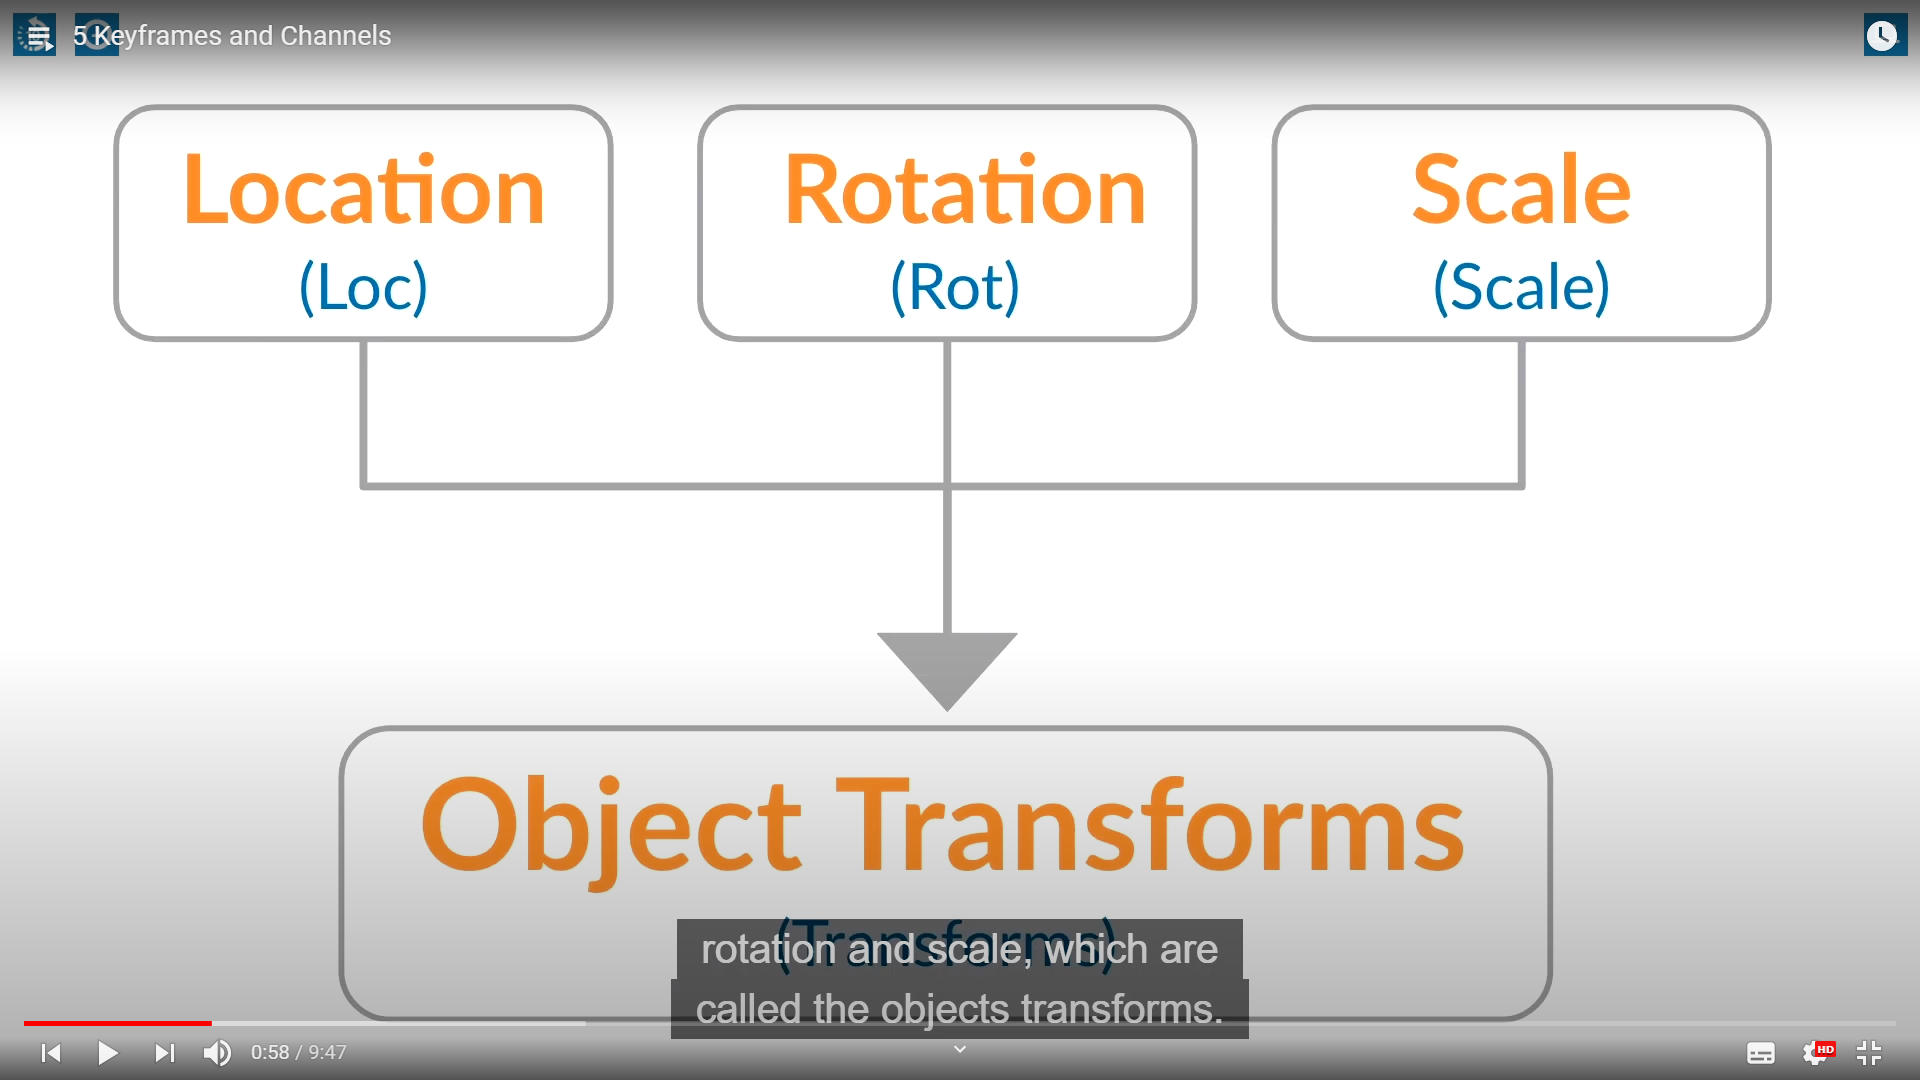
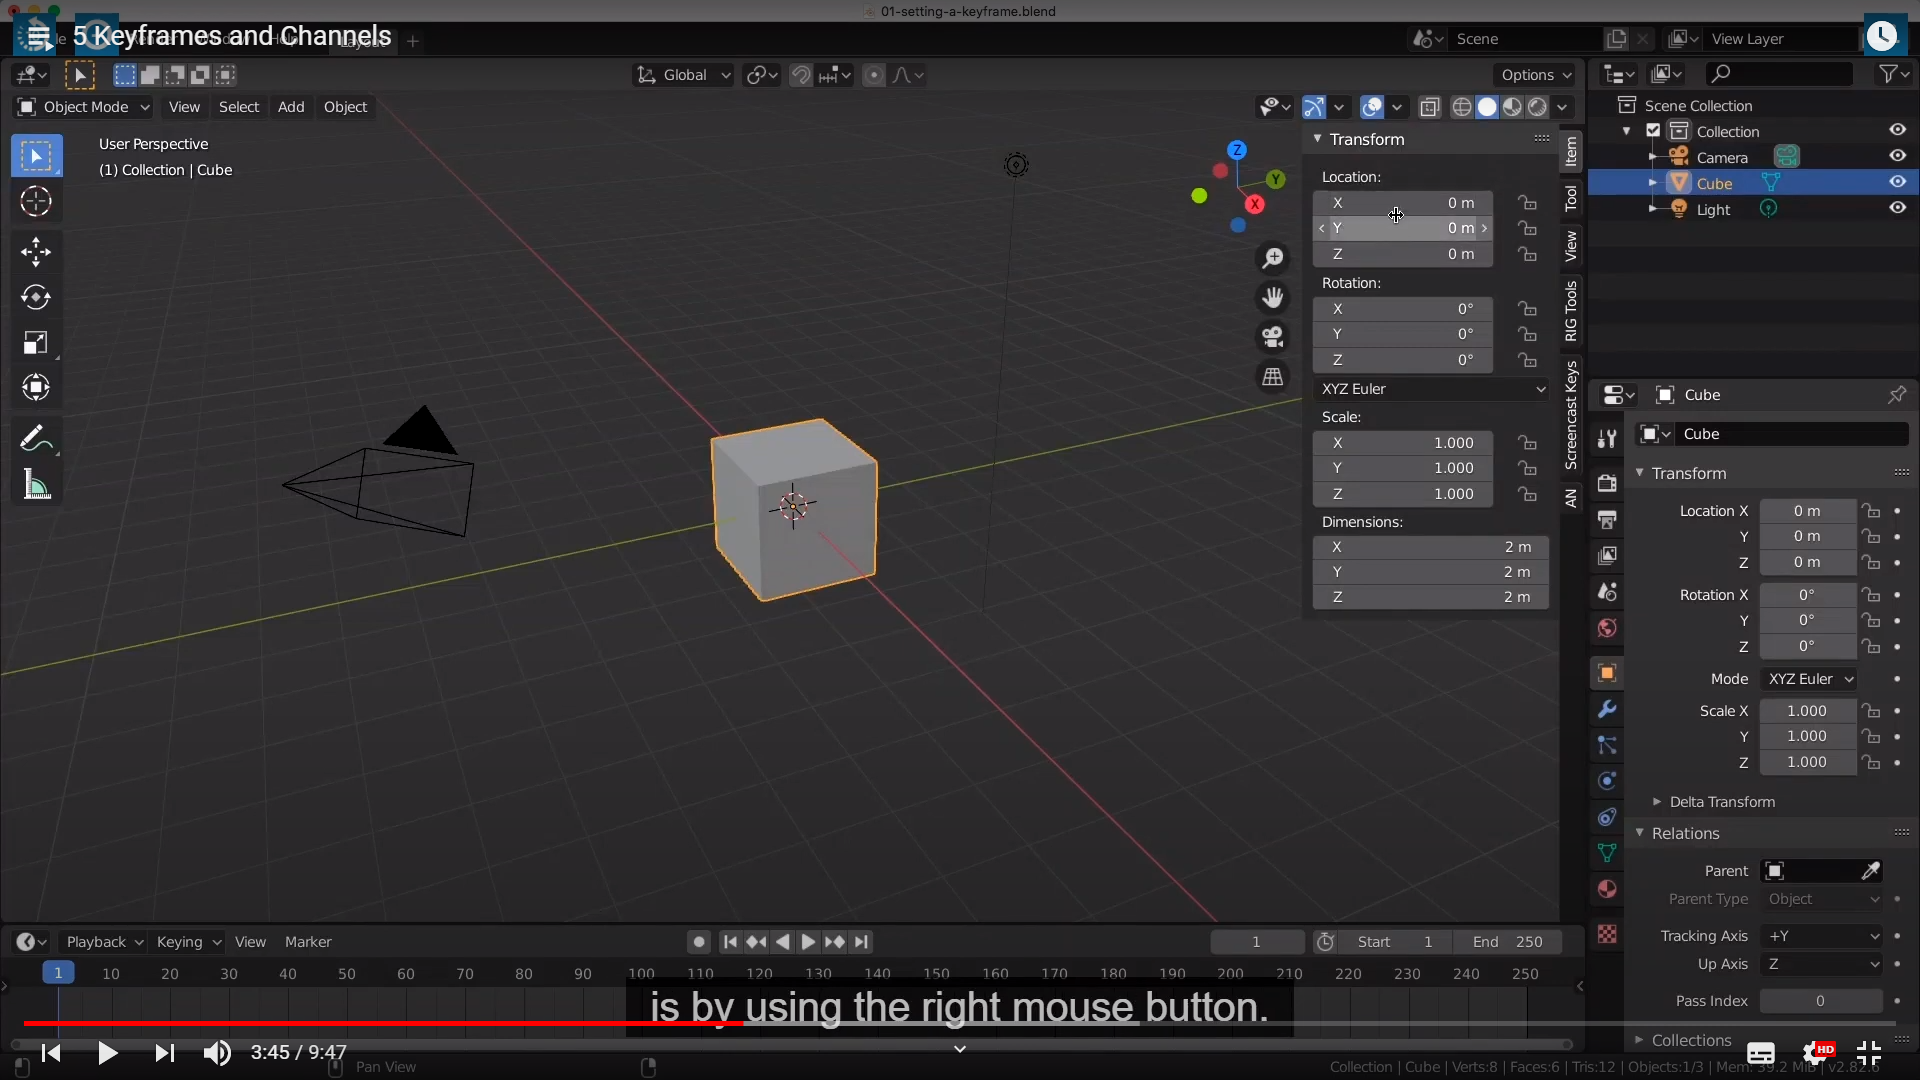
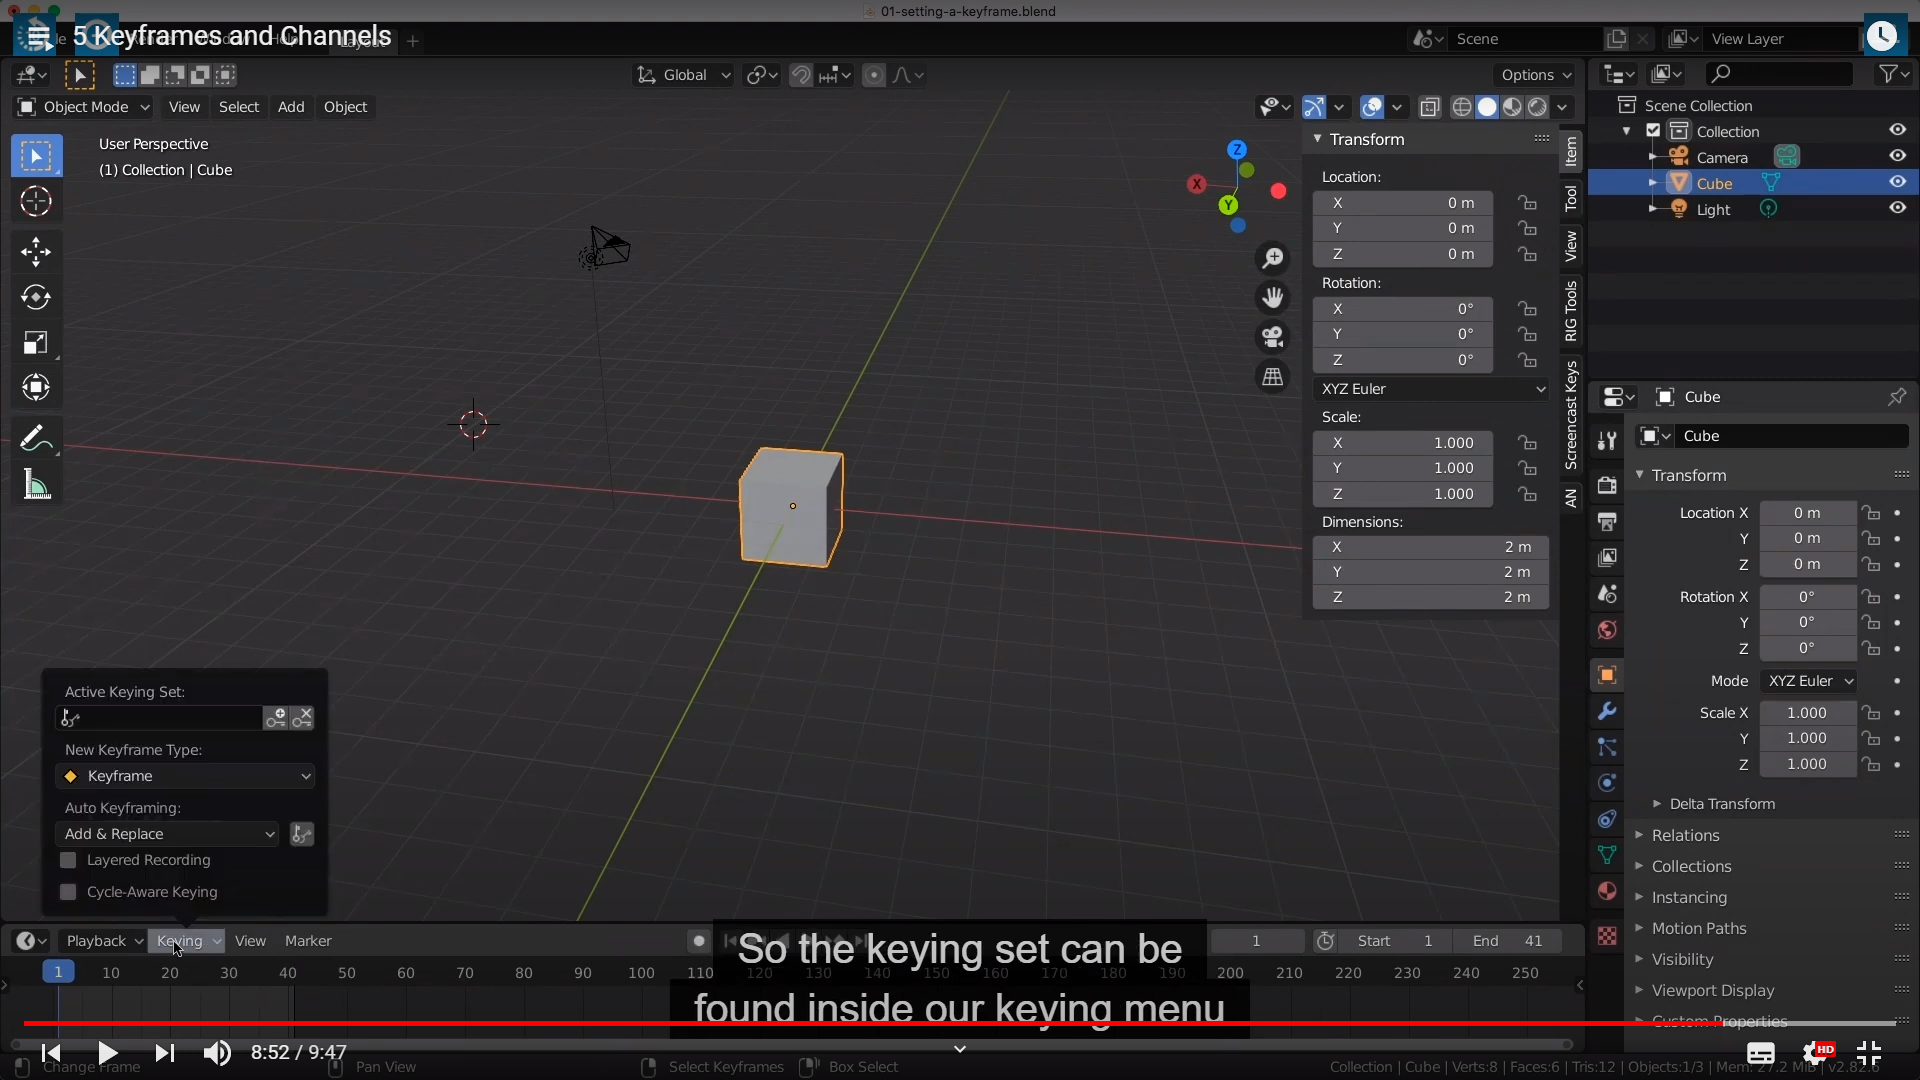
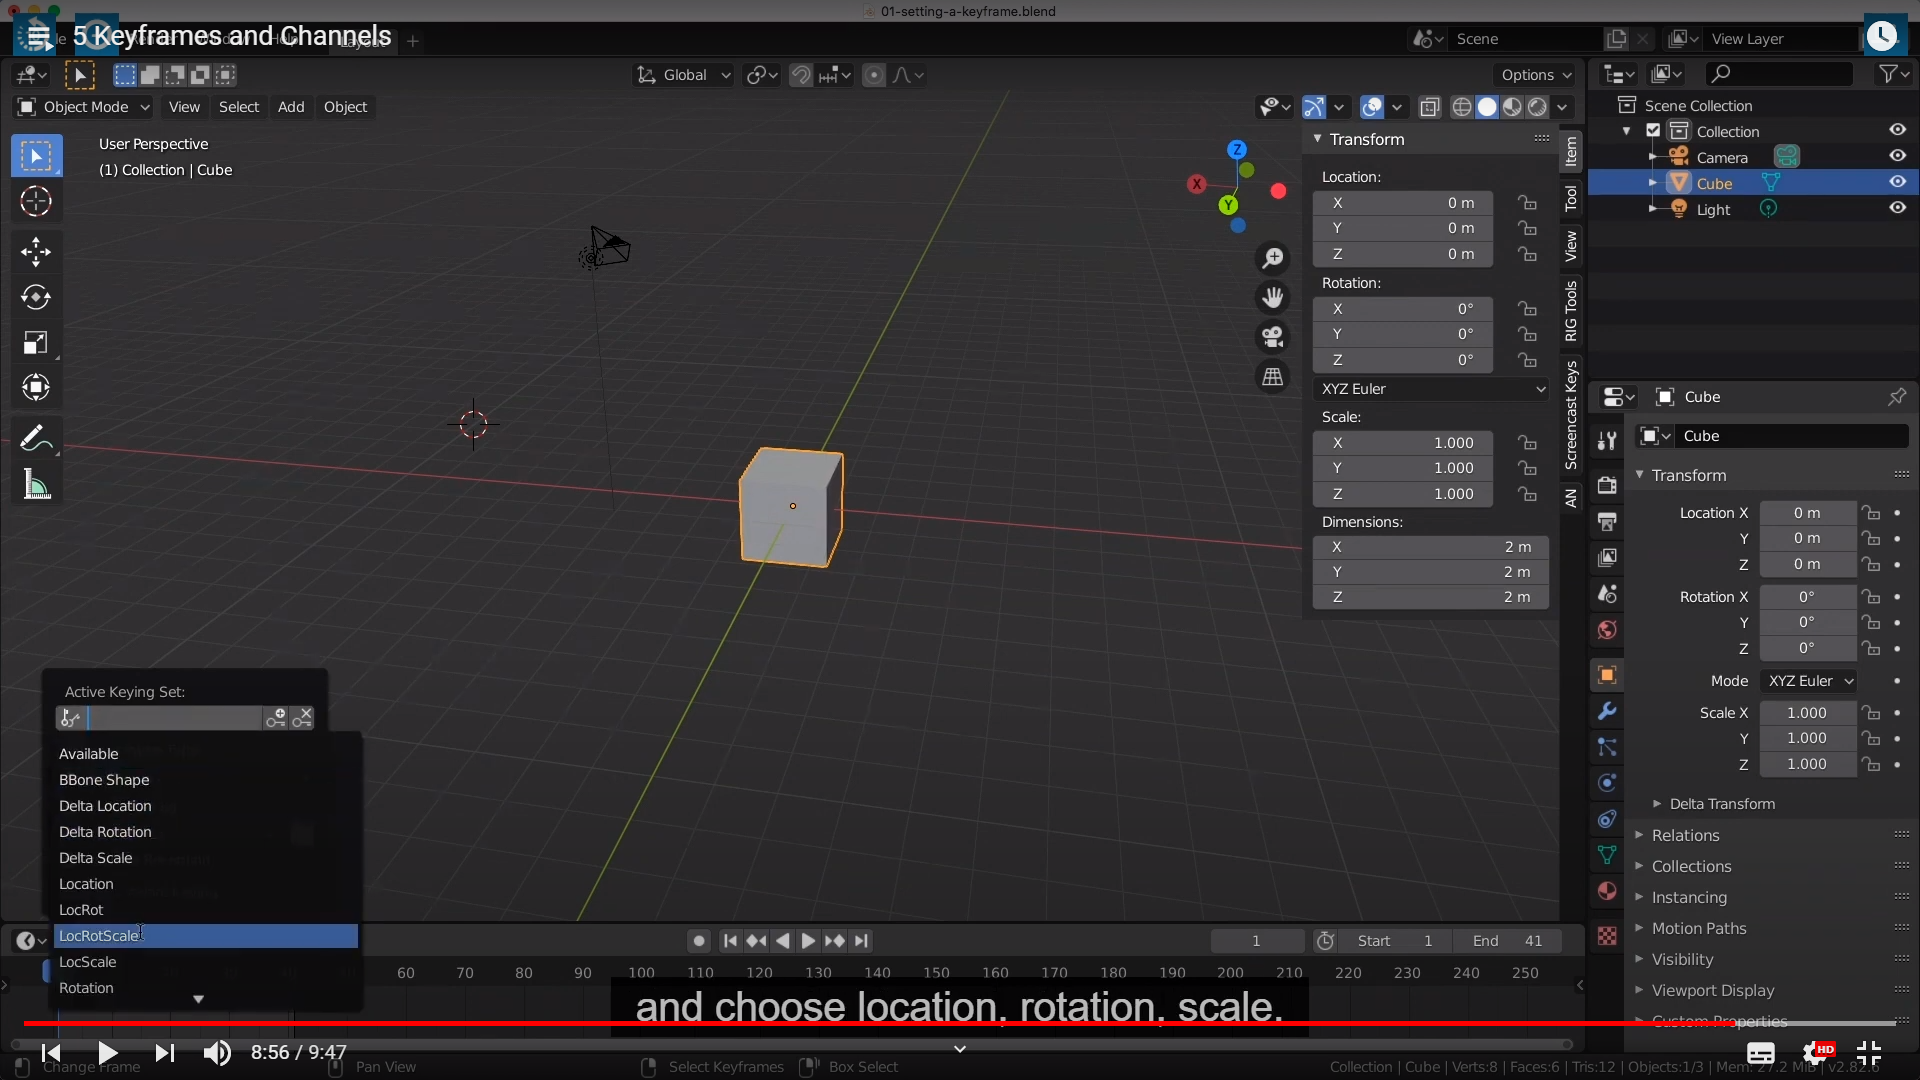
We will be mostly concerned with the location, rotation and scale, which are called the object transforms.
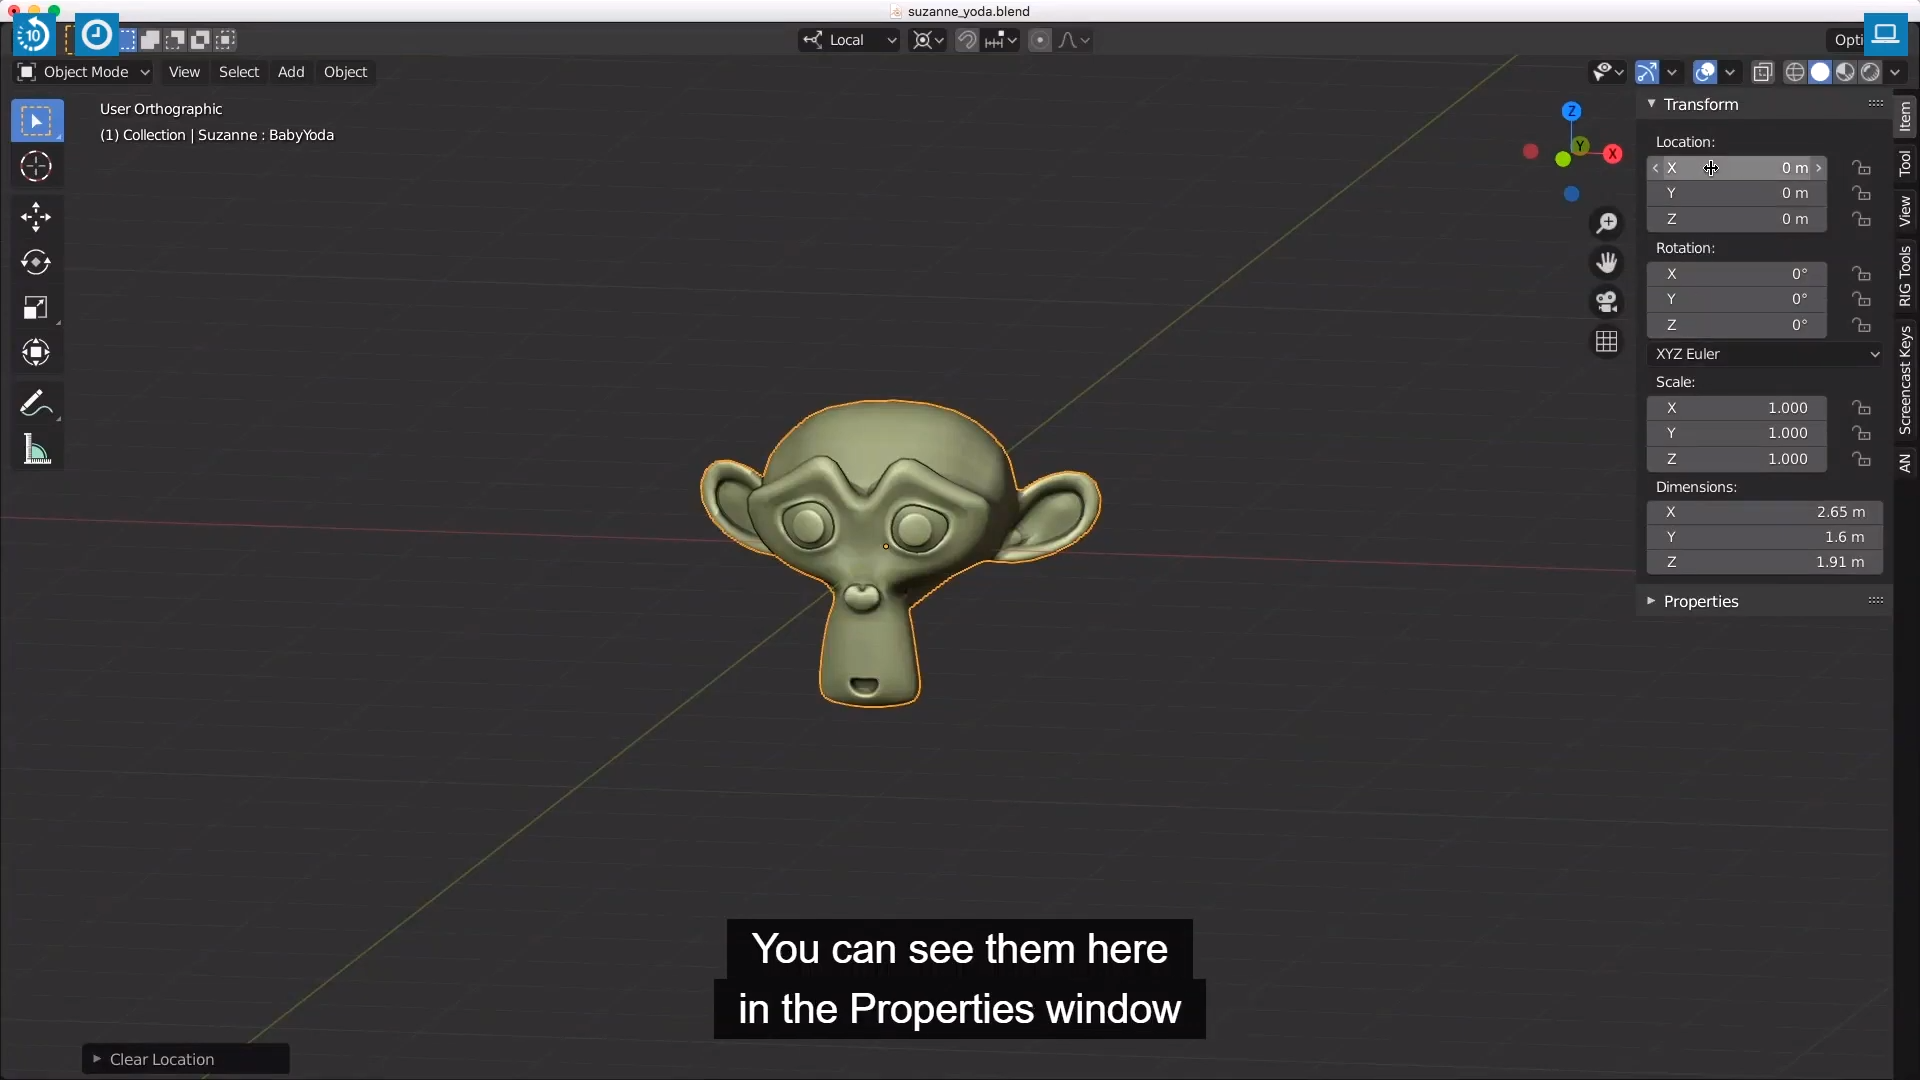
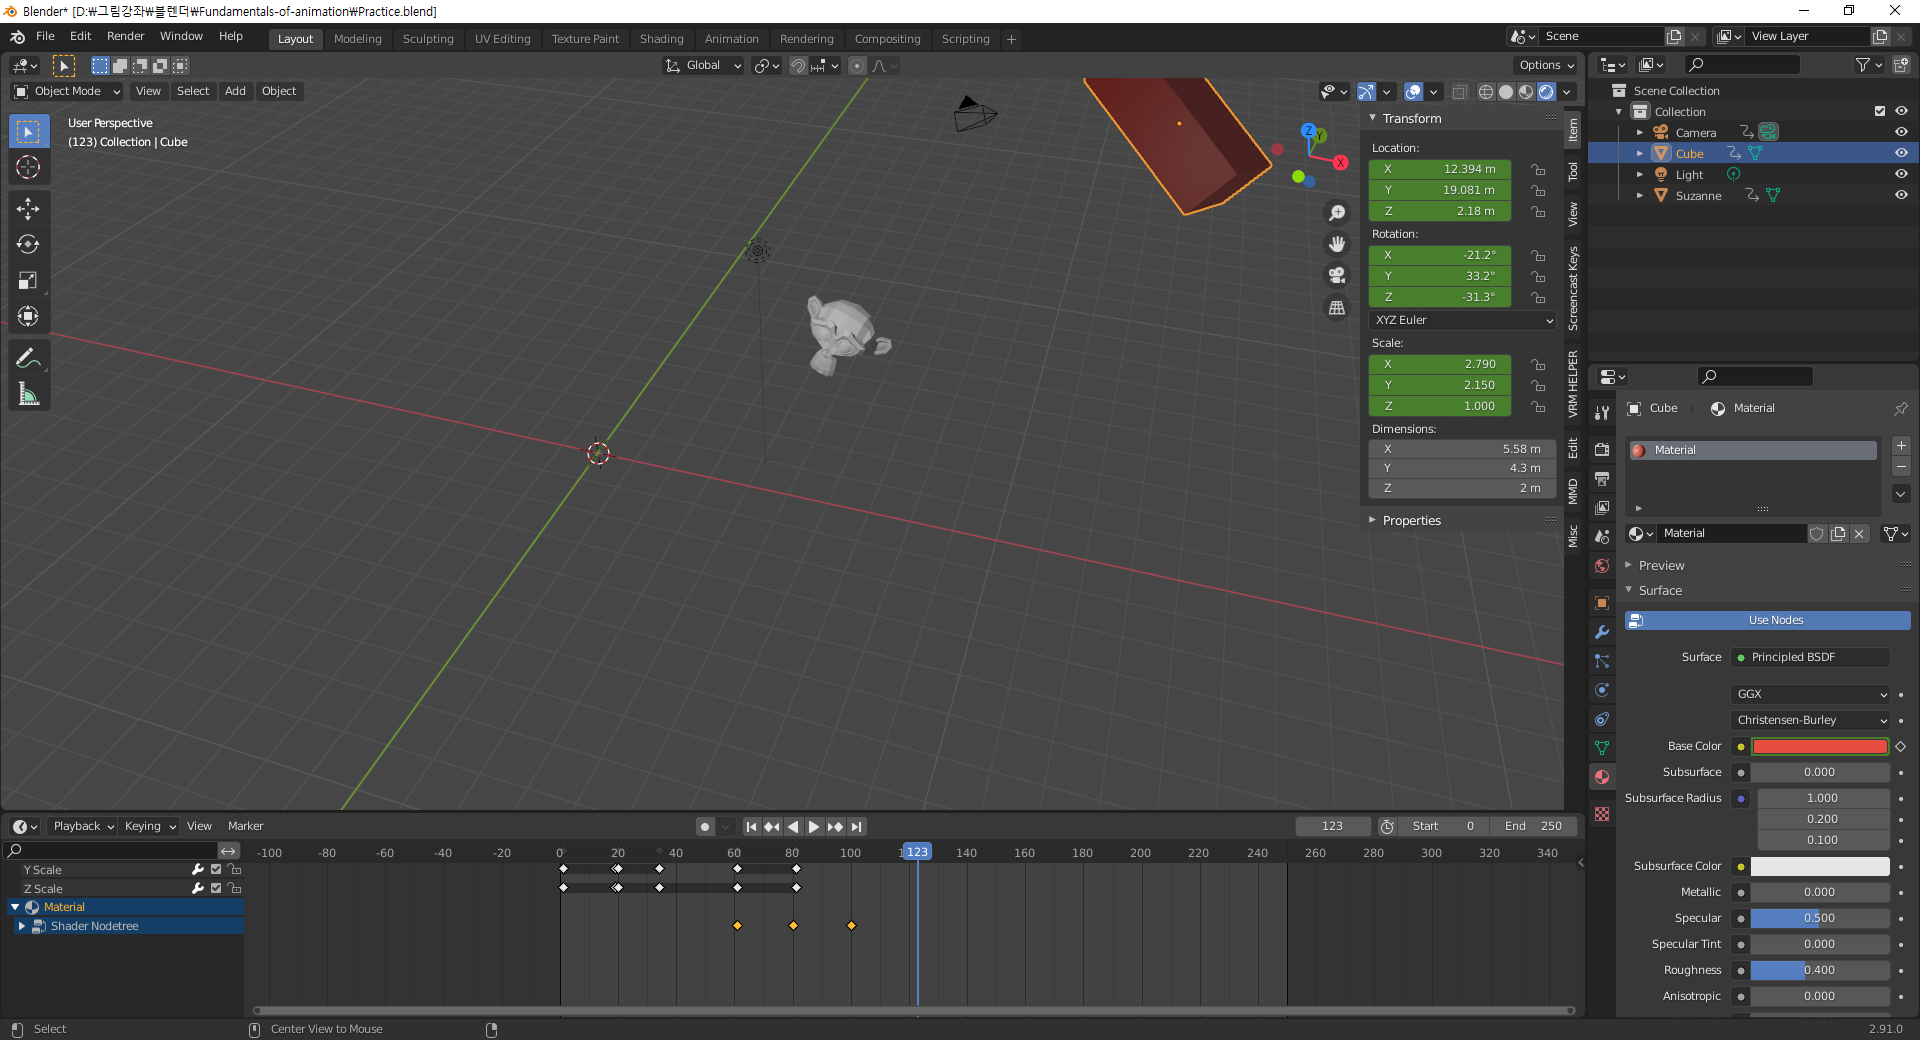
Let's take a look at these monkeys transform channels. You can see them here in the Properties window

여기서 말하는 transform channels 라는것은 아마도 각각의 데이터 프로퍼티를 의미하는것 같은데...
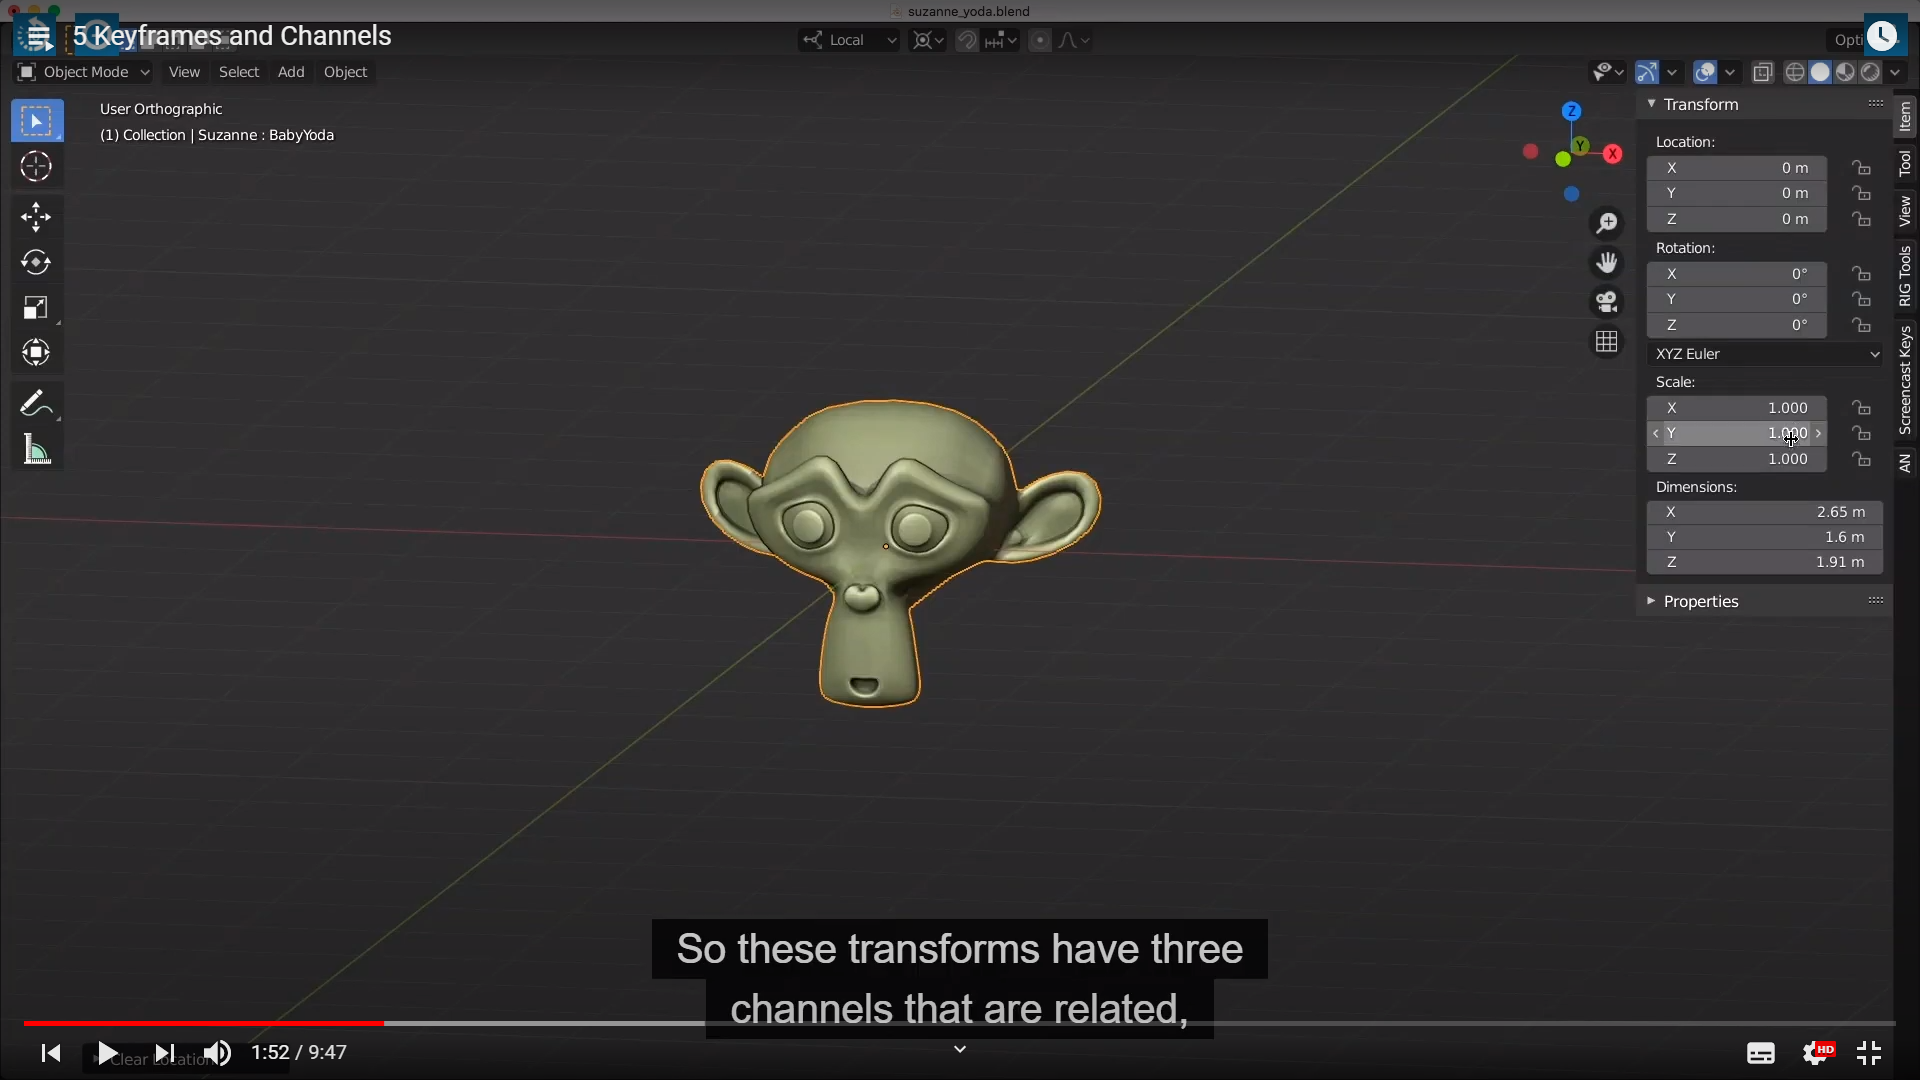
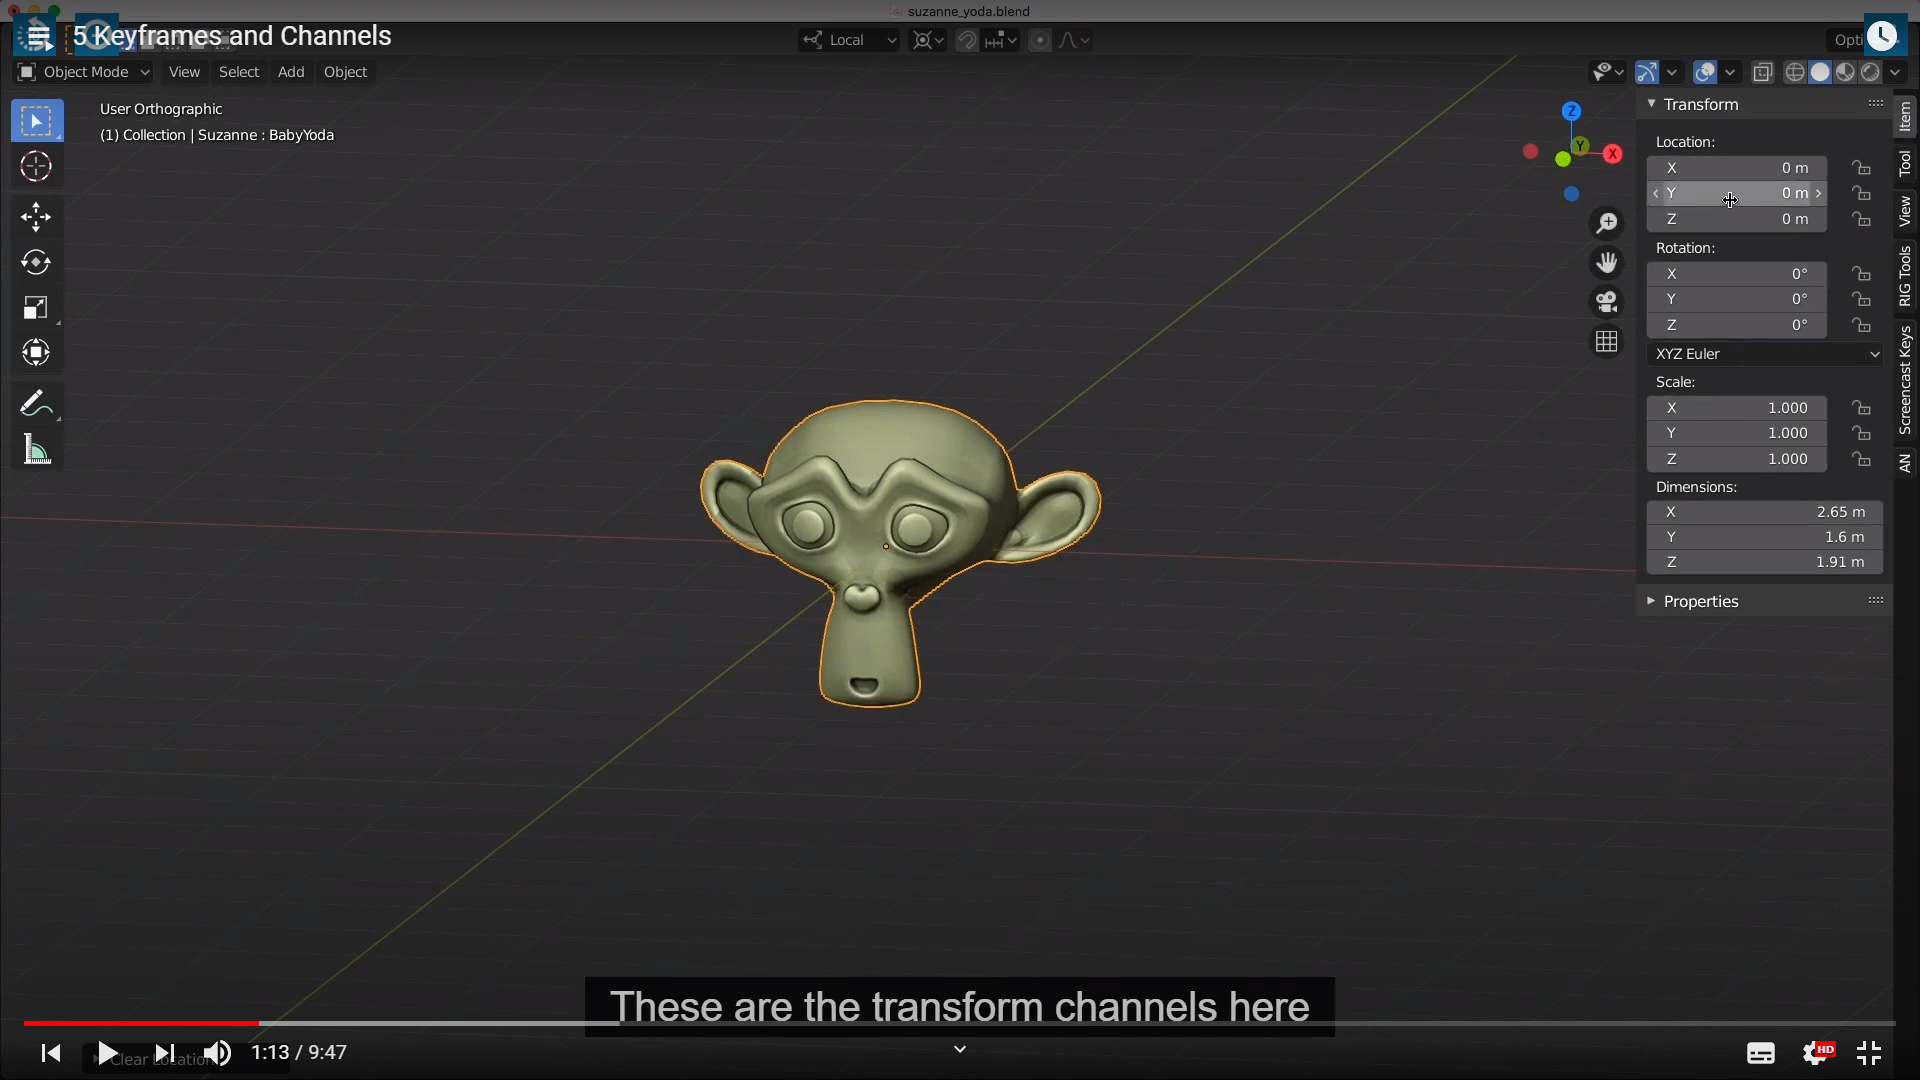
So these transforms have three channels that are related, but it s not always the case where there's three.
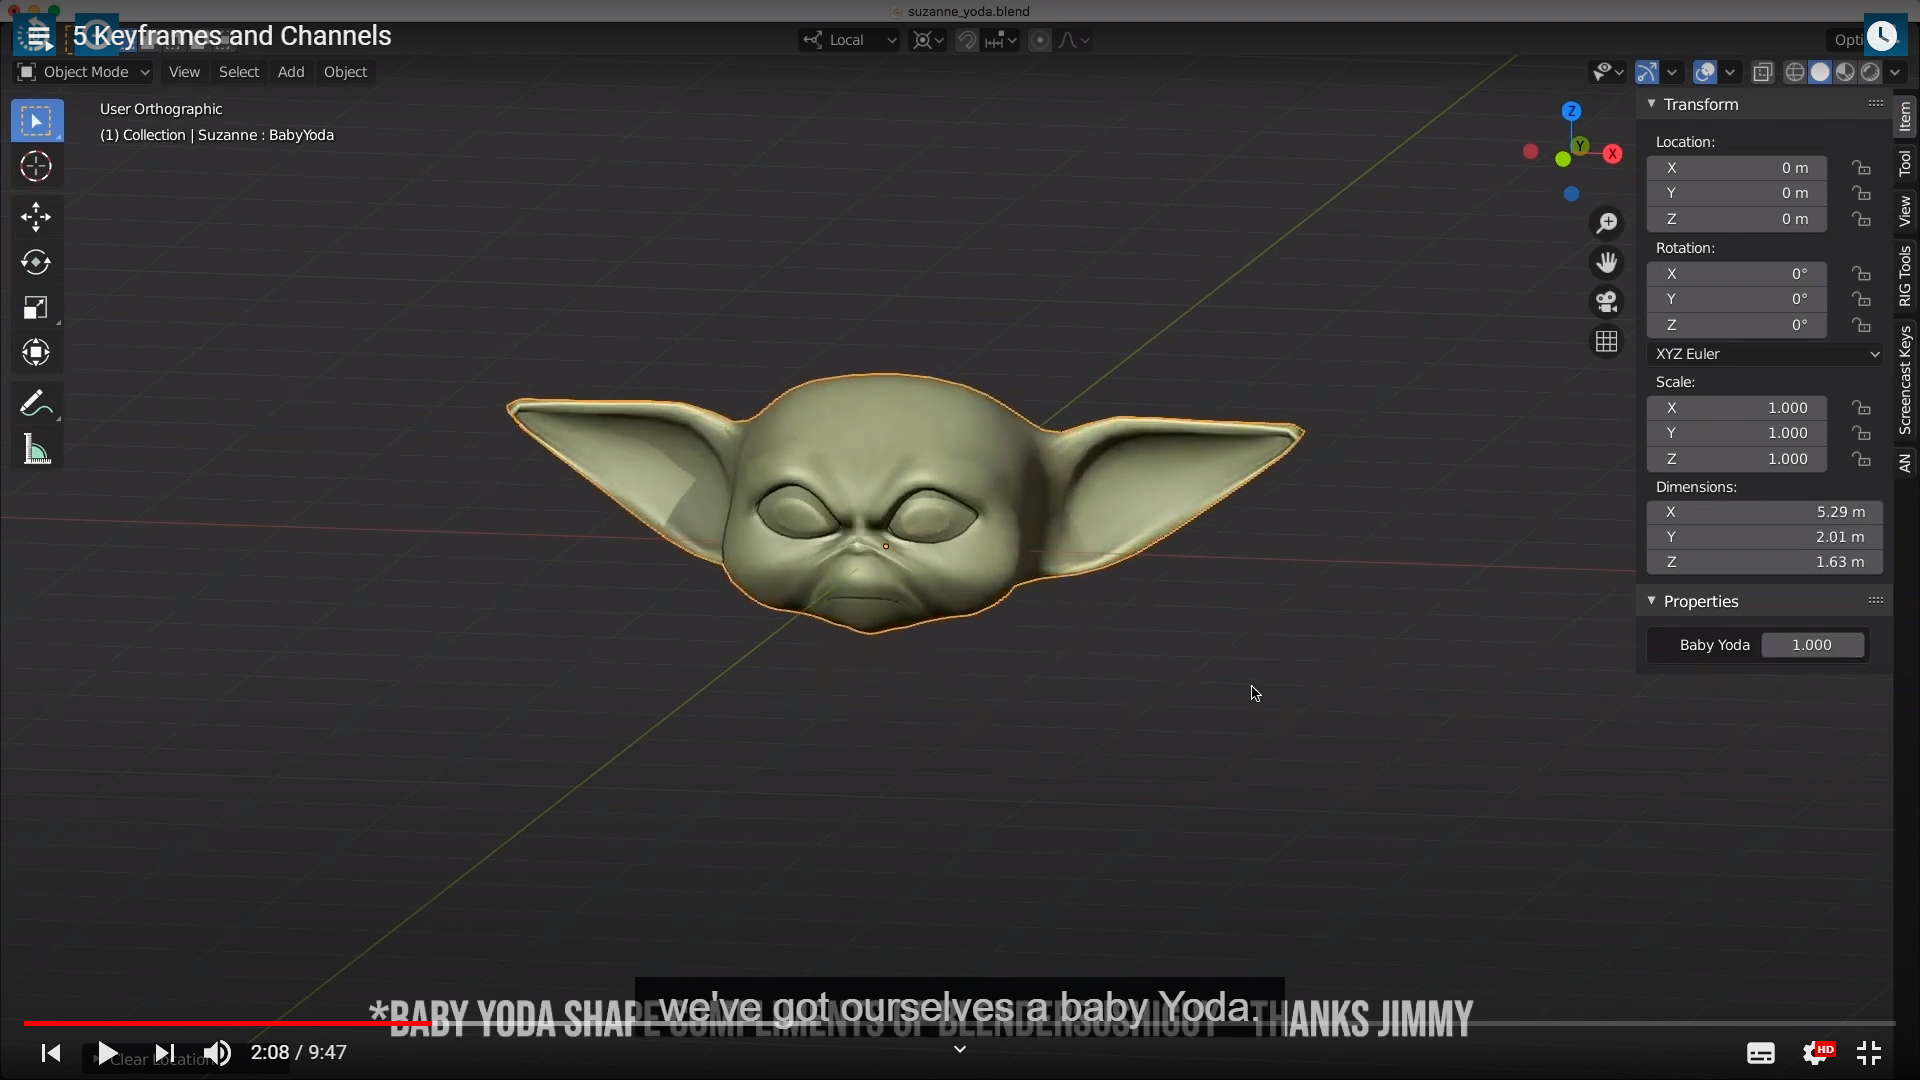
Sometimes there could be, let's say, I have just got a property here
다른 프로퍼티가 추가될수 있따는 가능성을 얘기하는것 같다.


shape key 를 제대로 정의 받지 못한 상태에서 말하니까는 좀 혼란이 온다.
This is just one single channel. So when I slide this , whoop,
That s just one single channel, You could also have more than that. I can change my rotation mode to quaternion.

And now we have four channels. So this is a different way of interpolating our rotation,
but you don't need to worry about quaternions for now.
We;ll talk more about the different rotation modes in a future animation course.
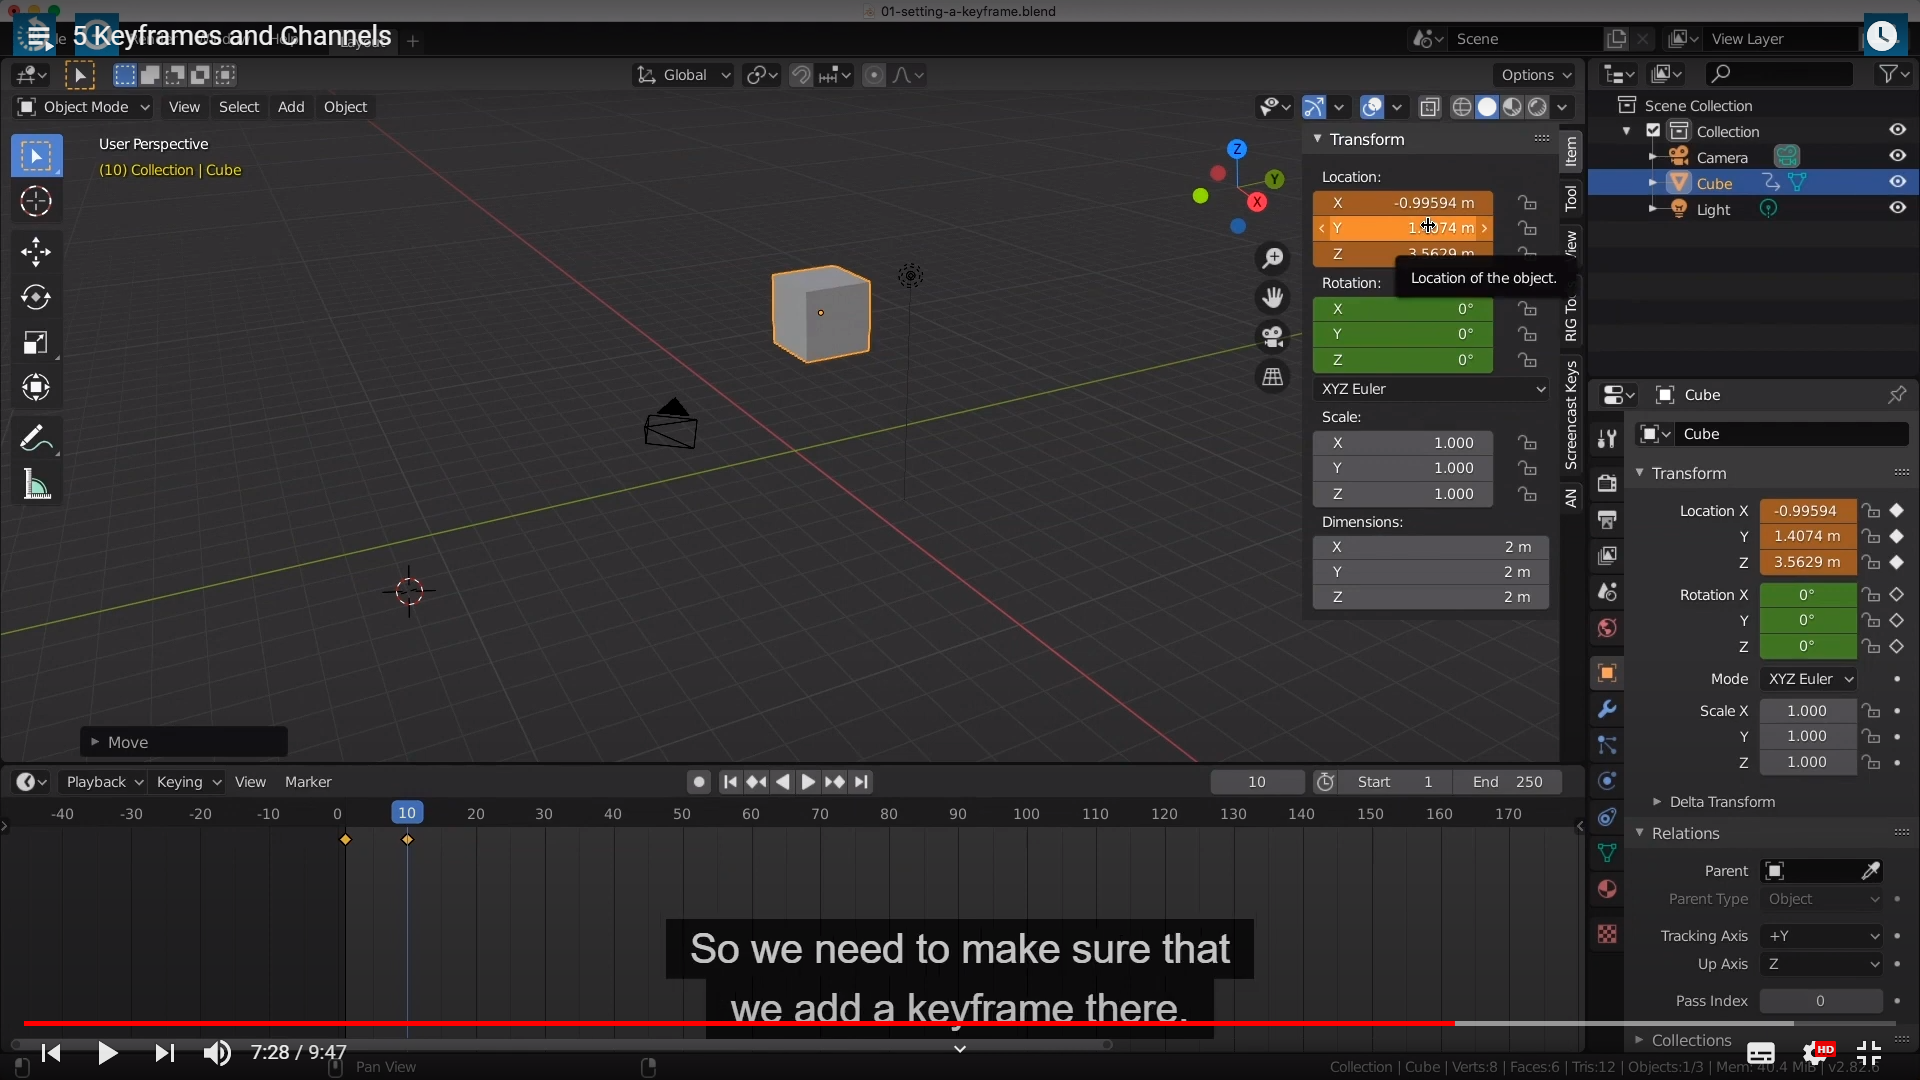
But for now, let's set some keyframes.
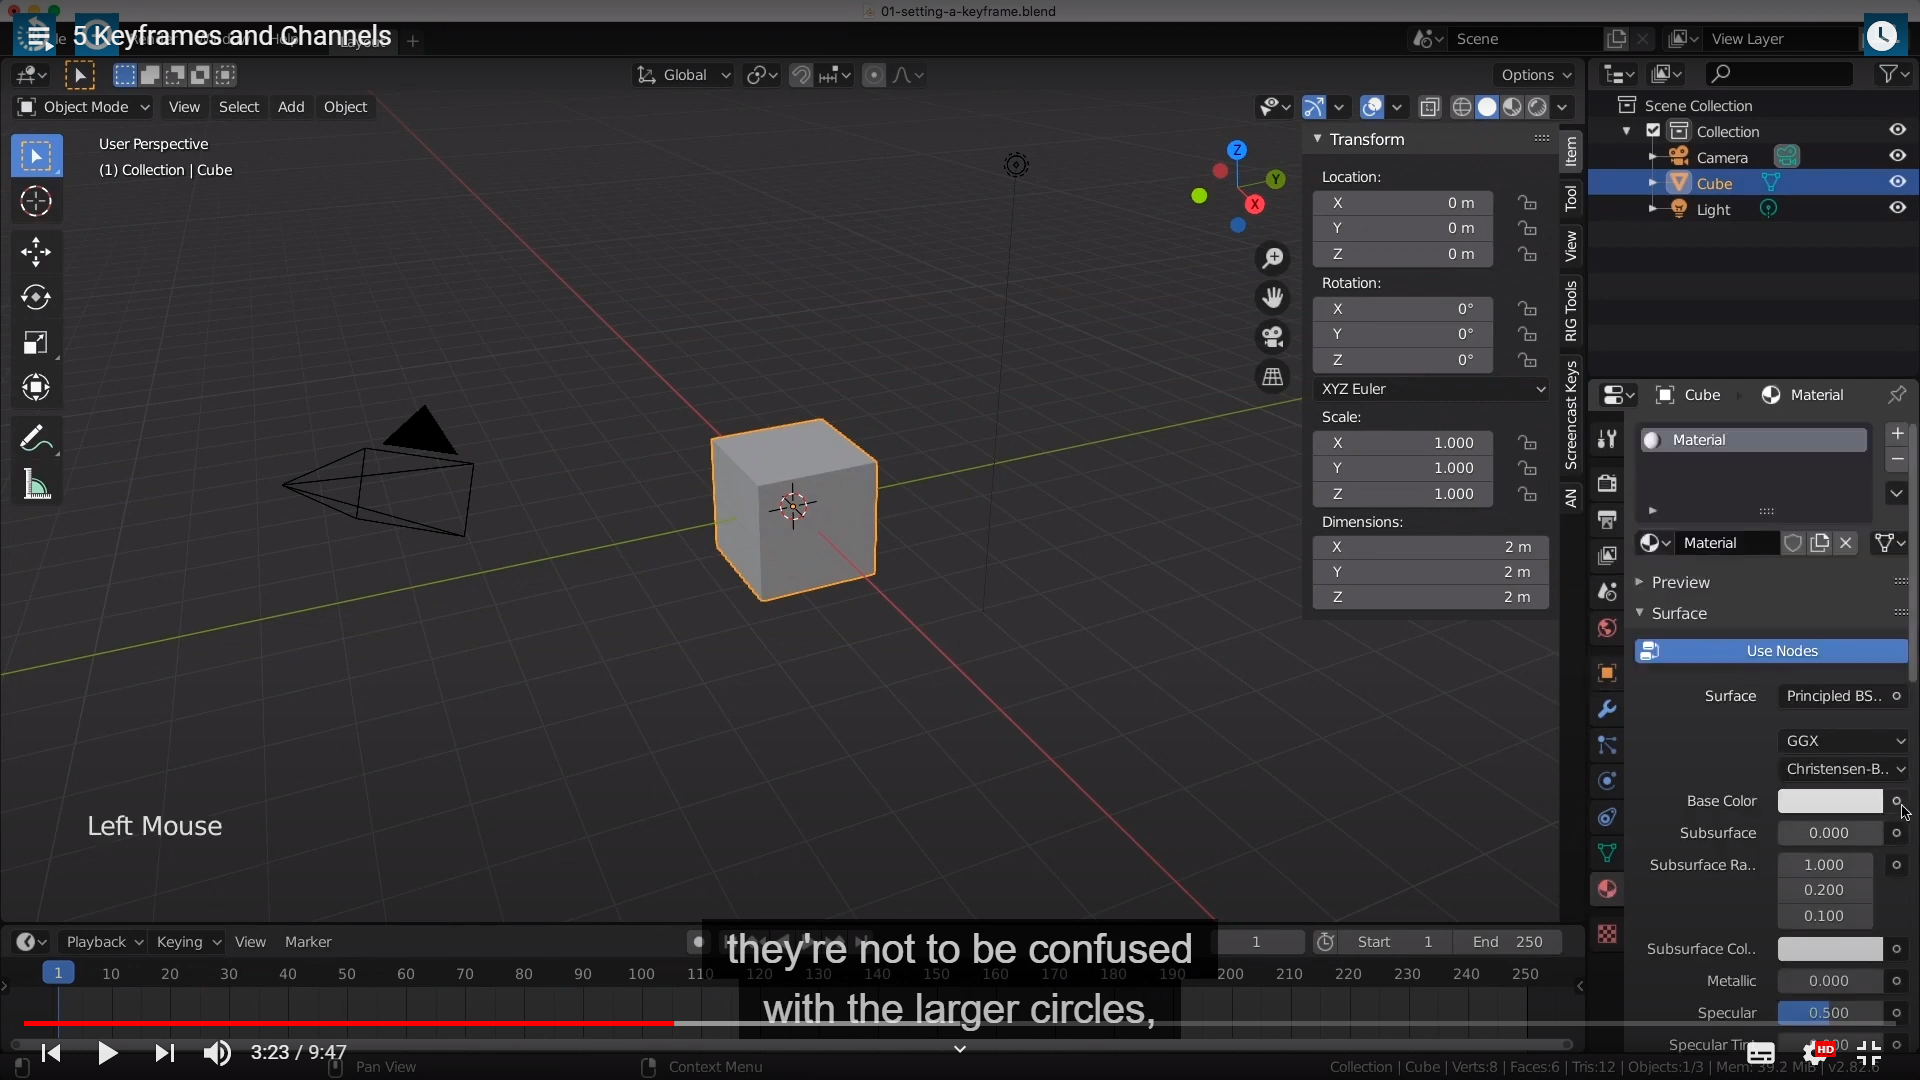
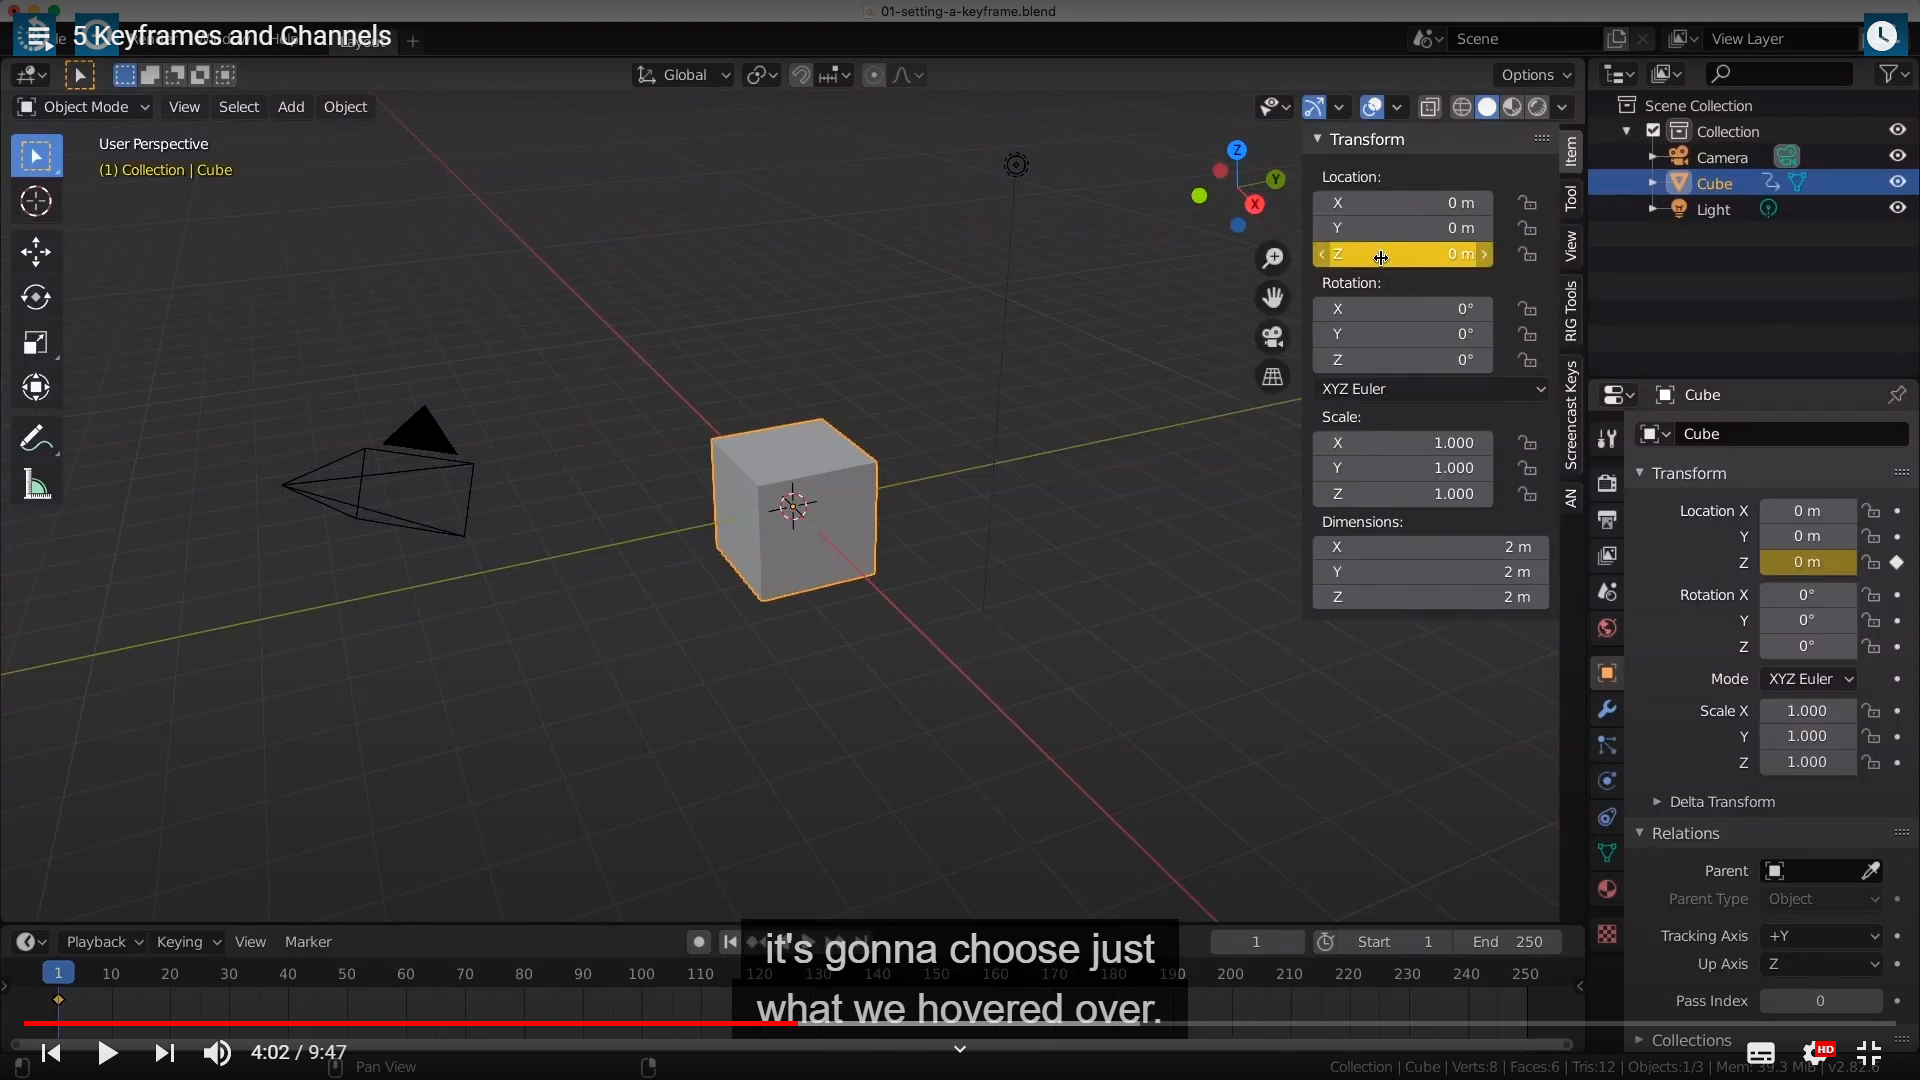
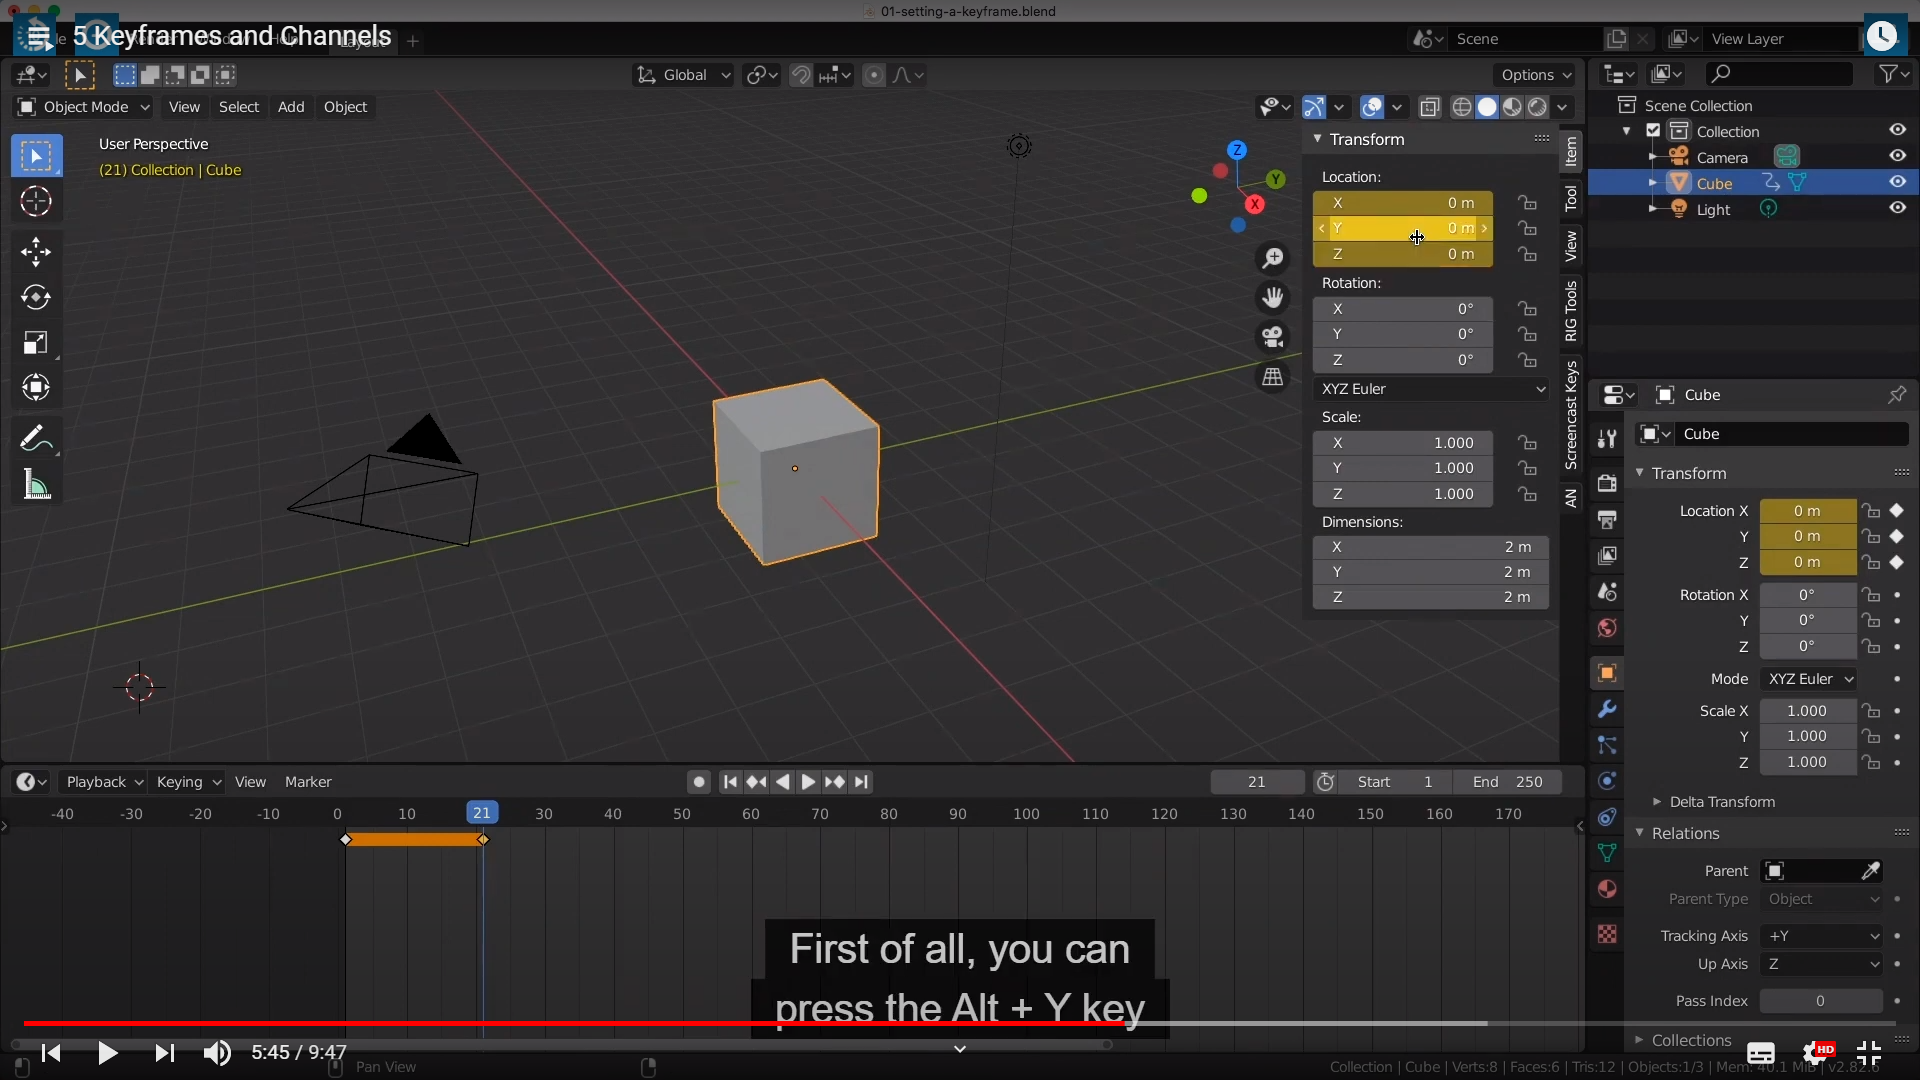
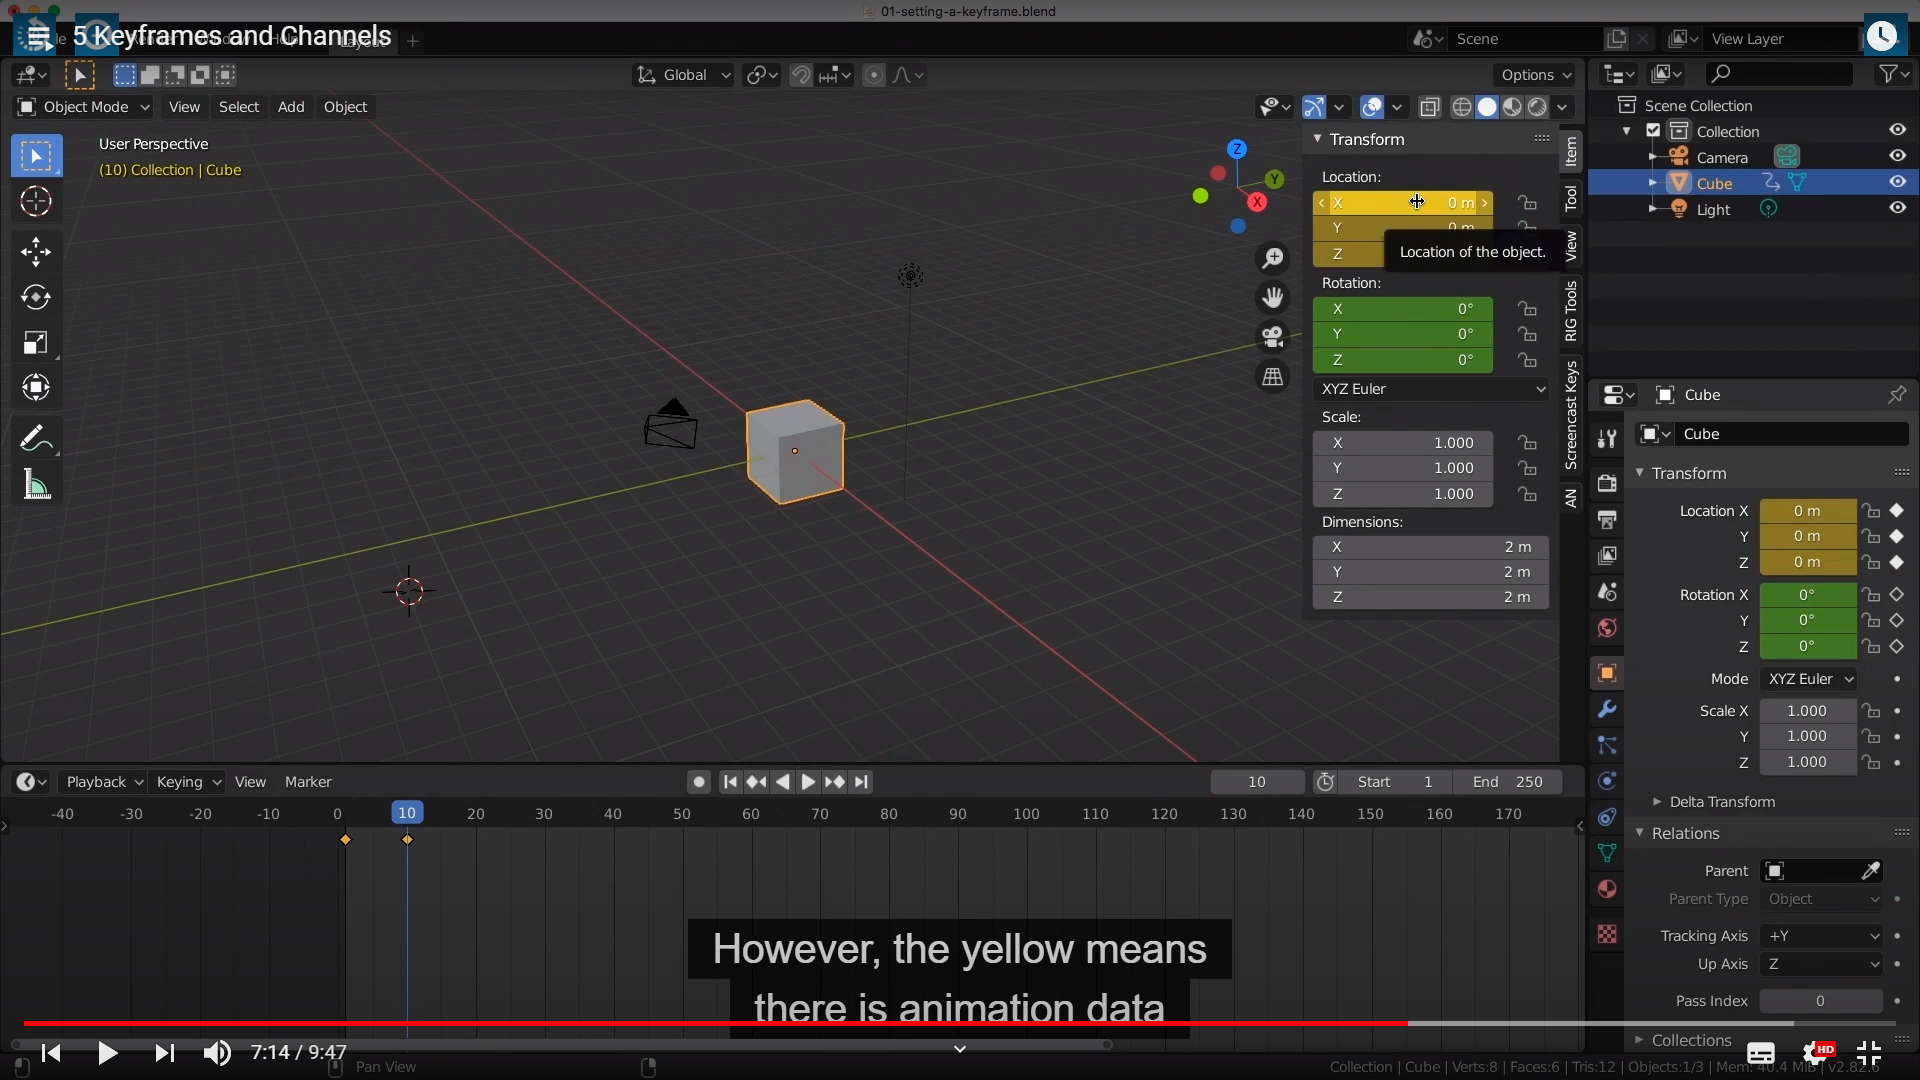
Now, There are many different ways you can add a keyframe in blender.The first way is by hovering over any channel that you want to set a keyframe on,
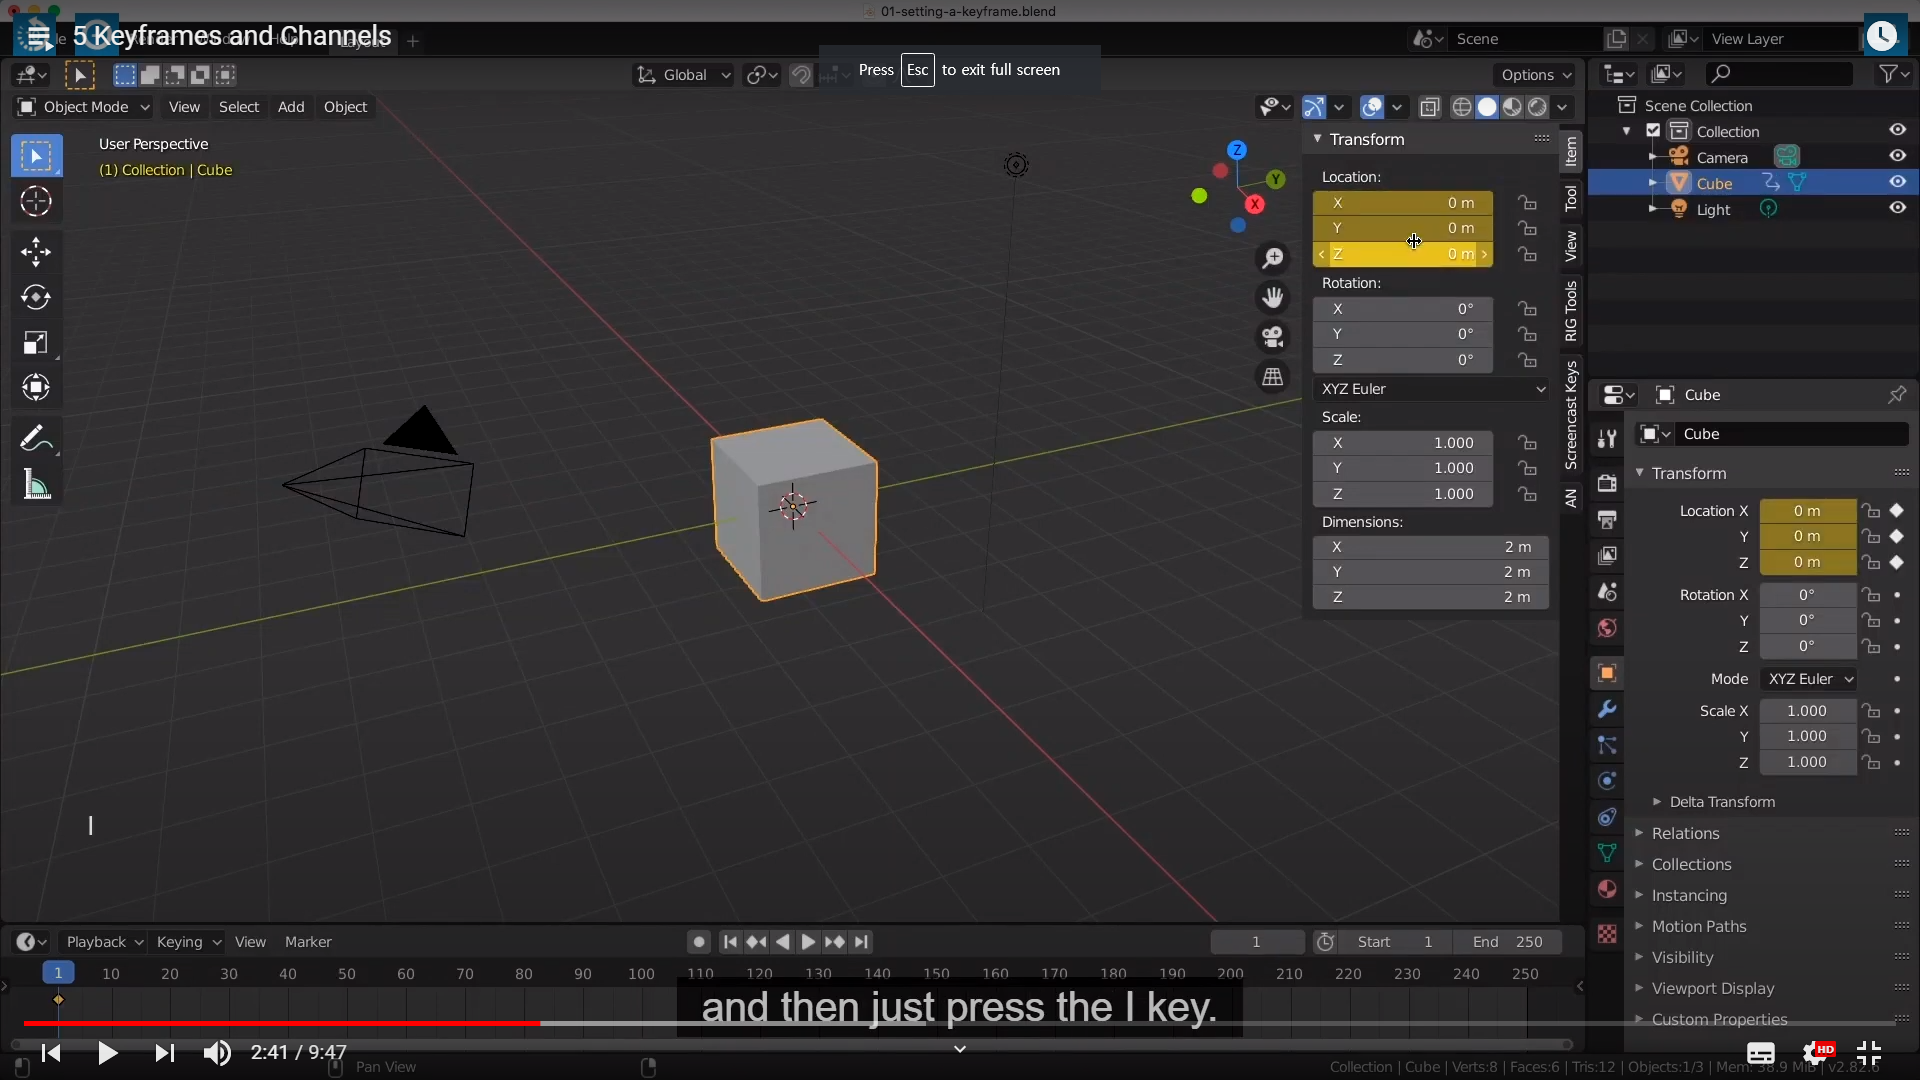
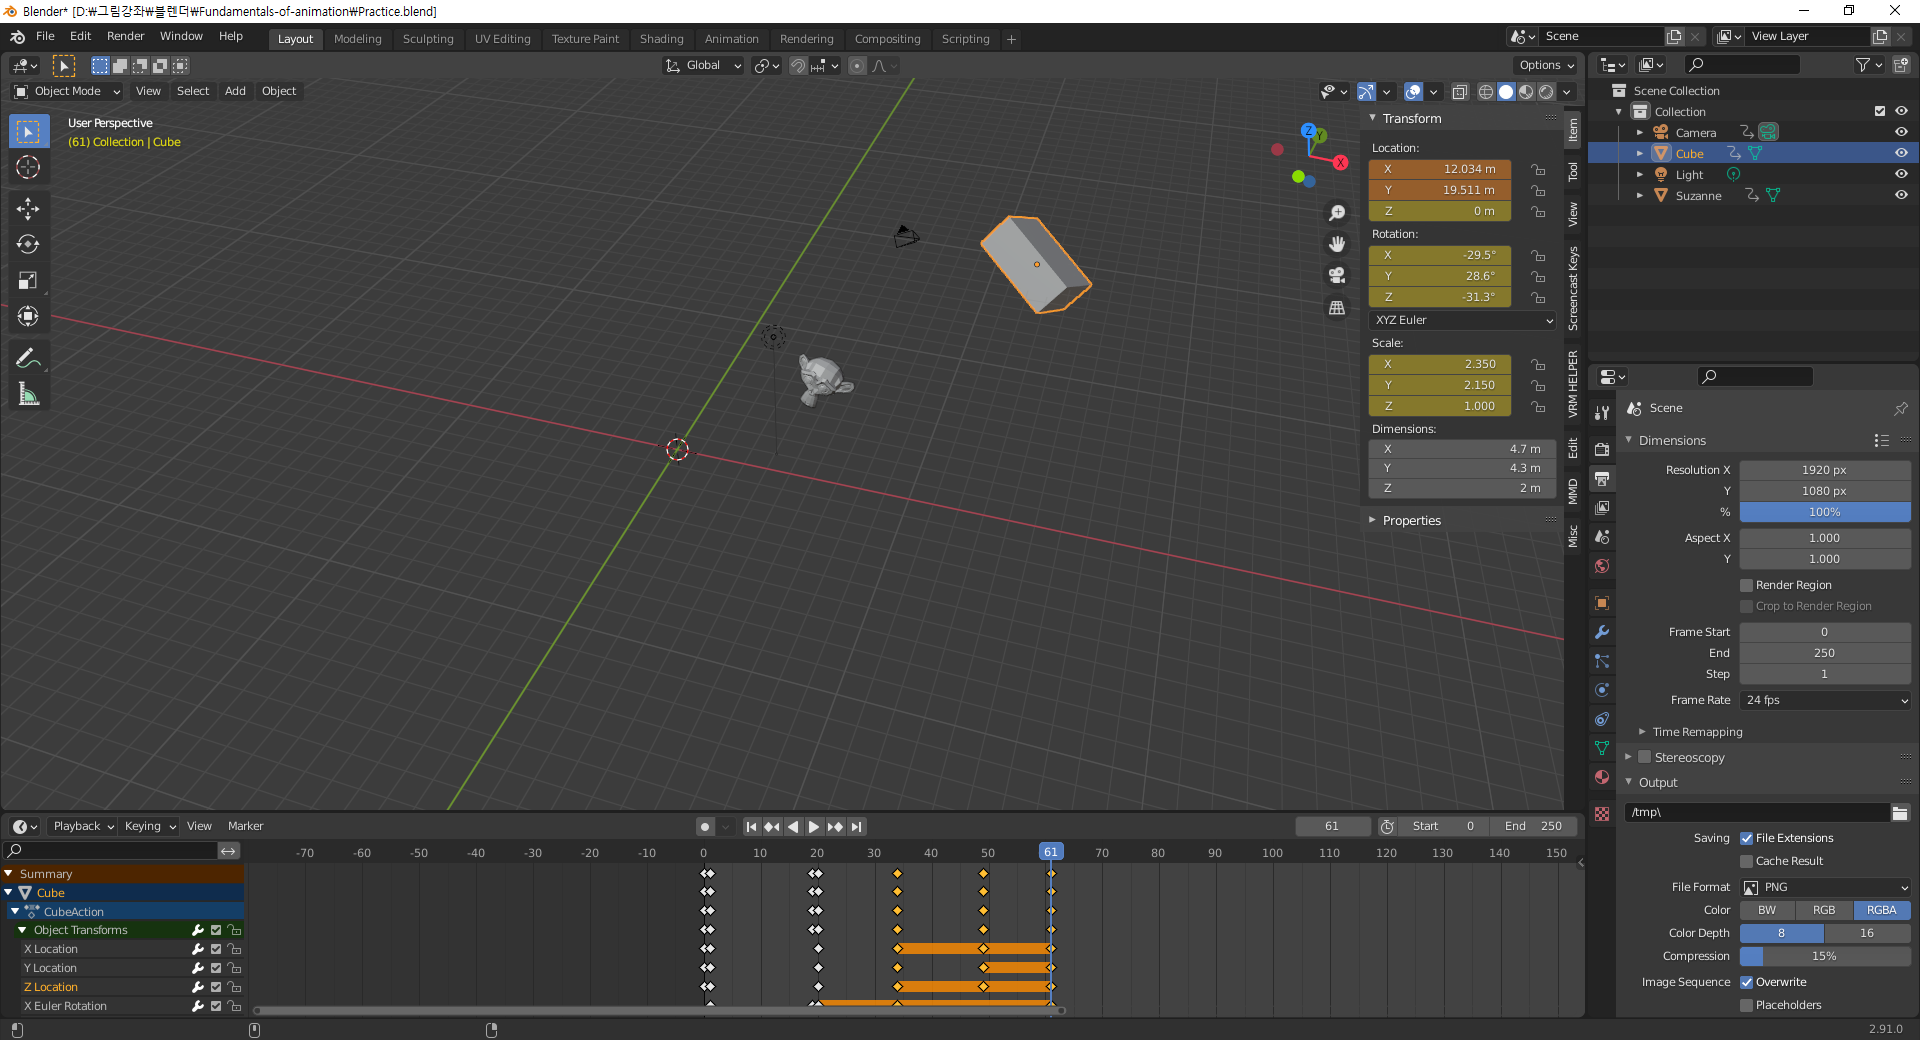
이렇게 변경이 될때마다 주황색으로 표시되고 바로 해당 Location channel, Scale Channel에 마우스를 가져다가 되고
I키를 하면 키가 변경된다.
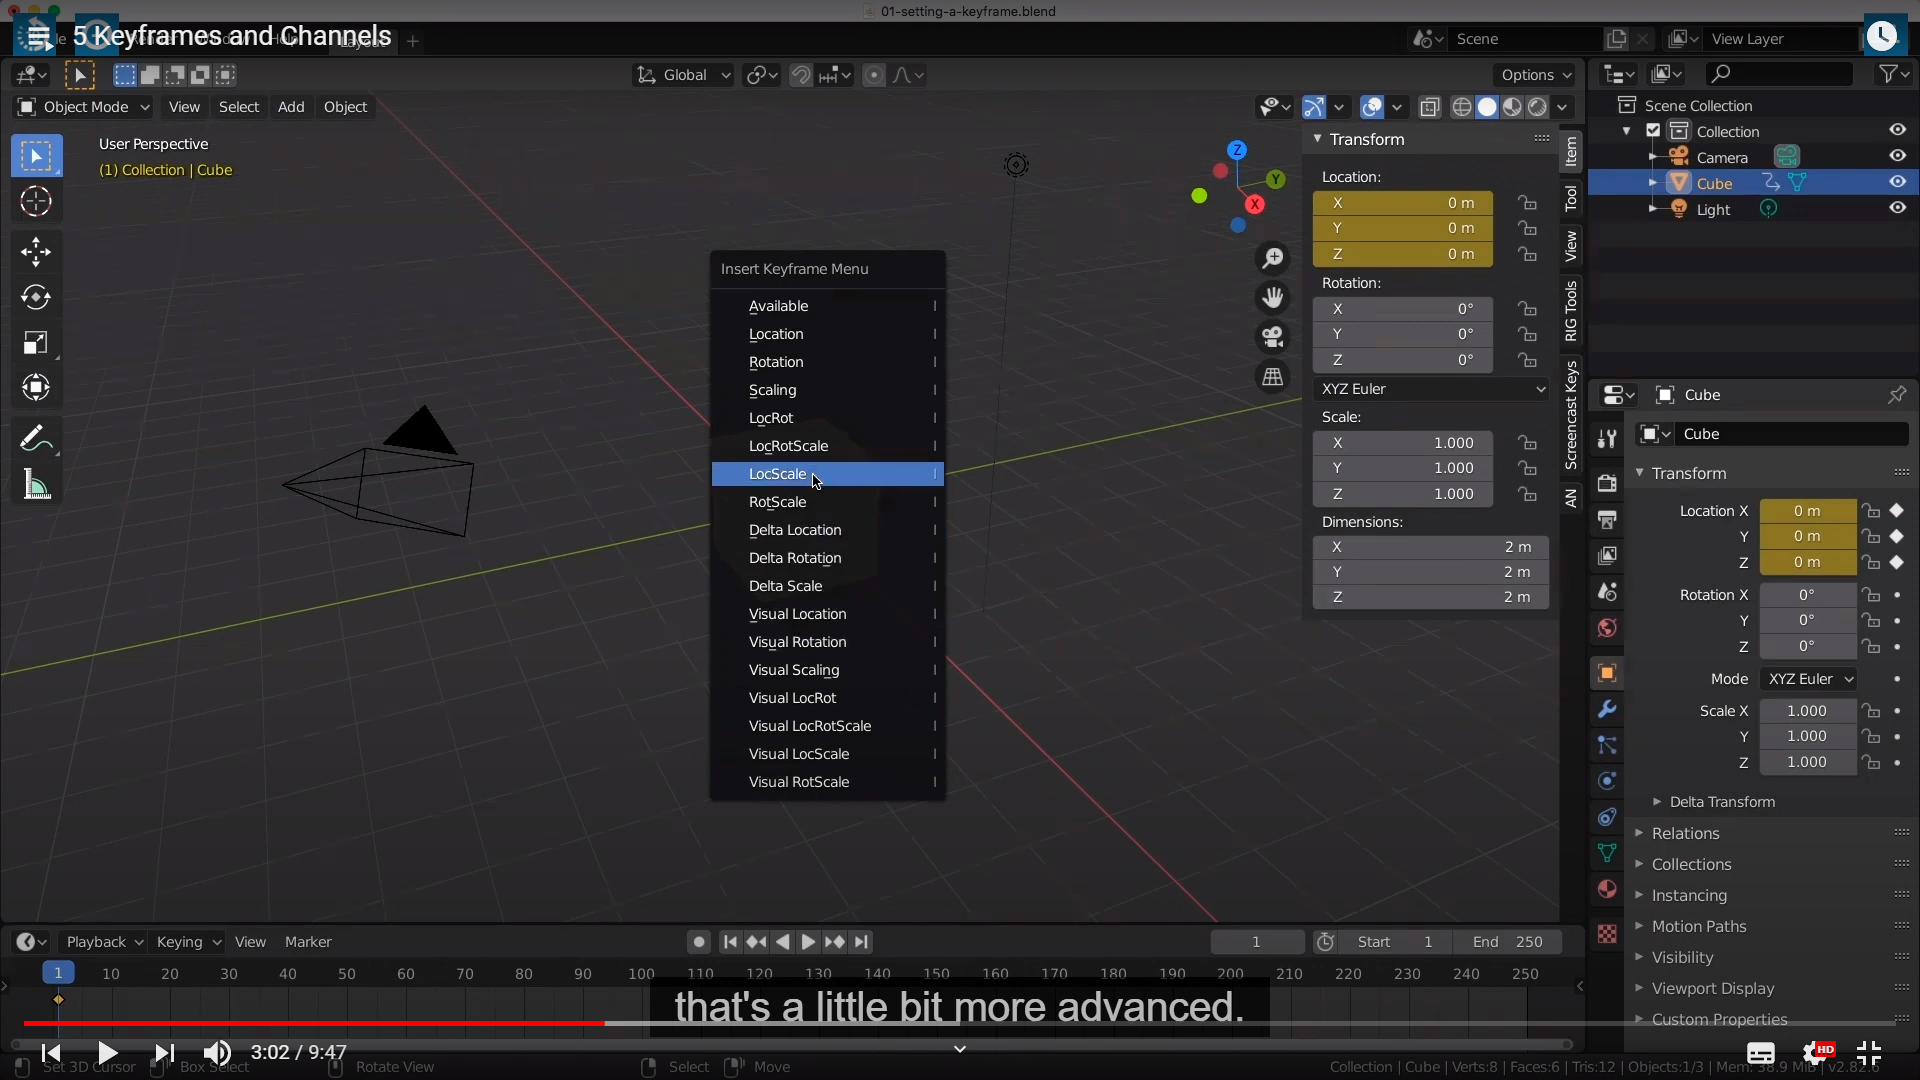
아직까지 Delta
Visual이 적혀있는것은 건들지 말라고 하는것 같다. 초심자가 신경쓸 일은 아니라면서
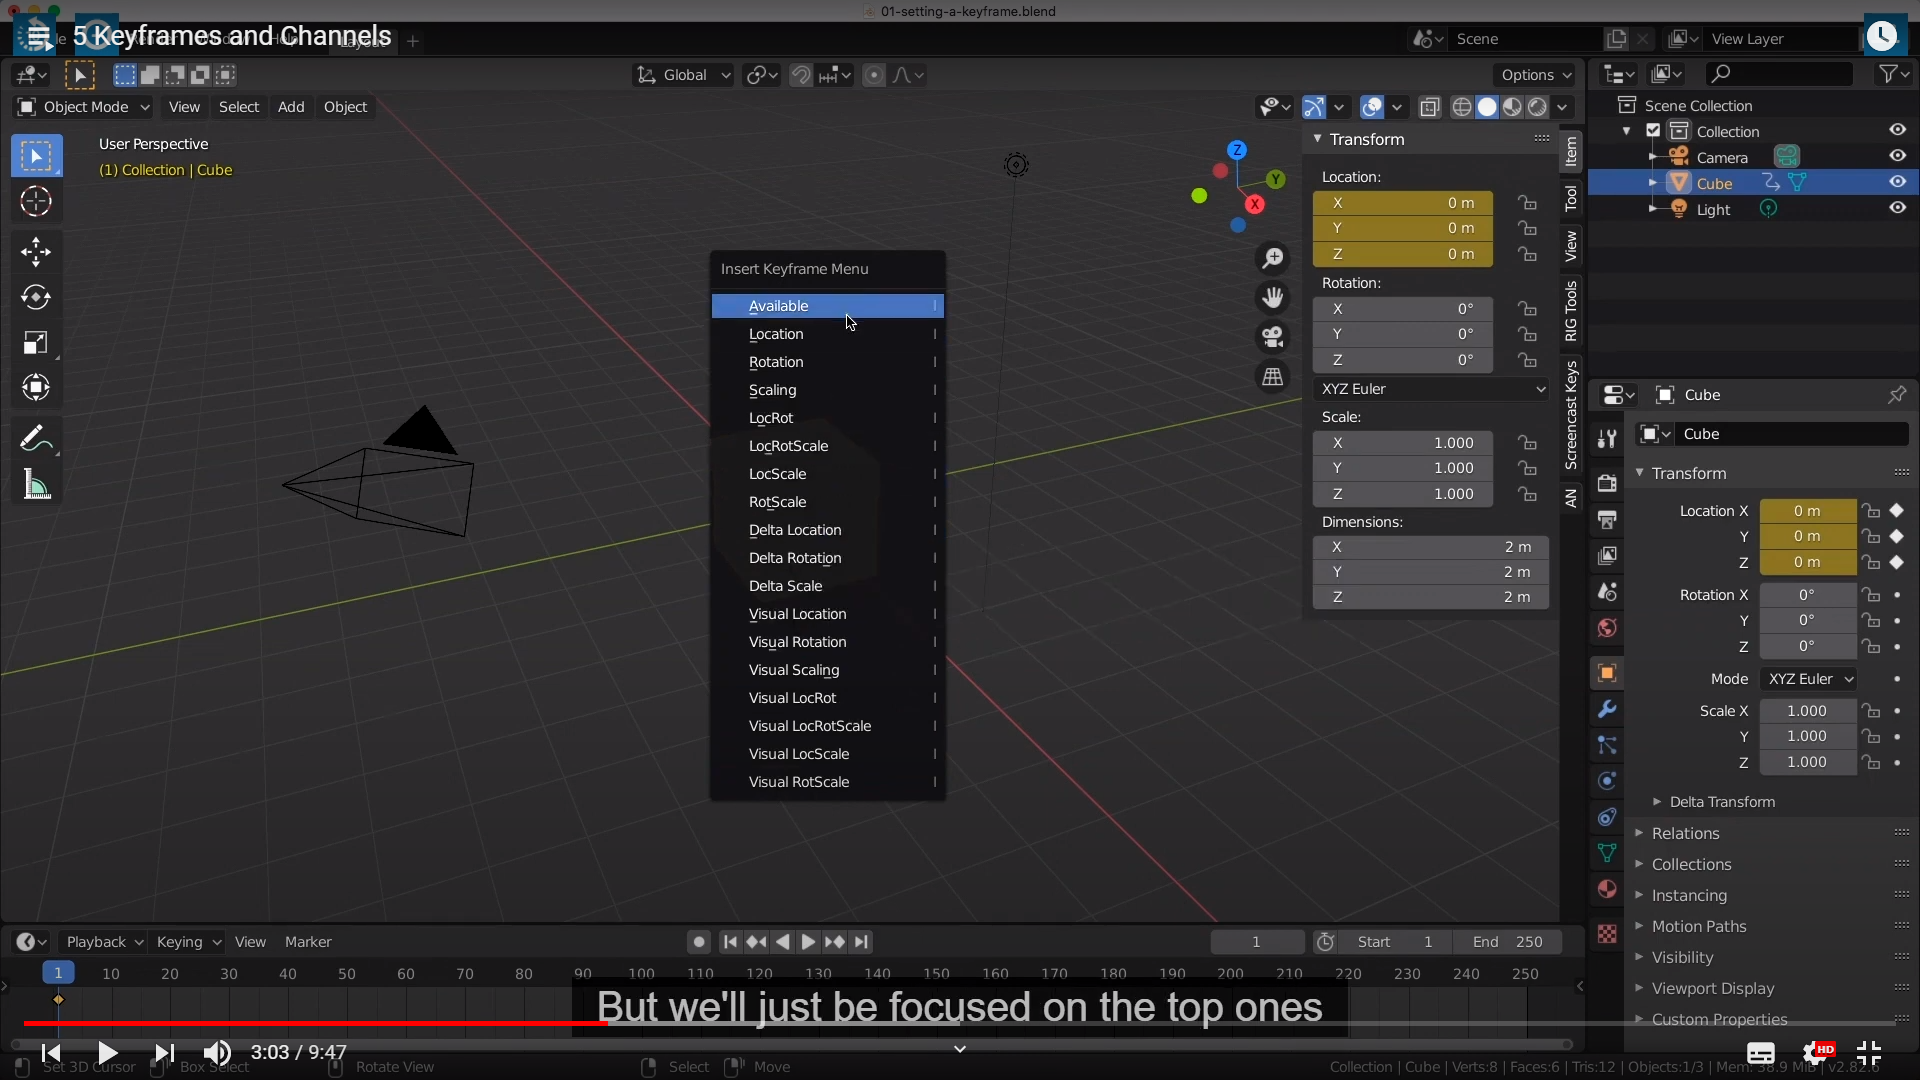
But we will just be focused on the top ones
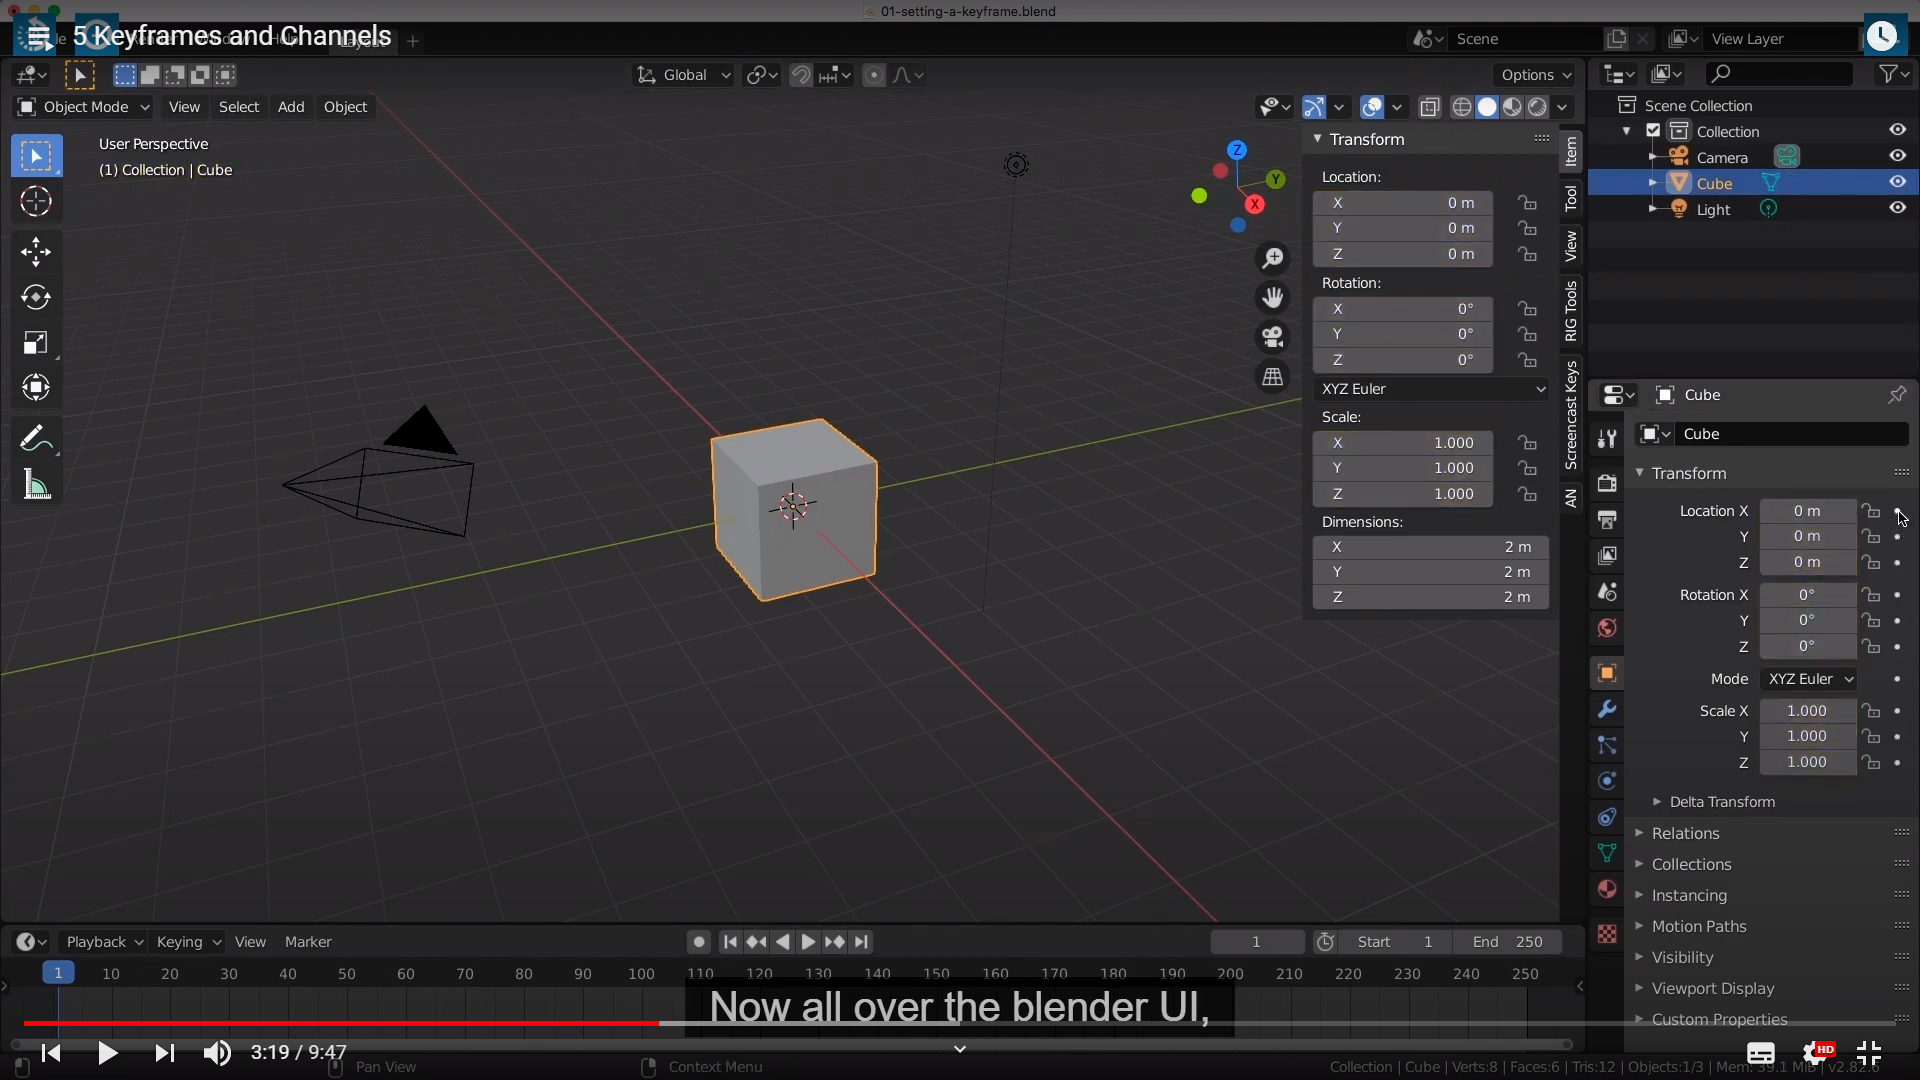
Now all over the blender UI, You will see these tiny little colored in dots,
여기서 메테리얼을 만지면서 안 사실이 몇가지 있는데
먼저
안보일수가 있으니까 왼쪽 하단에 파랑색 부분의 Collapse 된 부분을 펴줘야 한다.
변경할때마다 I 키로도 줄수있고 오른쪽에 다야몬드 부분을 클릭하면서 변경된 키프레임을 줄수도 있다.
그리고 마지막으로 키프레임 삭제는 가져다 되서 Delete 키나 X로 할수있는건 당연한거고
마우스를 가져단 채로 Alt +Shift+I 를 하면 일괄적으로 한줄이 다 삭제된다.
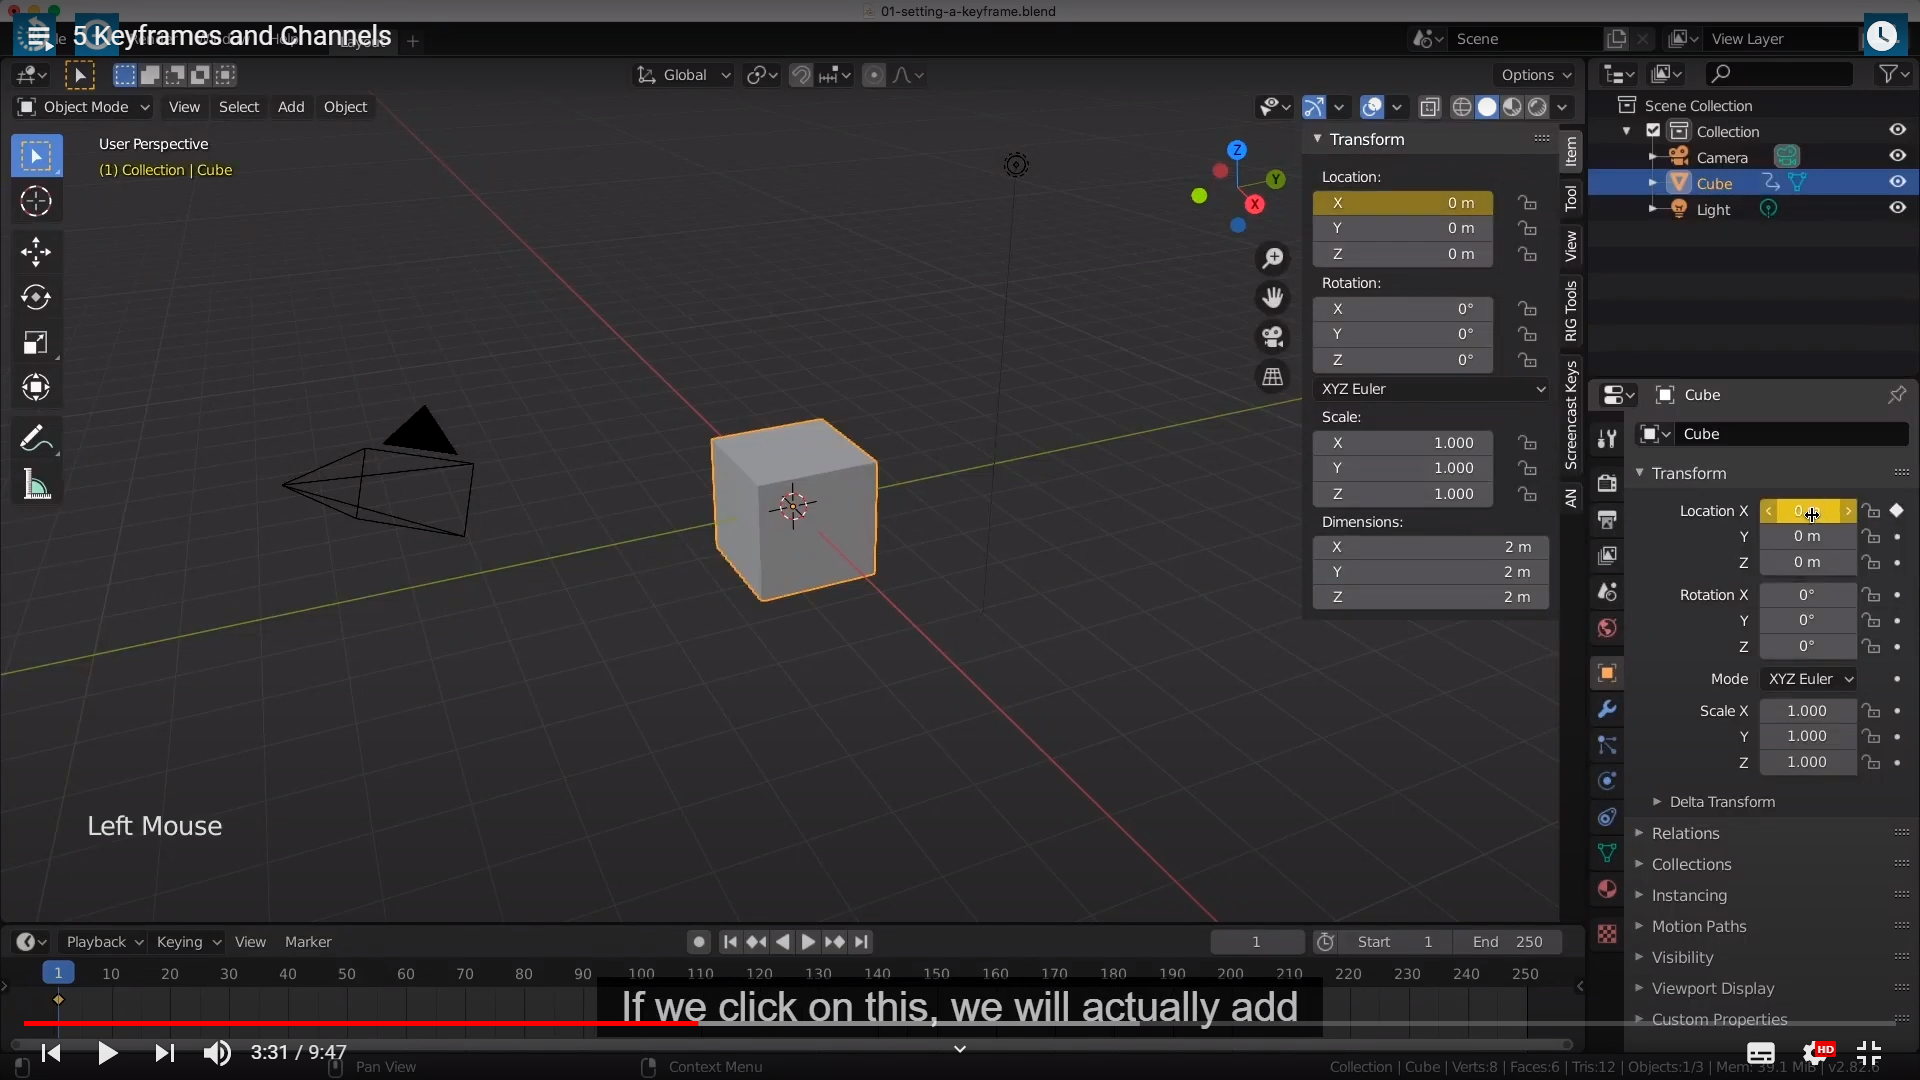
If we click on this , we will actually add a single keyframe to that single channel. And that's what this little button here does.
즉, 아마도 여기서 다시 채널이란 개념이 확실해지는데 Single keyframe란 의미는 메테리얼이 변화되는 과정 키프레임들을 하나 하나 기록 한것을 의미하고, Single channel은 Material 의 변화 전부룰 관장하는 Material channel을 의미 한다.

So anywhere you see one of these little circles means that property can be animated.
Location Channel 이랑 Rotation Channel 같은 경우에는 Inset Keyframes 랑 Inset single Keyframe으로 나뉘는데
싱글로 할경우 x,y,z 중 좀더 세분화하게 추가 시킬수 있다.

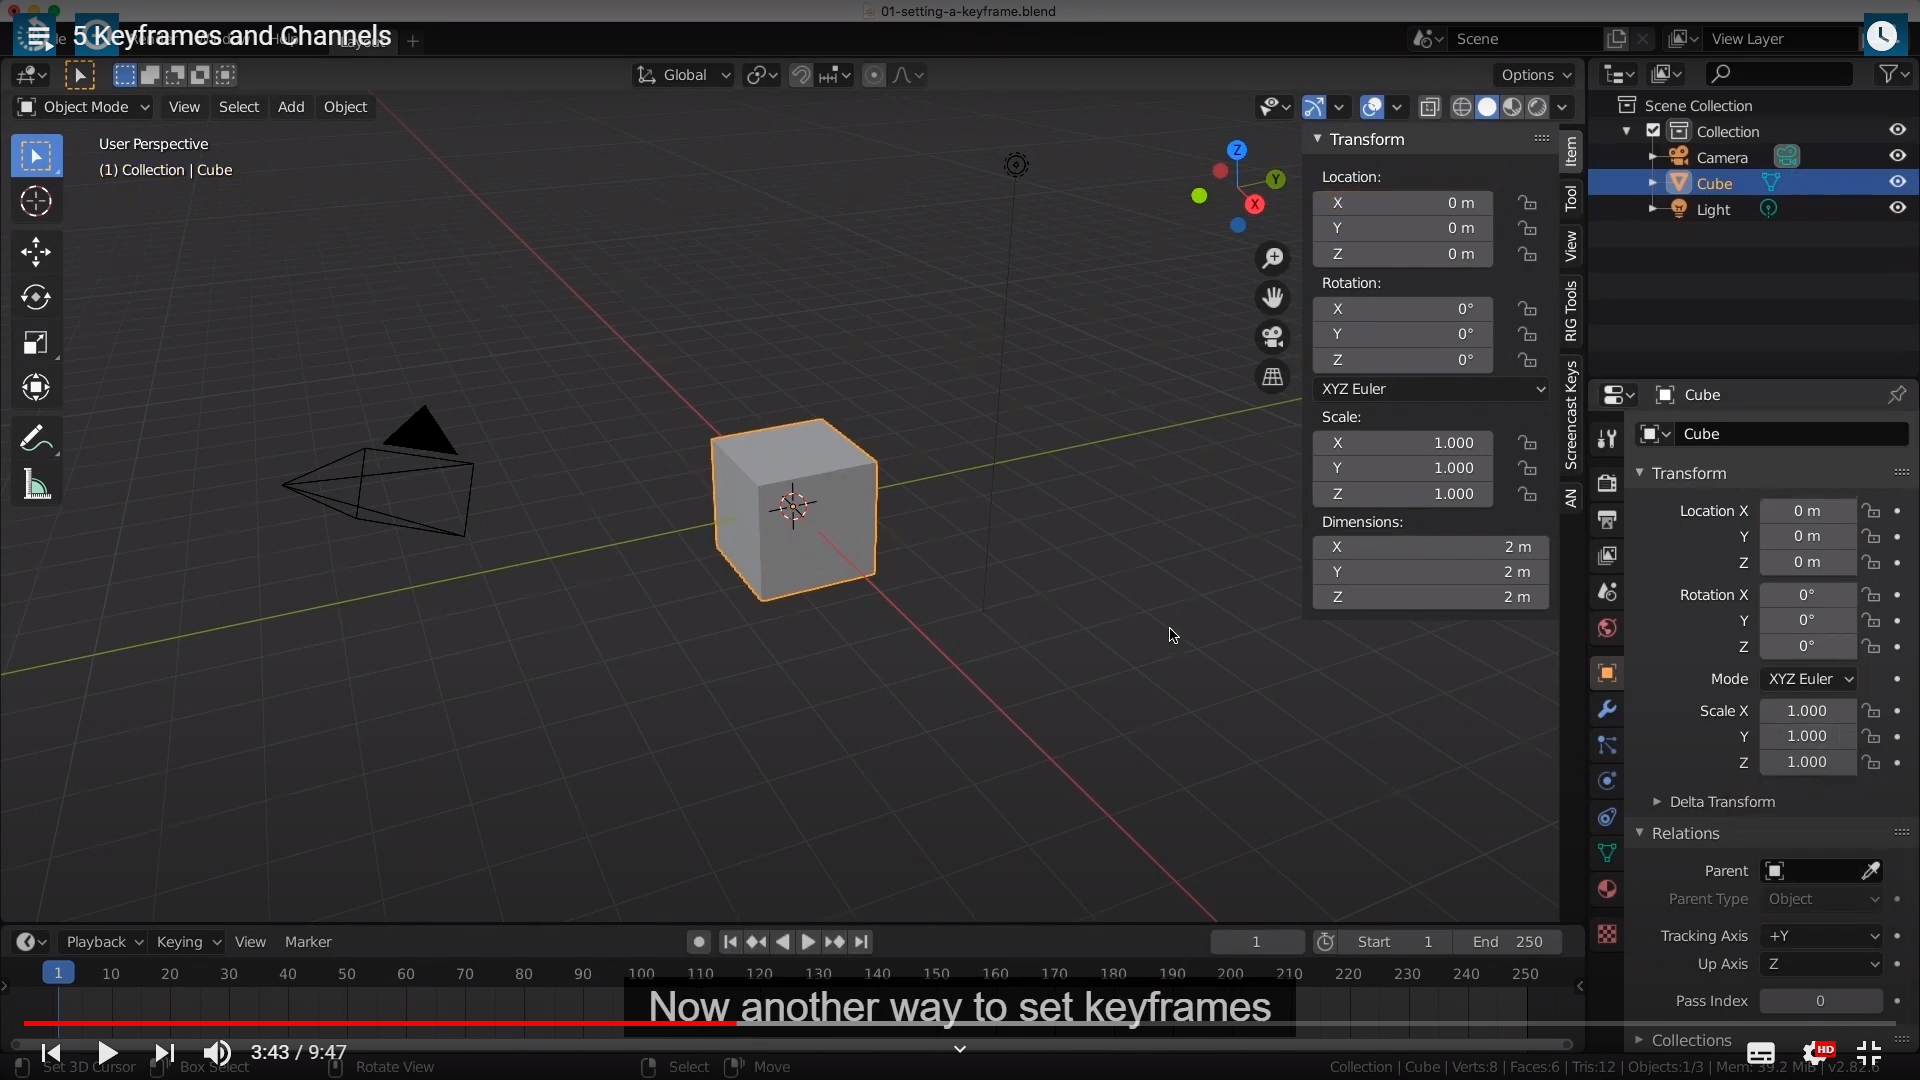
Now you can also set keyframes inside any of our animation editors.
You have already learned about the timeline,
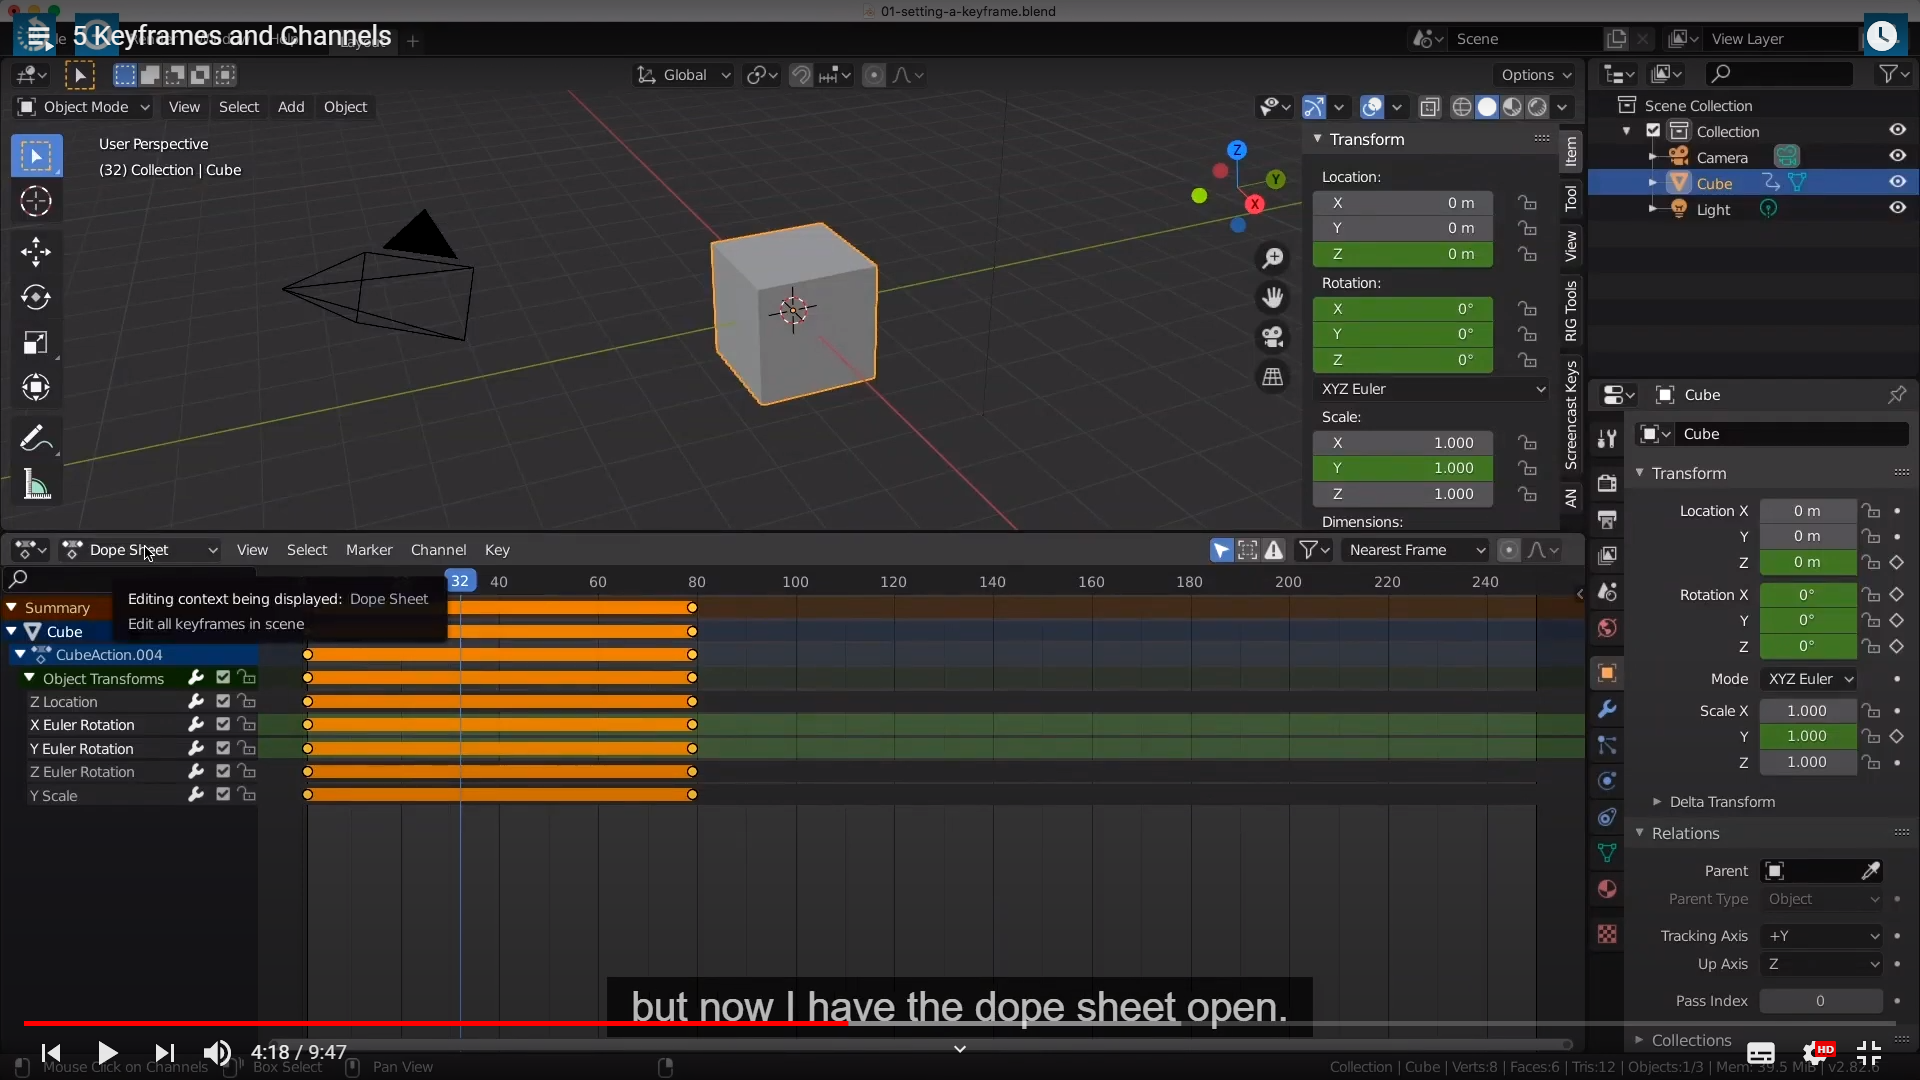

In the later course. But for now, I just wanna show you if we have a mouse inside any of the animation edges

여기서 말하는 animation edges란 일단은 개별적인 x,y,z로 나뉘어진 한줄...을 의미한다.
and we press I, we can also set keyframes here
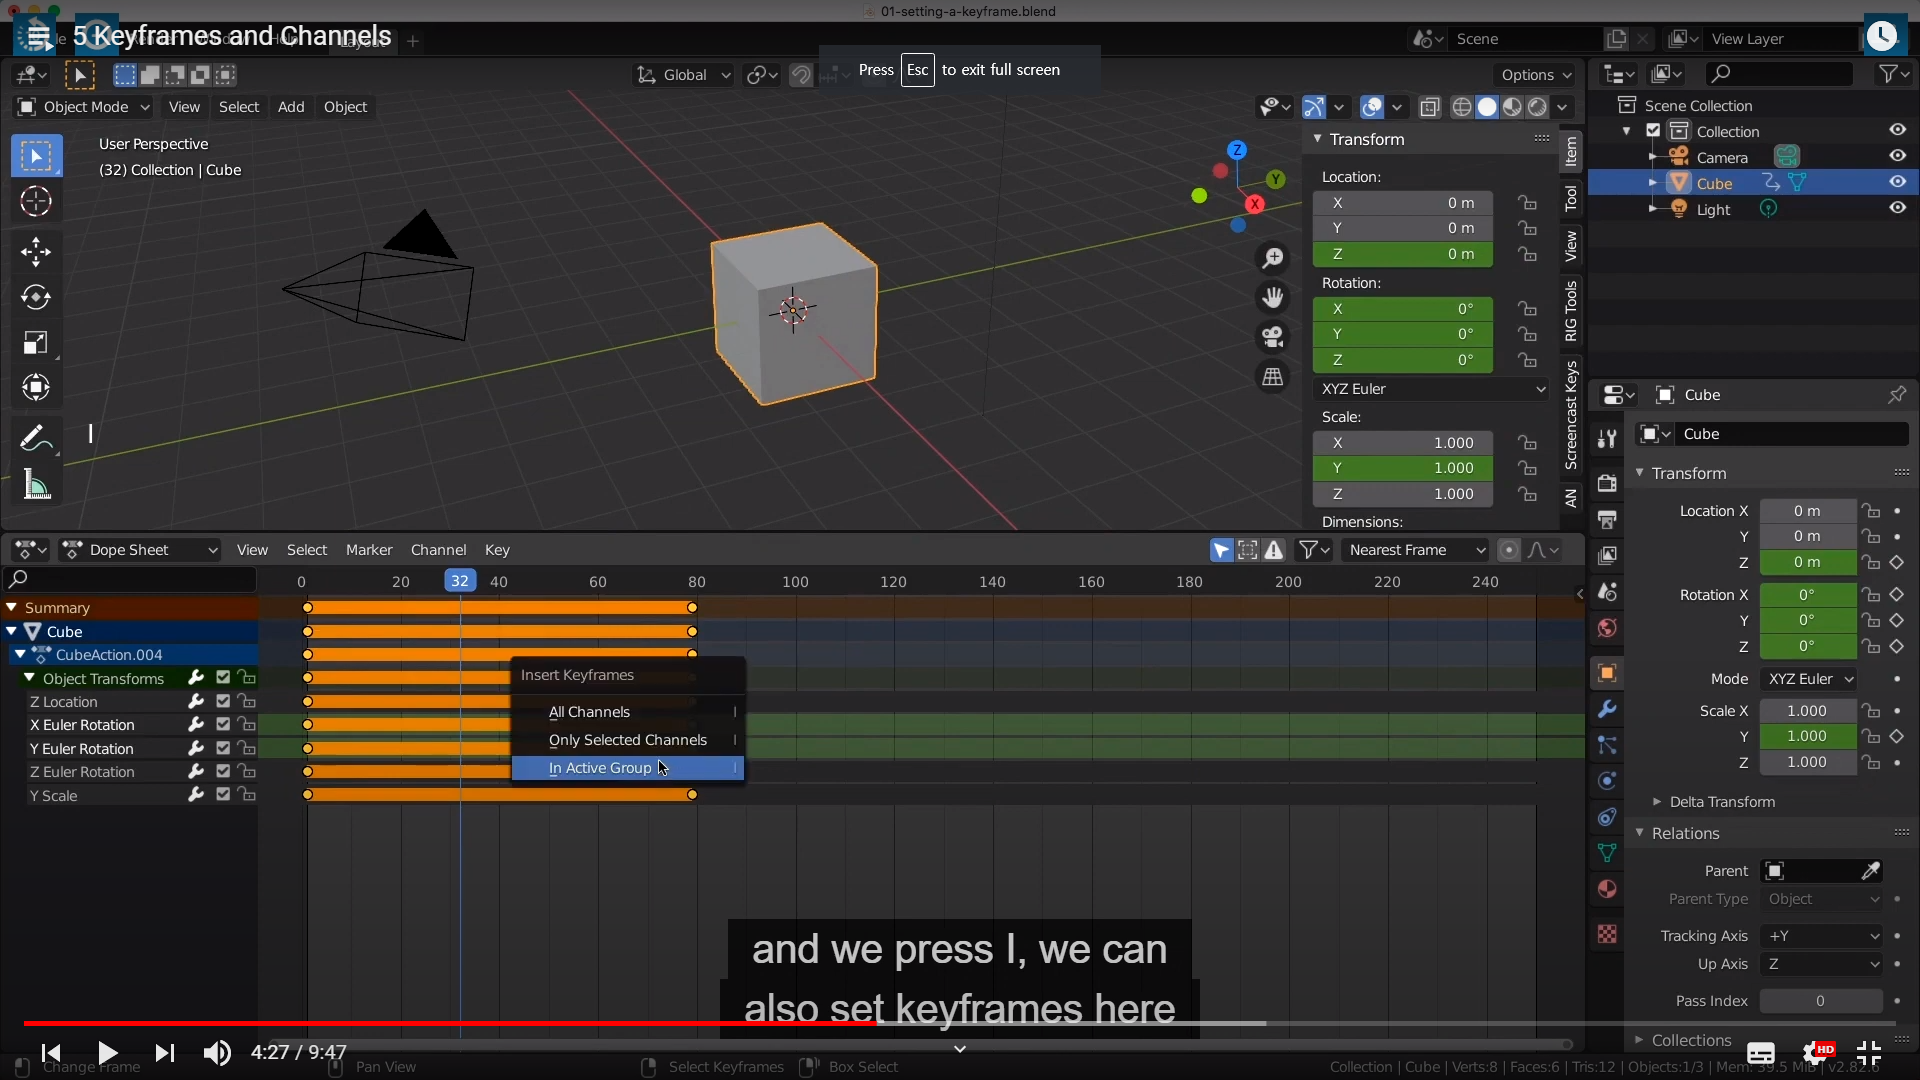
When you are using any of the animation editors.
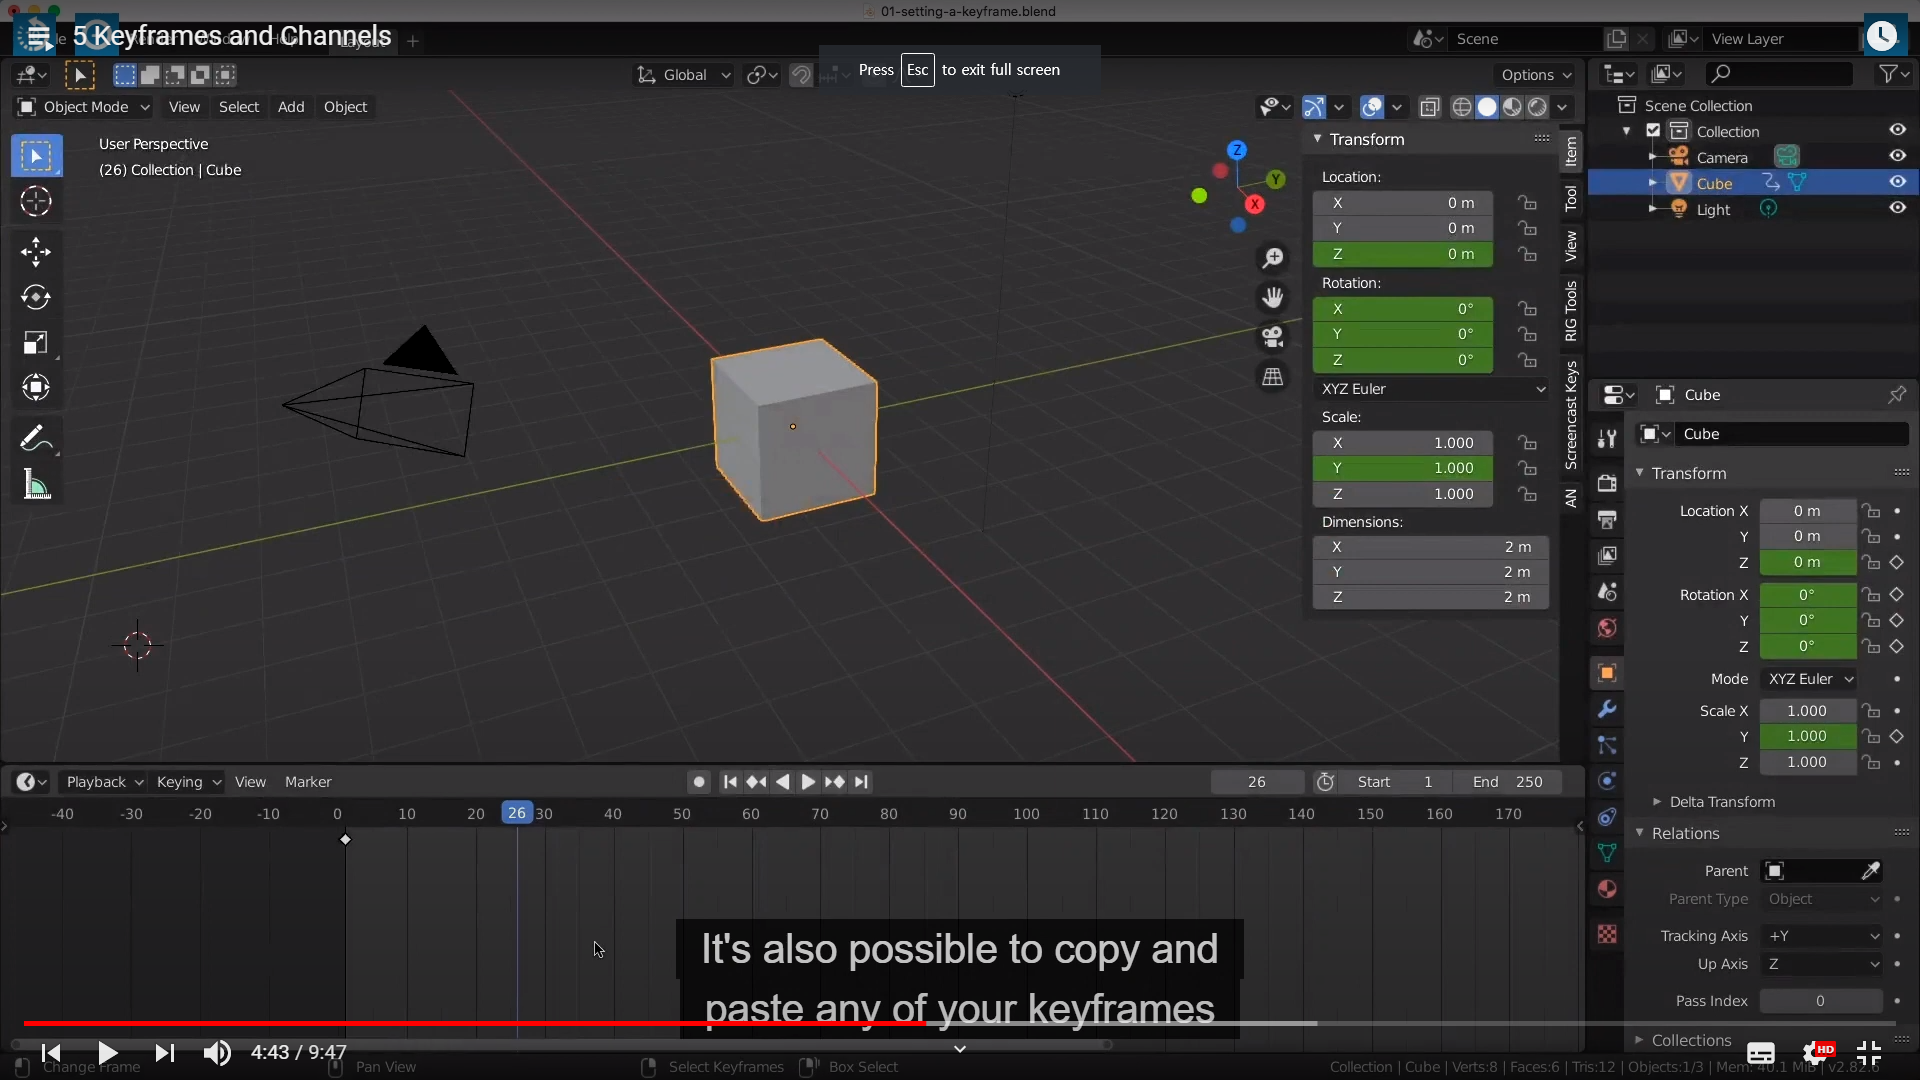
복사방법은 컨트롤씨 컨트롤 브이 똑같다.
Now if you happen to paste over the top of another keyframe, it will do exactly that.
It will delete the old one and then create a new one on top.
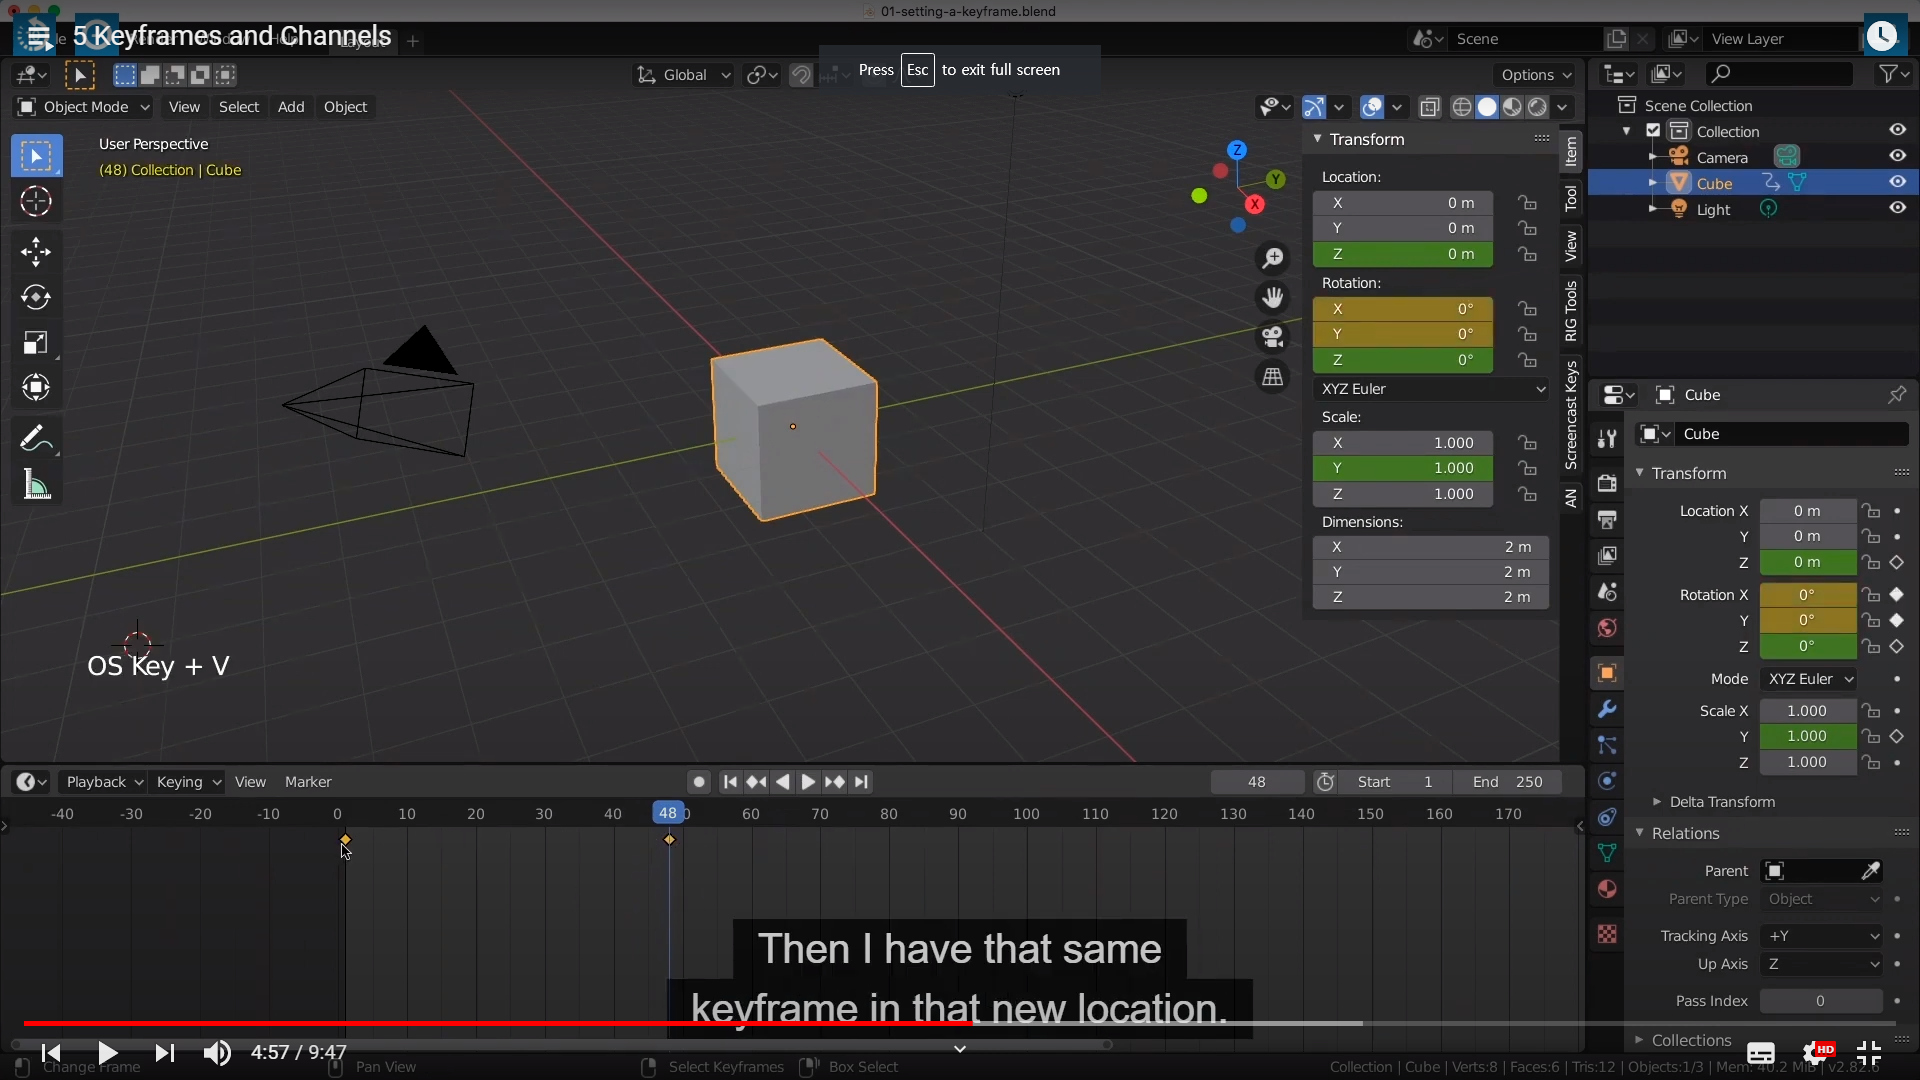
즉, override 한다는것이다. And it 's also possible to duplicate any keyframe.
And it 's also possible to duplicate any keyframe that you have in an animation editor
it is a lot more intuitive than the copy and paste method.
하지만 나는 지금 생각하기에는 복사 붙이기가 좀 더 프레임을 정확히 알수 있고 직관적이라 생각한다.
이상하게도 영상에 나오는것과 다르게 키프레임 삭제는 Alt +I 와 Alt + shift + I 밖에 없는것 같다.
버전이 달라서 그런건지는 모르겠지만
요약하자면 Alt +I 는 일괄적으로 Playhead가 가리키는 프레임의 채널을 삭제
Alt+ Shift +I 는 채널 전부를 삭제

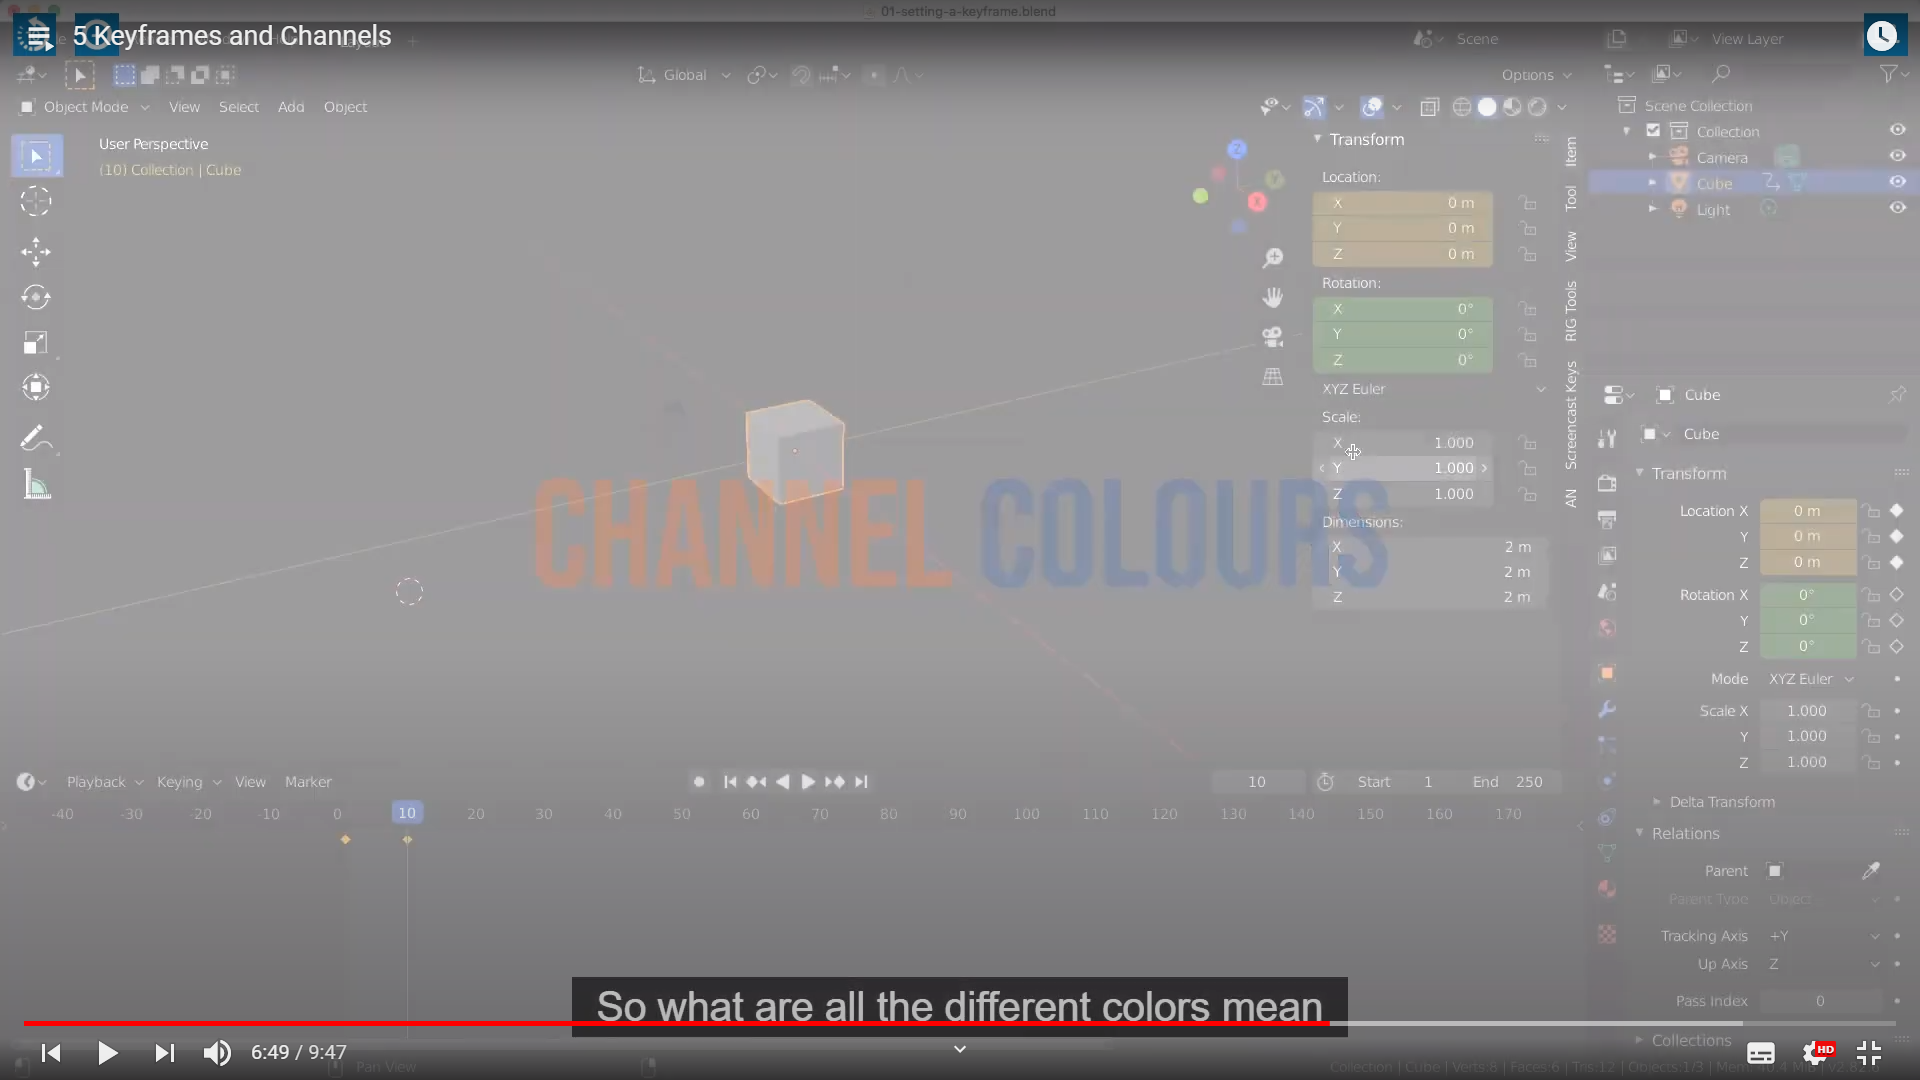
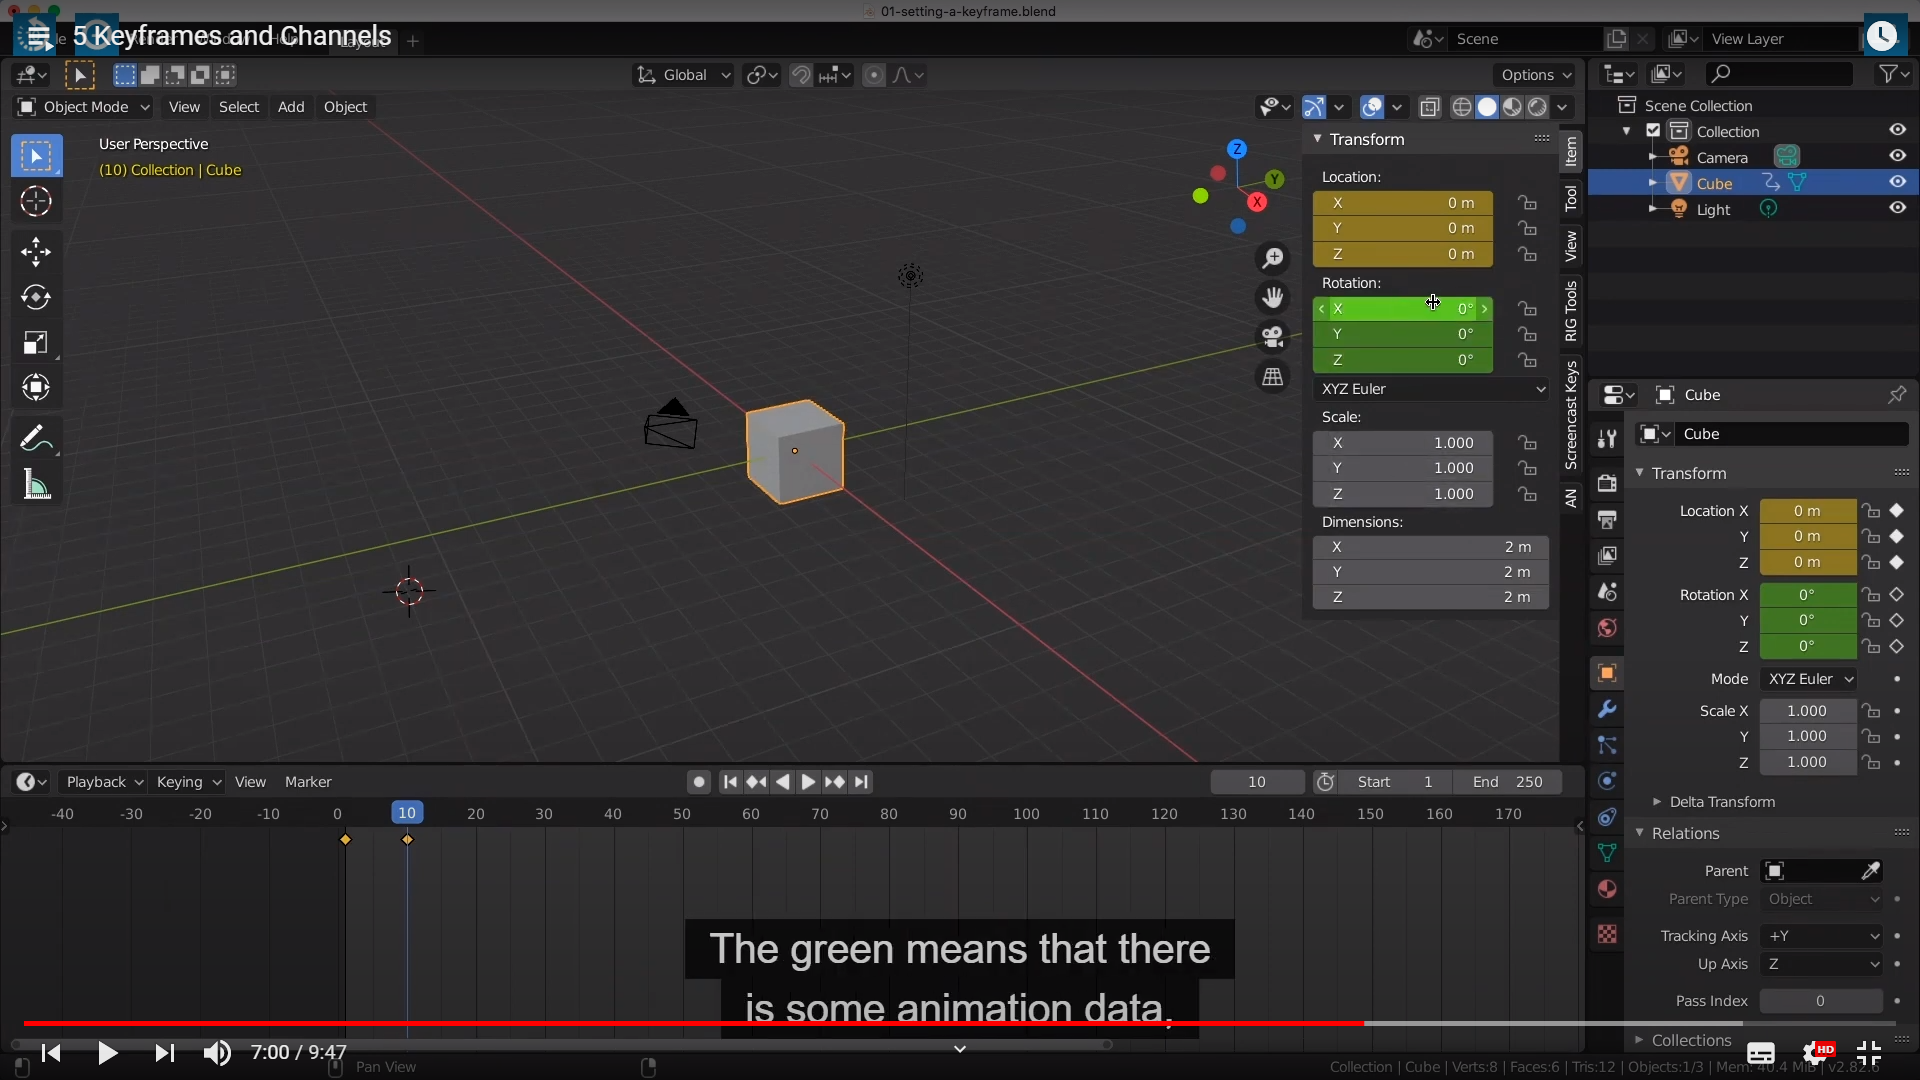
So what are all the different colors mean on our channels here?
Well first of all
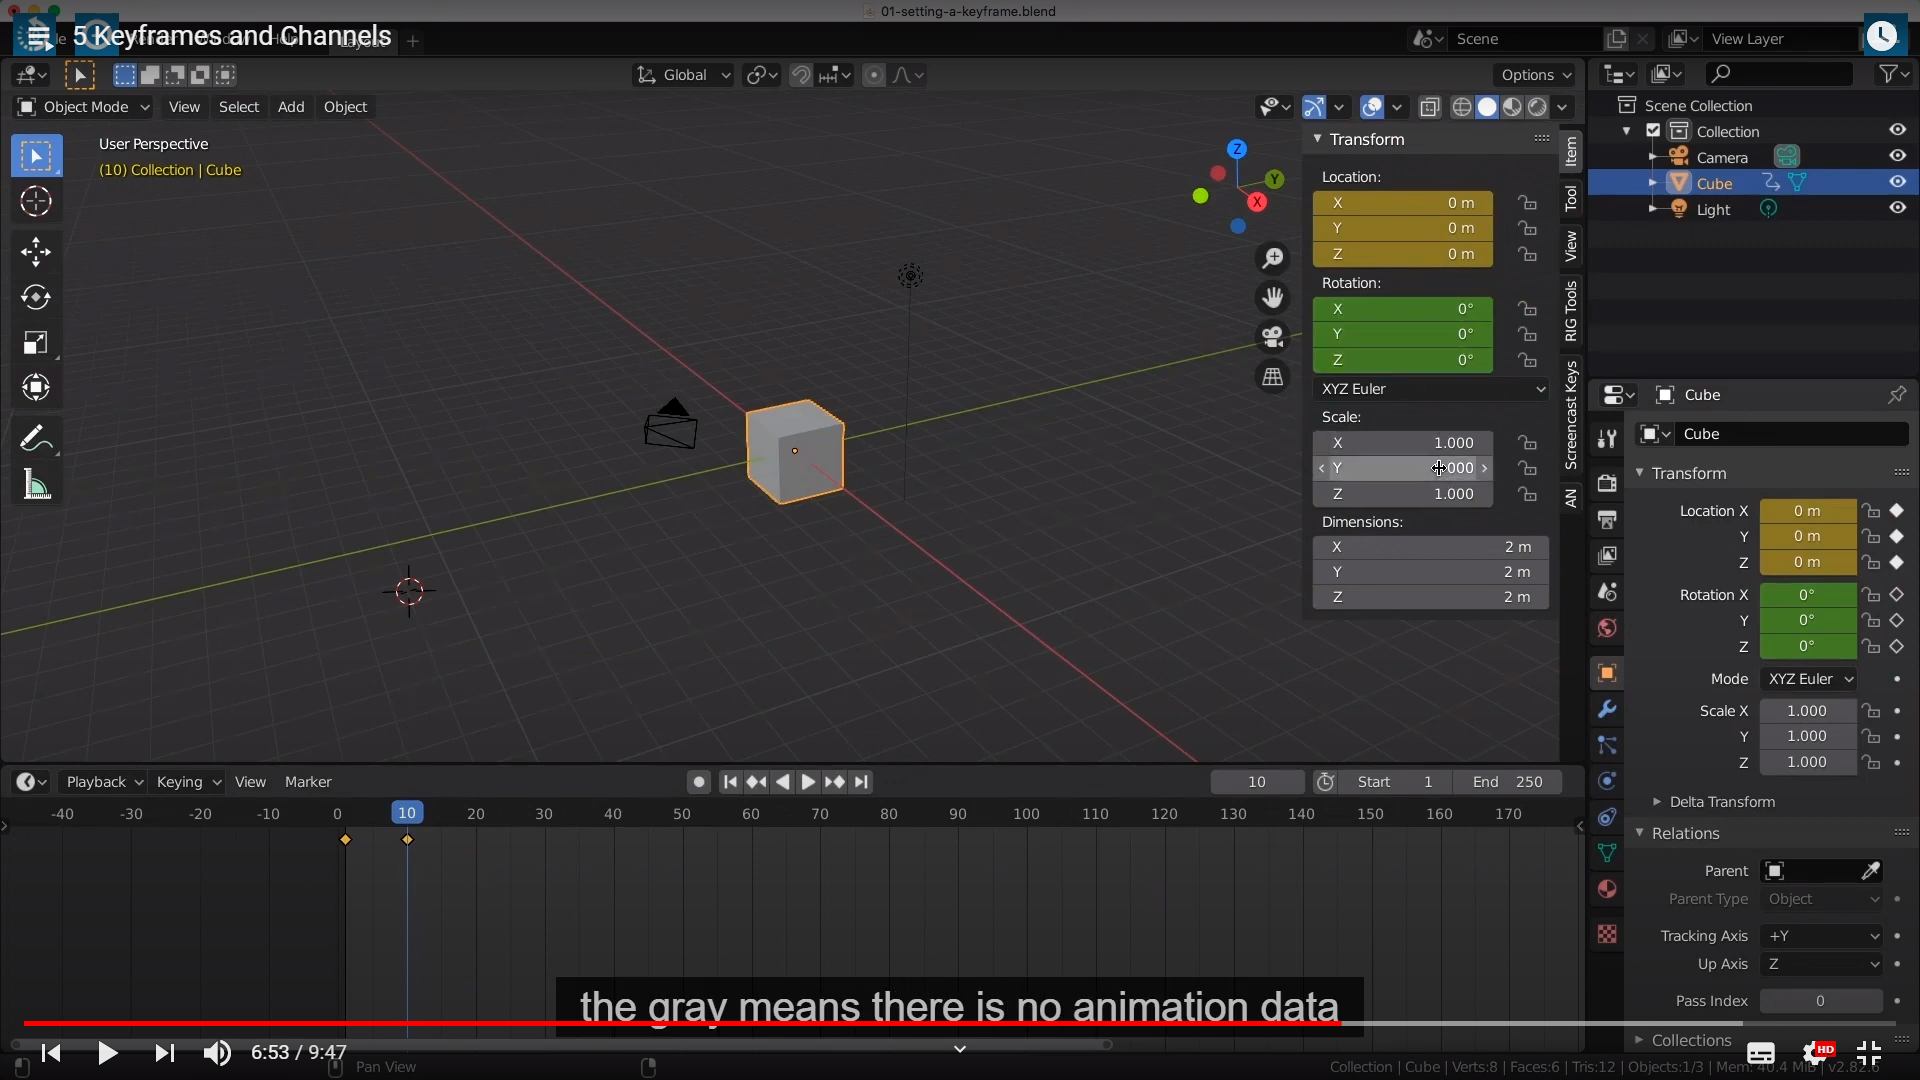
Gray means there is no animation data
but there is no actual keyframe for these channels on the current frame number.
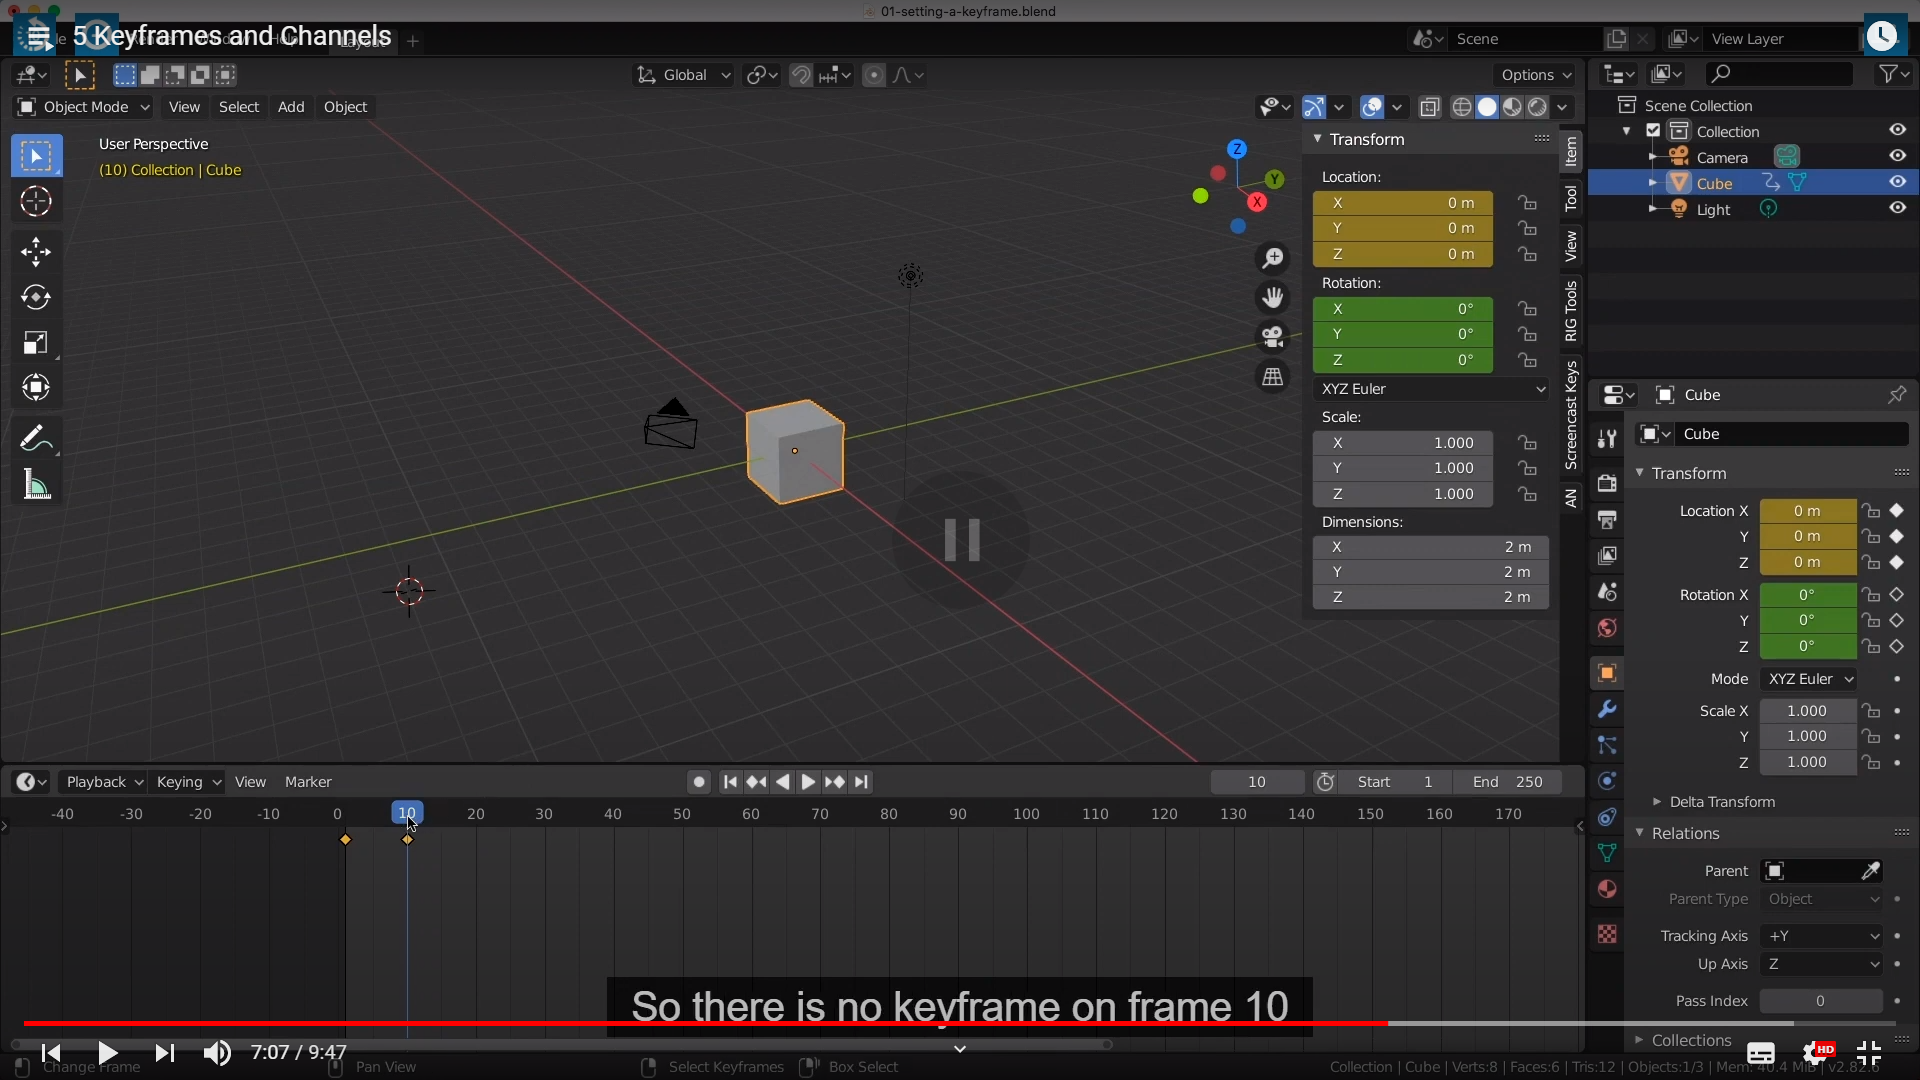
on these channels


정확히 얘기하자면 약간 붉은 주황색이다.
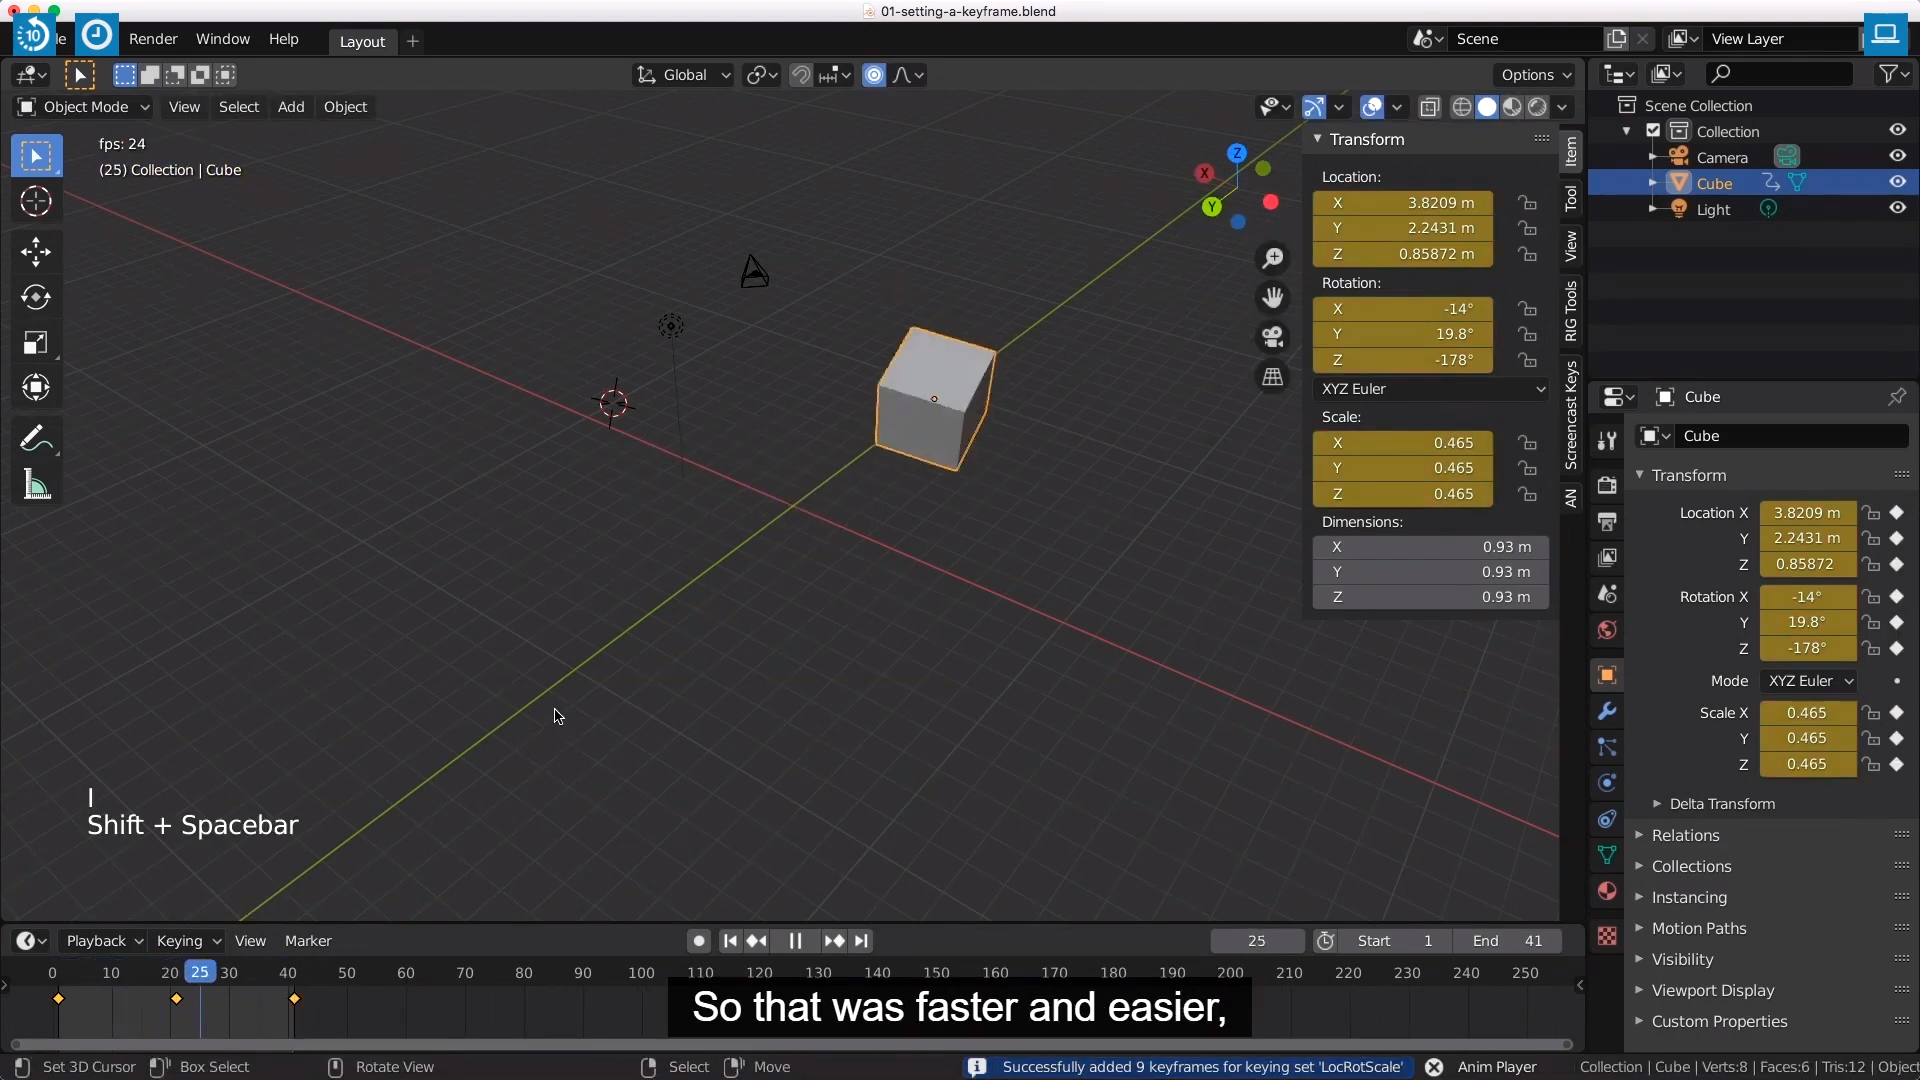
SO that was faster and easier, but there 's actually an even faster way, by combining this with the "auto keying"
However, we will take a look at auto keying after you have had your first animation practice.
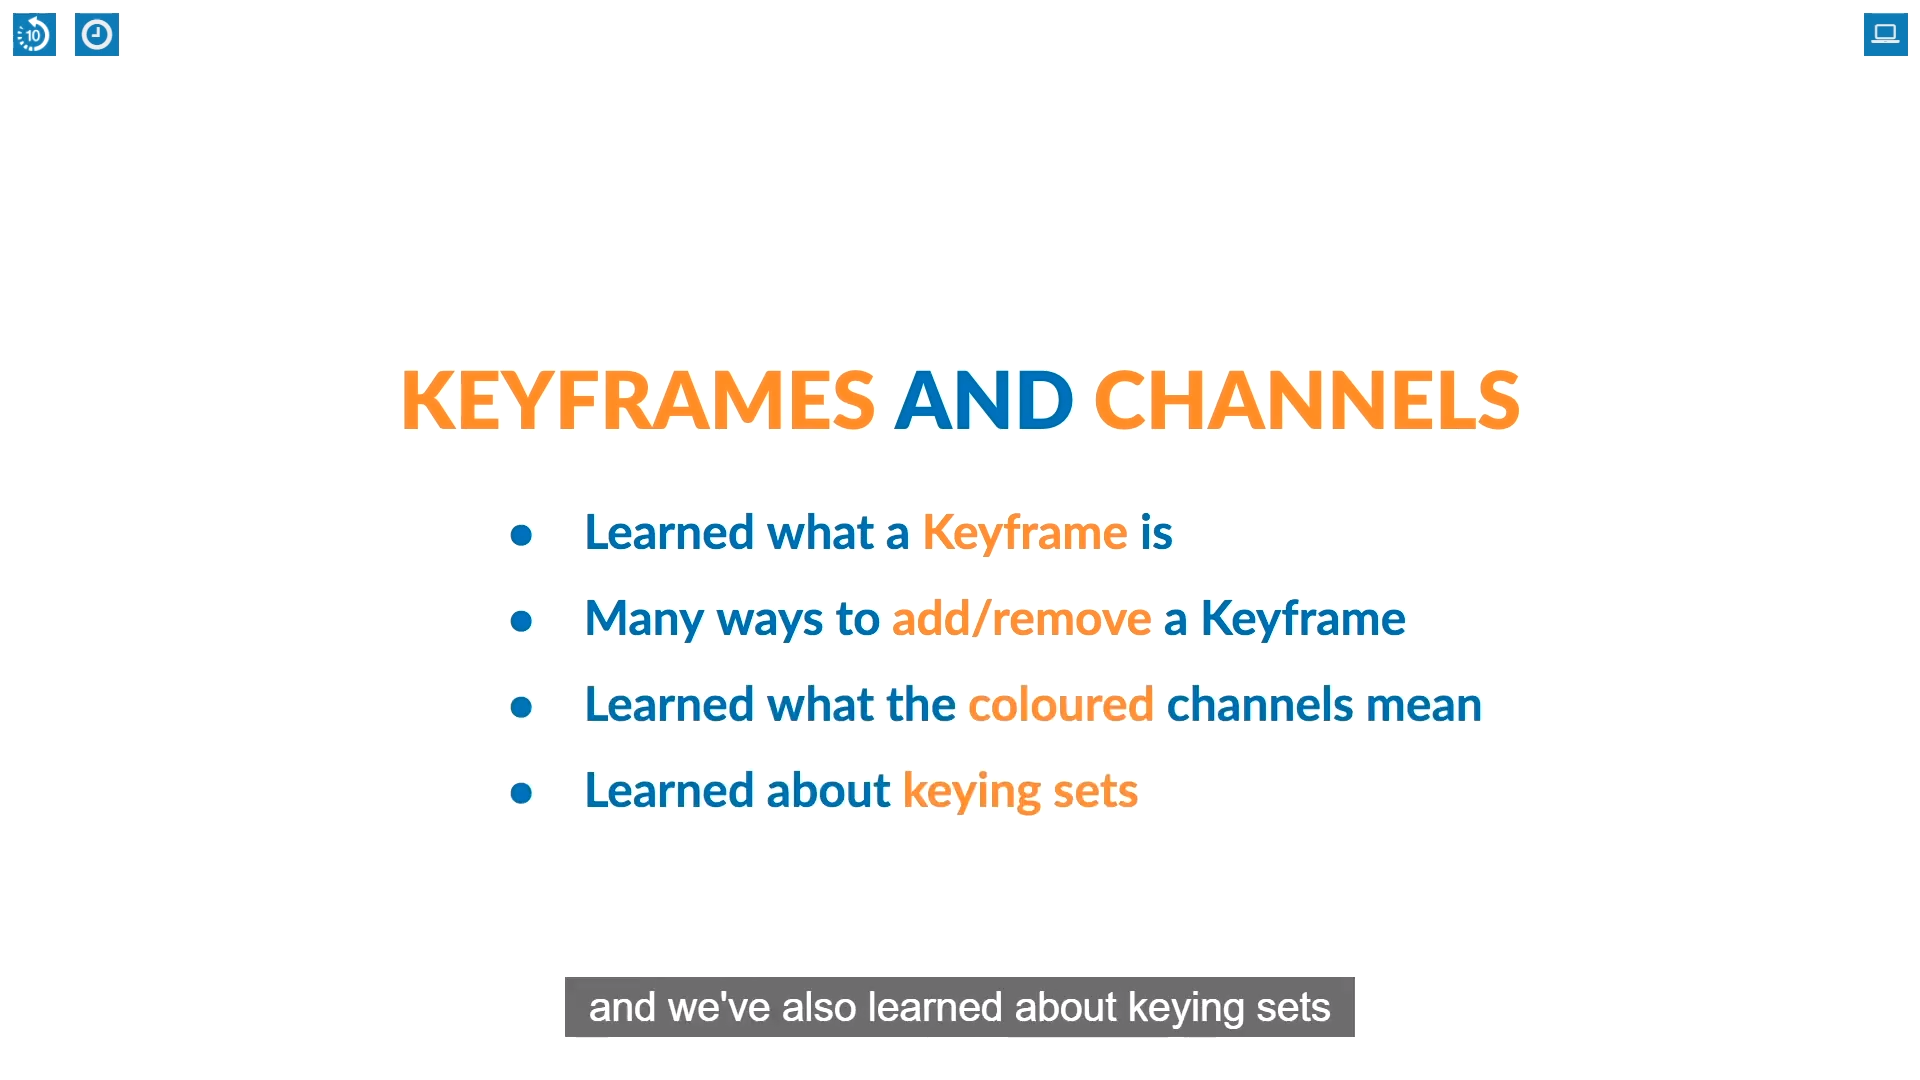
So let 's recap what we have learned in this lesson.
Firstly, we learnt what a keyframe is, the many different ways you can set a keyframe or delete a keyframe.
'Blender_Study > Blender_Animation' 카테고리의 다른 글
| 12_Graph_Editor_and_Interpolation (0) | 2021.05.01 |
|---|---|
| 10 Outputting Animation (0) | 2021.04.26 |
| 8 Animation Practice,9 Auto Keying (0) | 2021.04.14 |
| Animation_Fundmentals_2021.04.03(Timeline) (0) | 2021.04.04 |
| Animation_Fundmentals_2021.03.11(Frame rates) (0) | 2021.03.11 |


