
이번에는 처음으로 블렌더의 유료 강좌를 서술하는것 같다.
앞으로 하는일에 애니메이션 스킬이 필수라고 생각해서 기초 블렌더 애니메이션 영상을 보기로 결정했다.
cgcookie.com/lesson/user-preferences
User Preferences
If you're a beginner looking to learn animation in Blender, this tutorial course is for you. We will start with the basics, working our way up to animating a simple scene. From frame rates to graph editor and a bouncing ball animation, you will master the
cgcookie.com
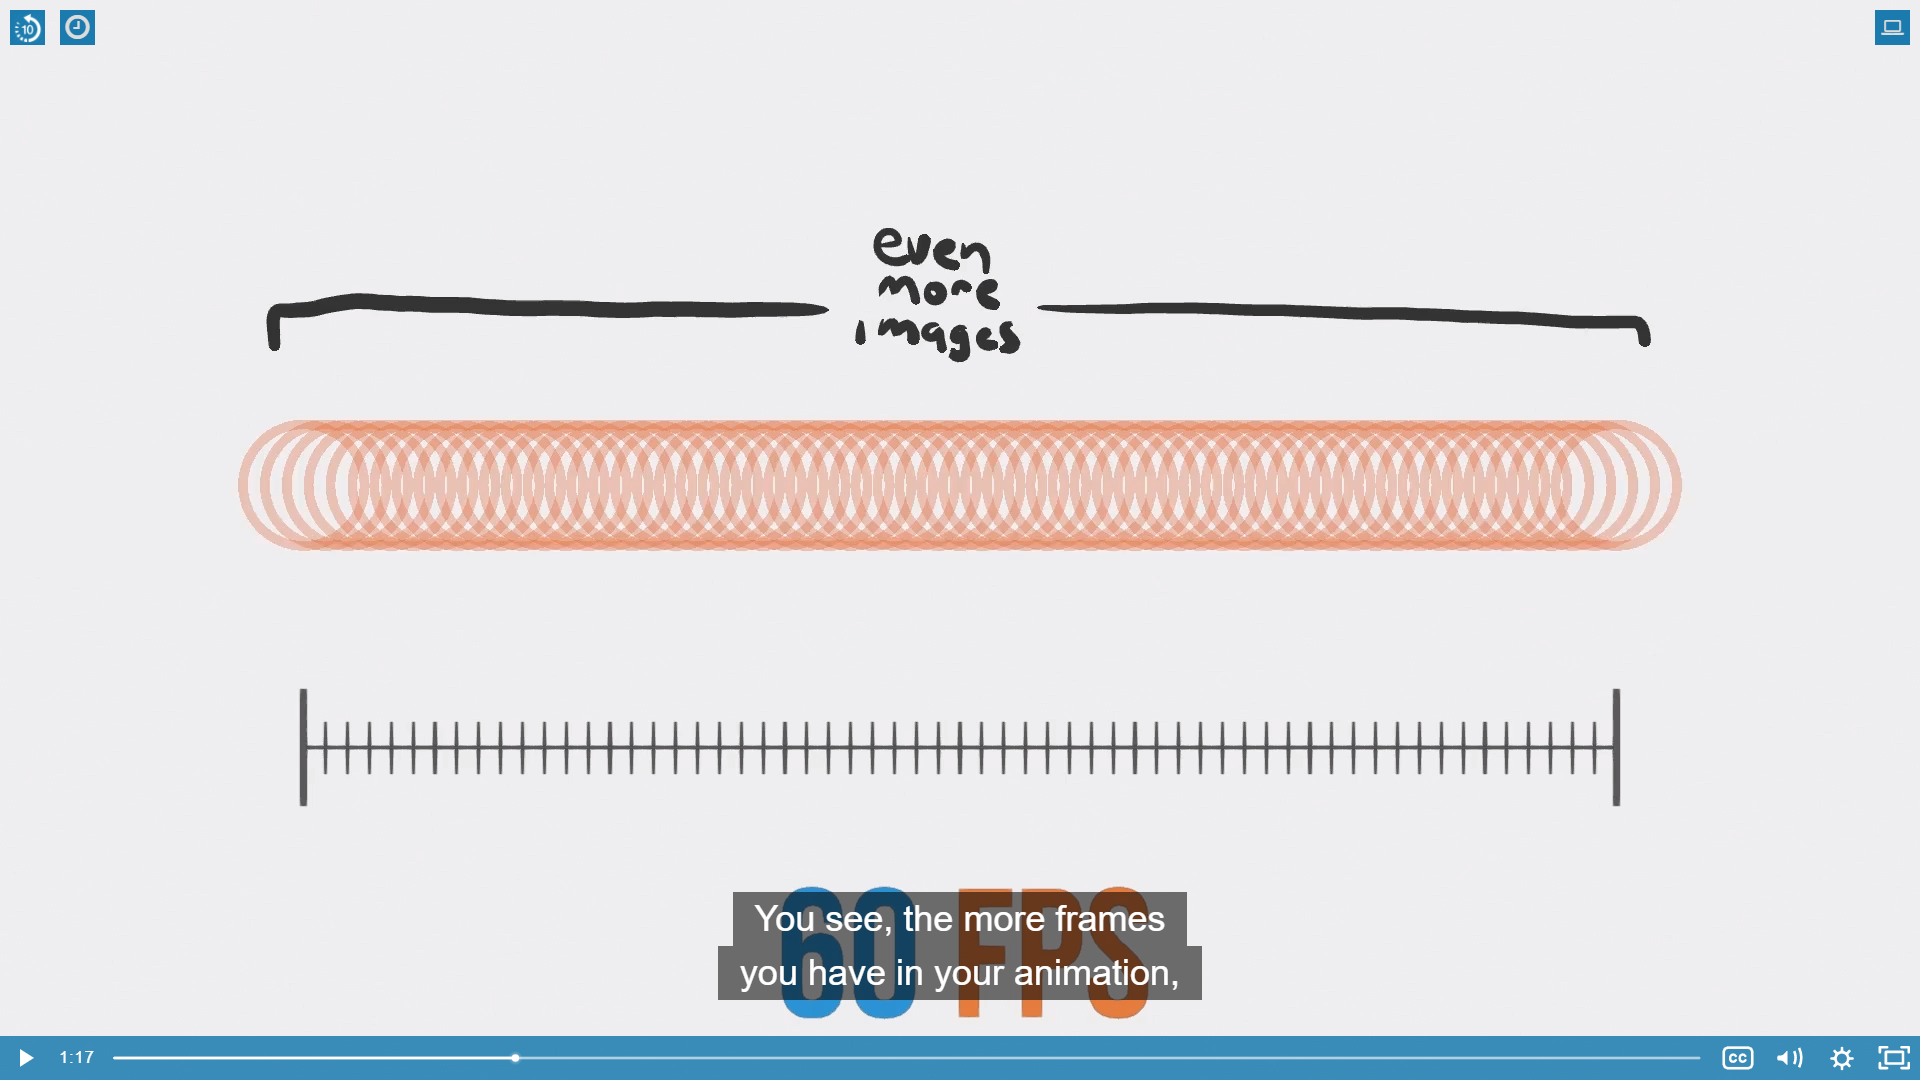
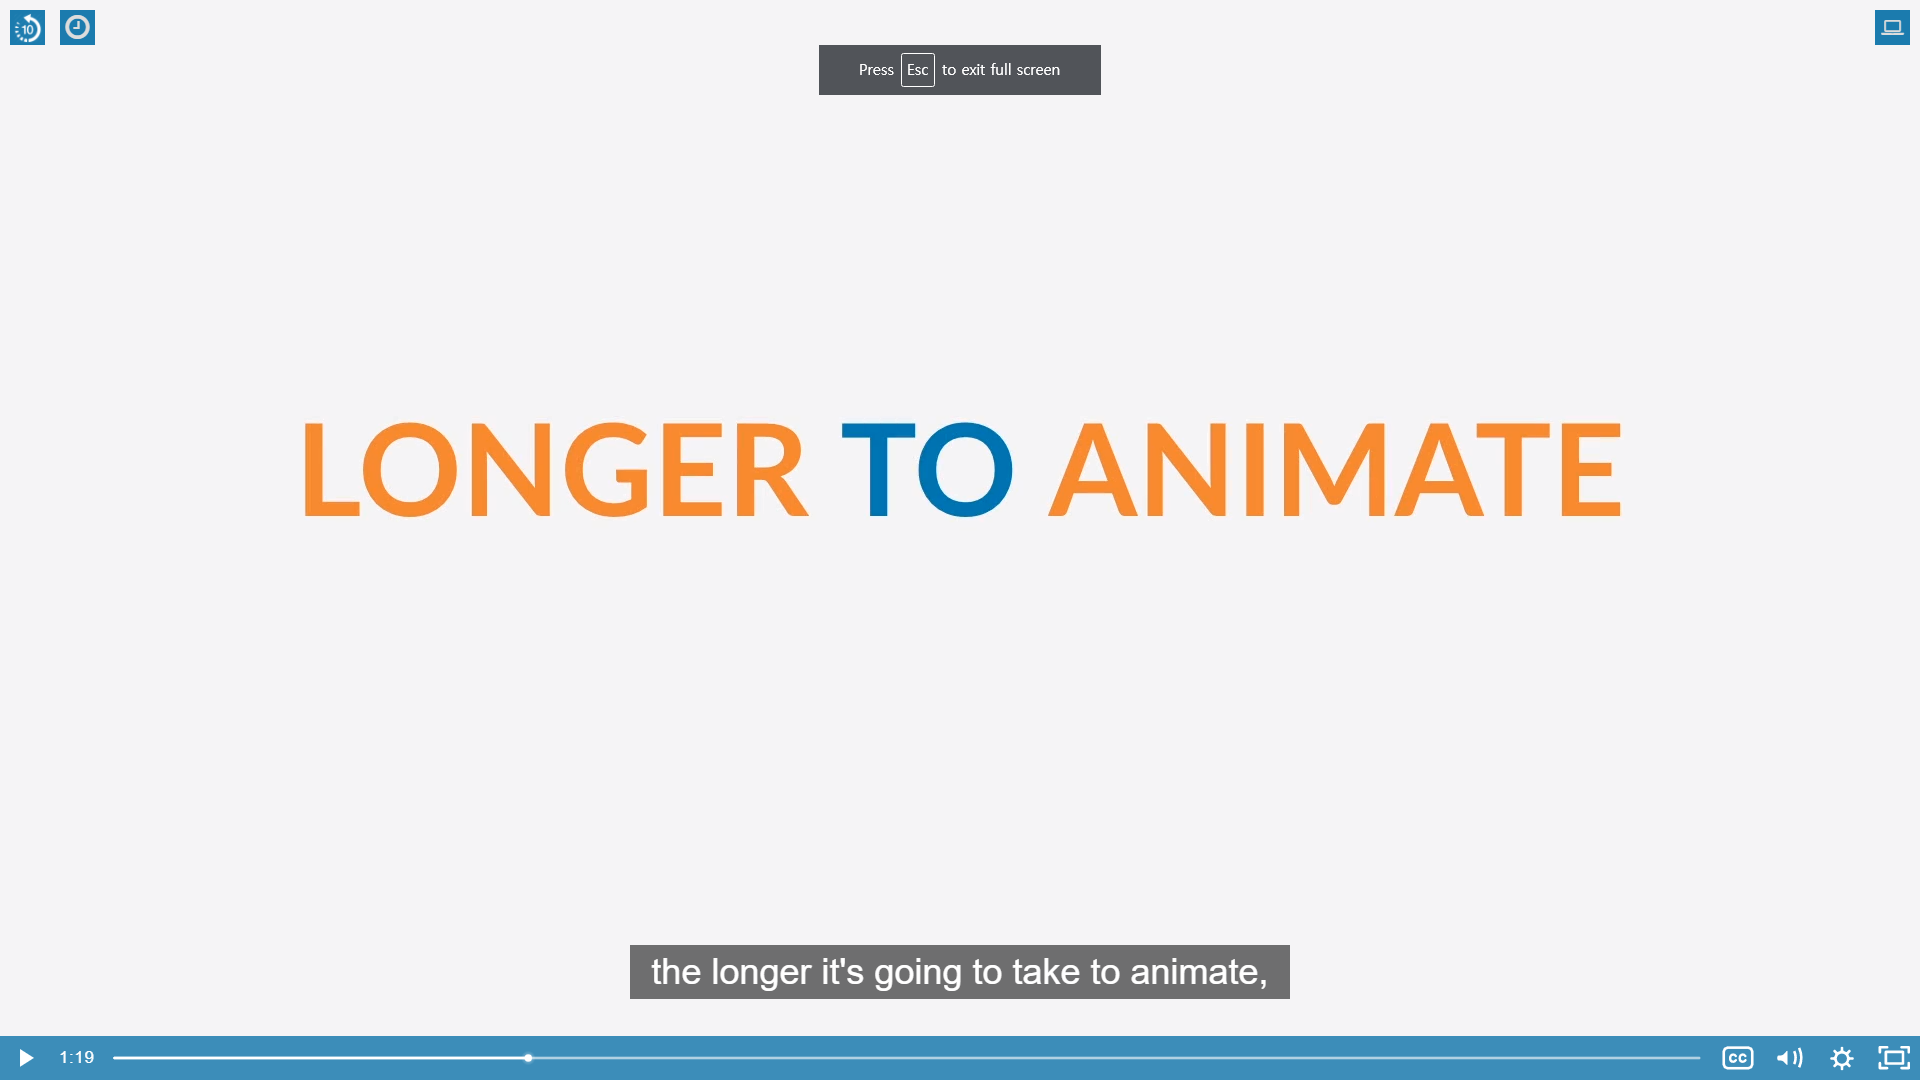
You see, the more frames you have in your animation, the longer it's going to take to animate
and the longer it will also take to render
즉, 만들려는 프레임이 길수록 당연히 만들때 고민하고, 체크하는 시간도 길꺼고
랜더링 할때도 시간을 많이 잡아먹을수 있다는 이야기 이다.


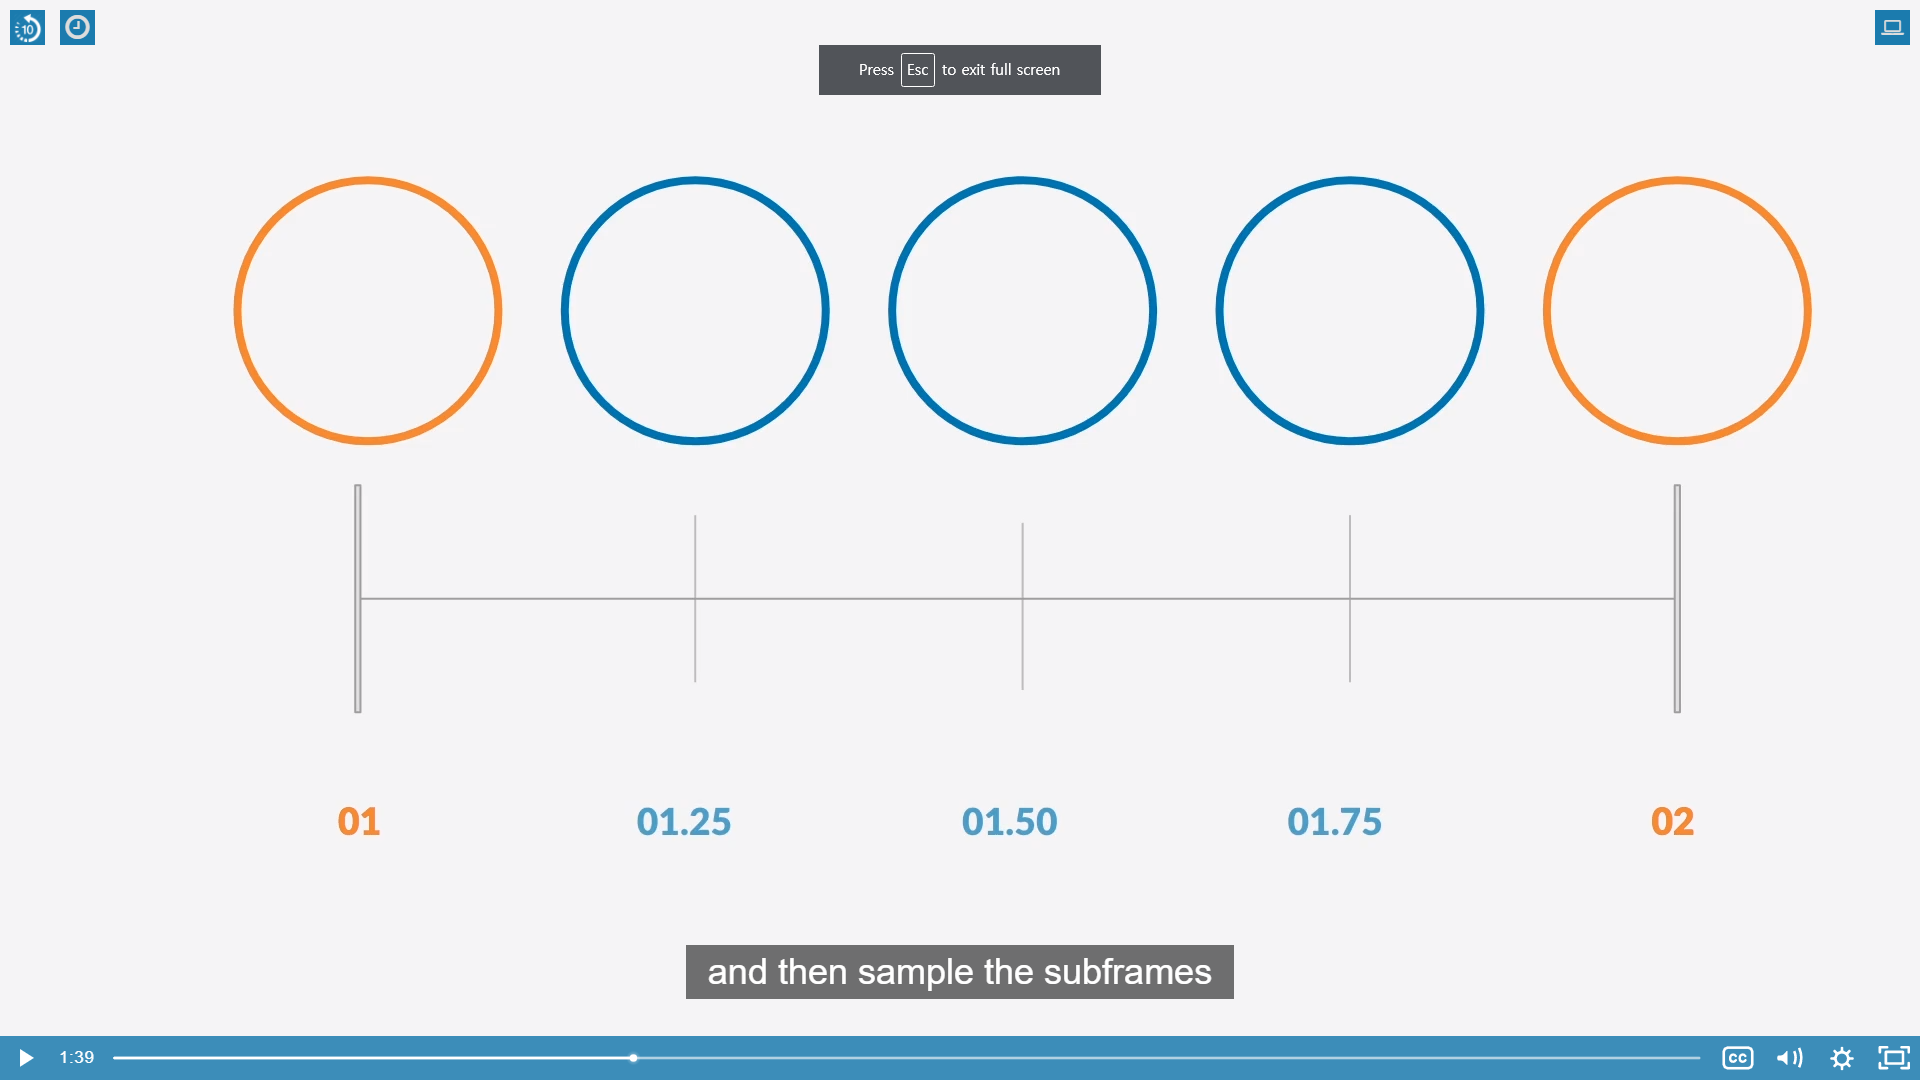

See, game engines can take the animation data and then sample the subframes that's in between each one of these frames, and upsample it to translate it into 60 frames per second.
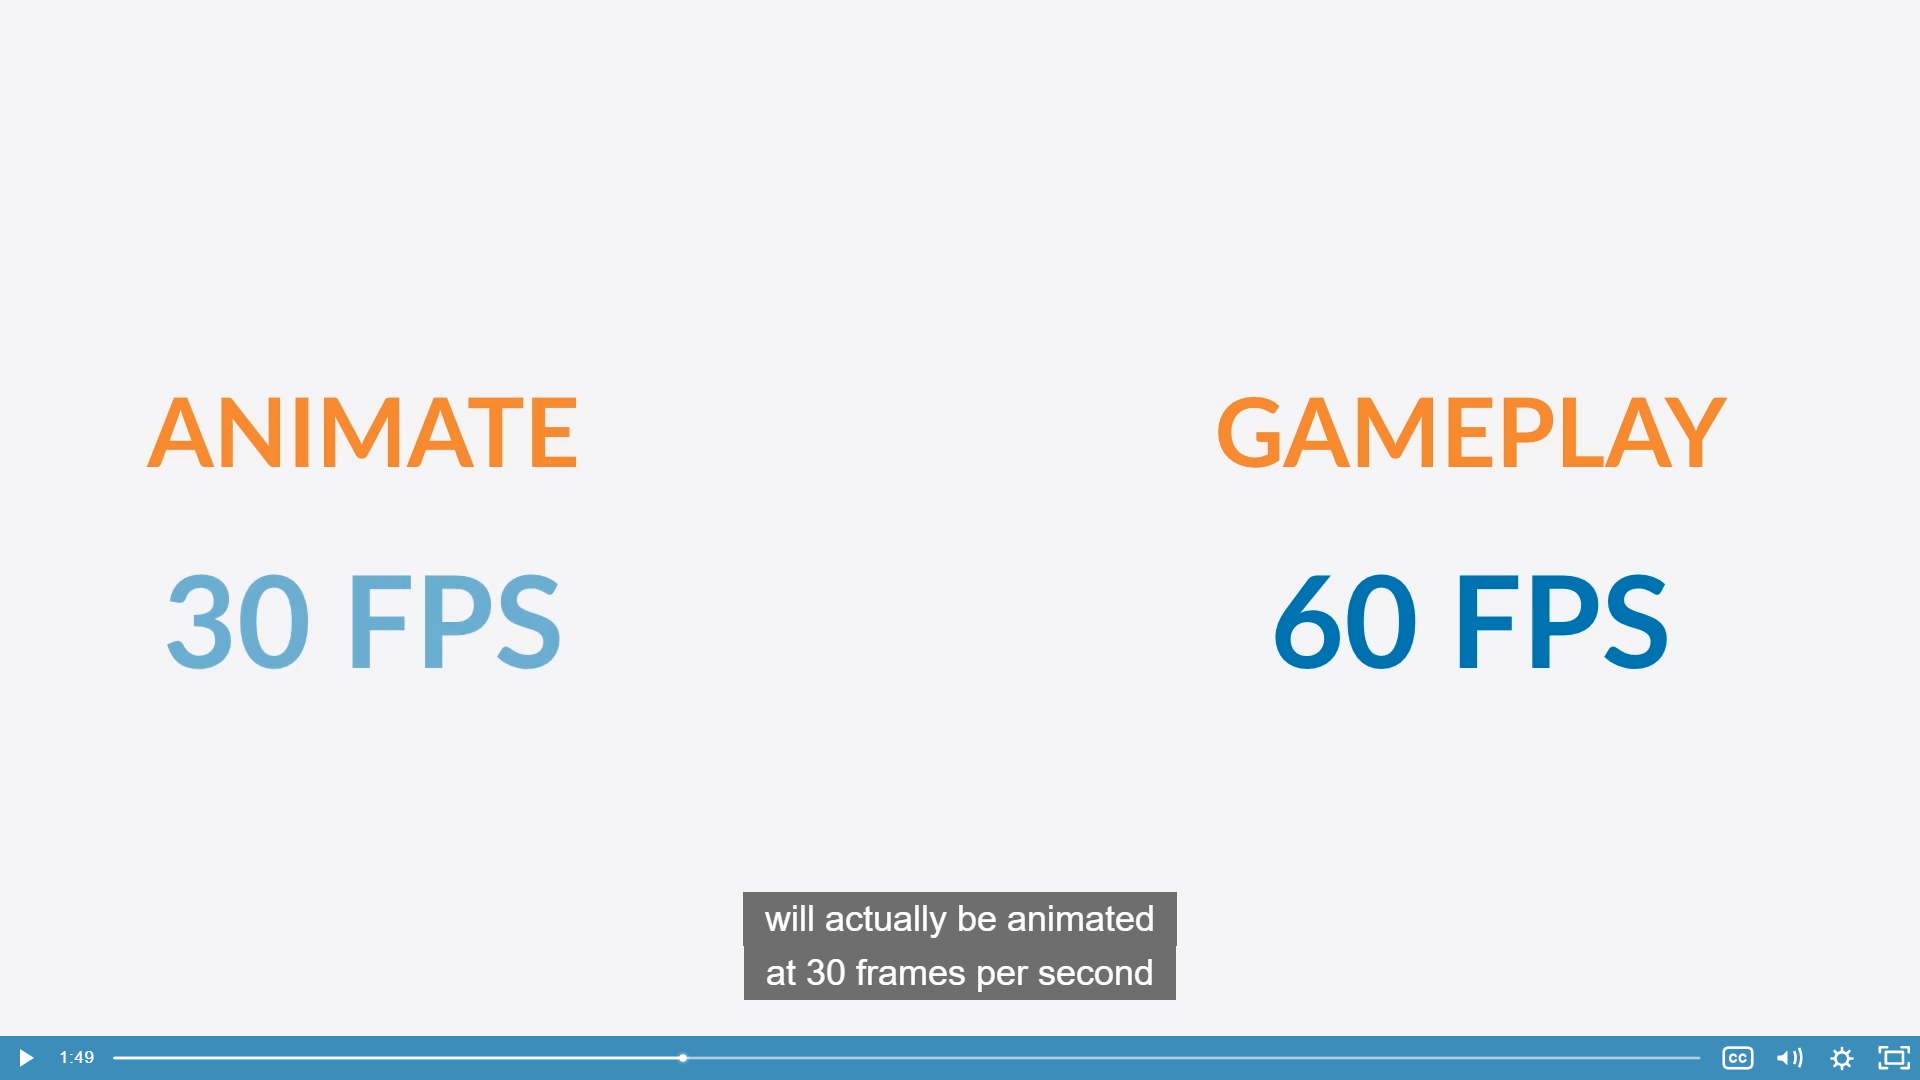
So most games that run at 60 frames per second will actually be animated at 30 frames per second and upsampled.
And if you are wondering why they choose 30, that is because it divides nice and evenly into 60.
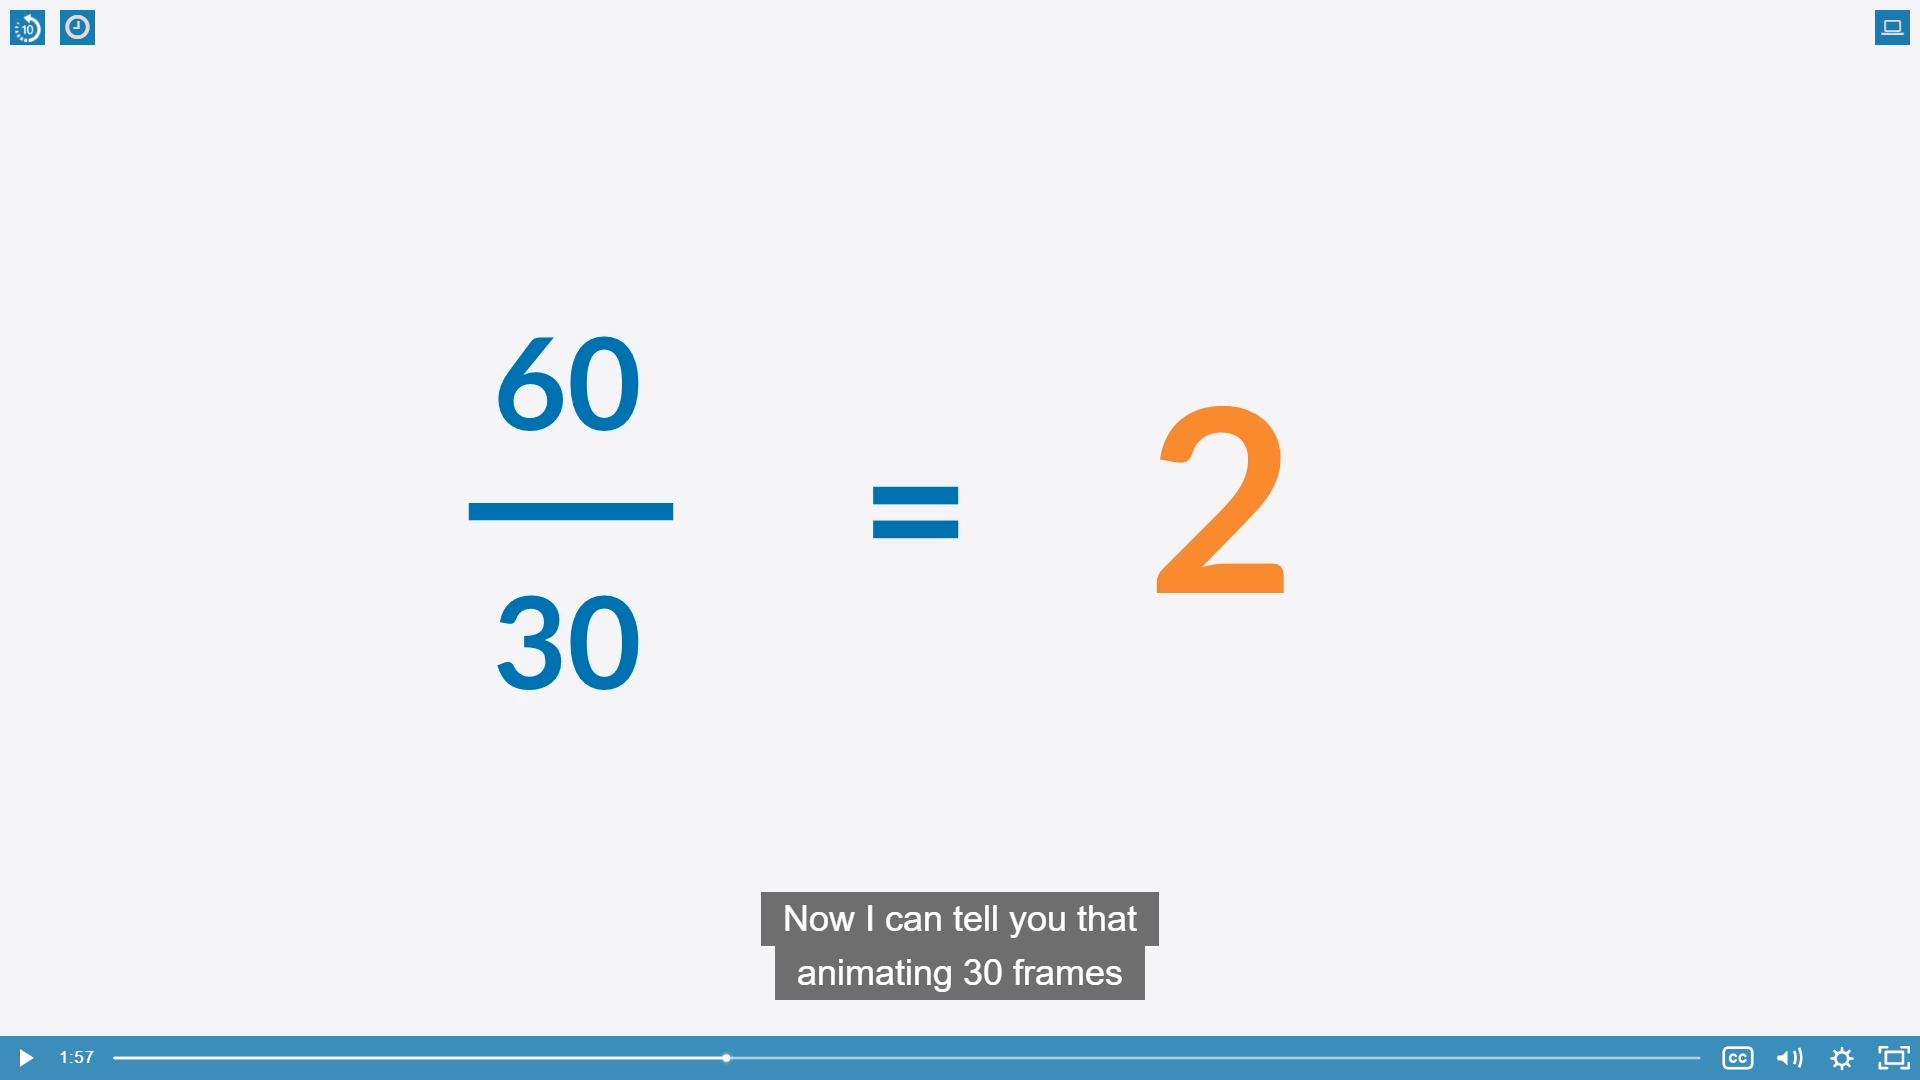
Now, I can tell you that animating 30 frames is a lot easier than animating 60.
Twice as easy, in fact, and you don't even need a calculator for that
Viewport Playback, Now, when we are animating, it's always a nice thing to be able to actually see the correct frame rate
Actually , display in our veiwport.

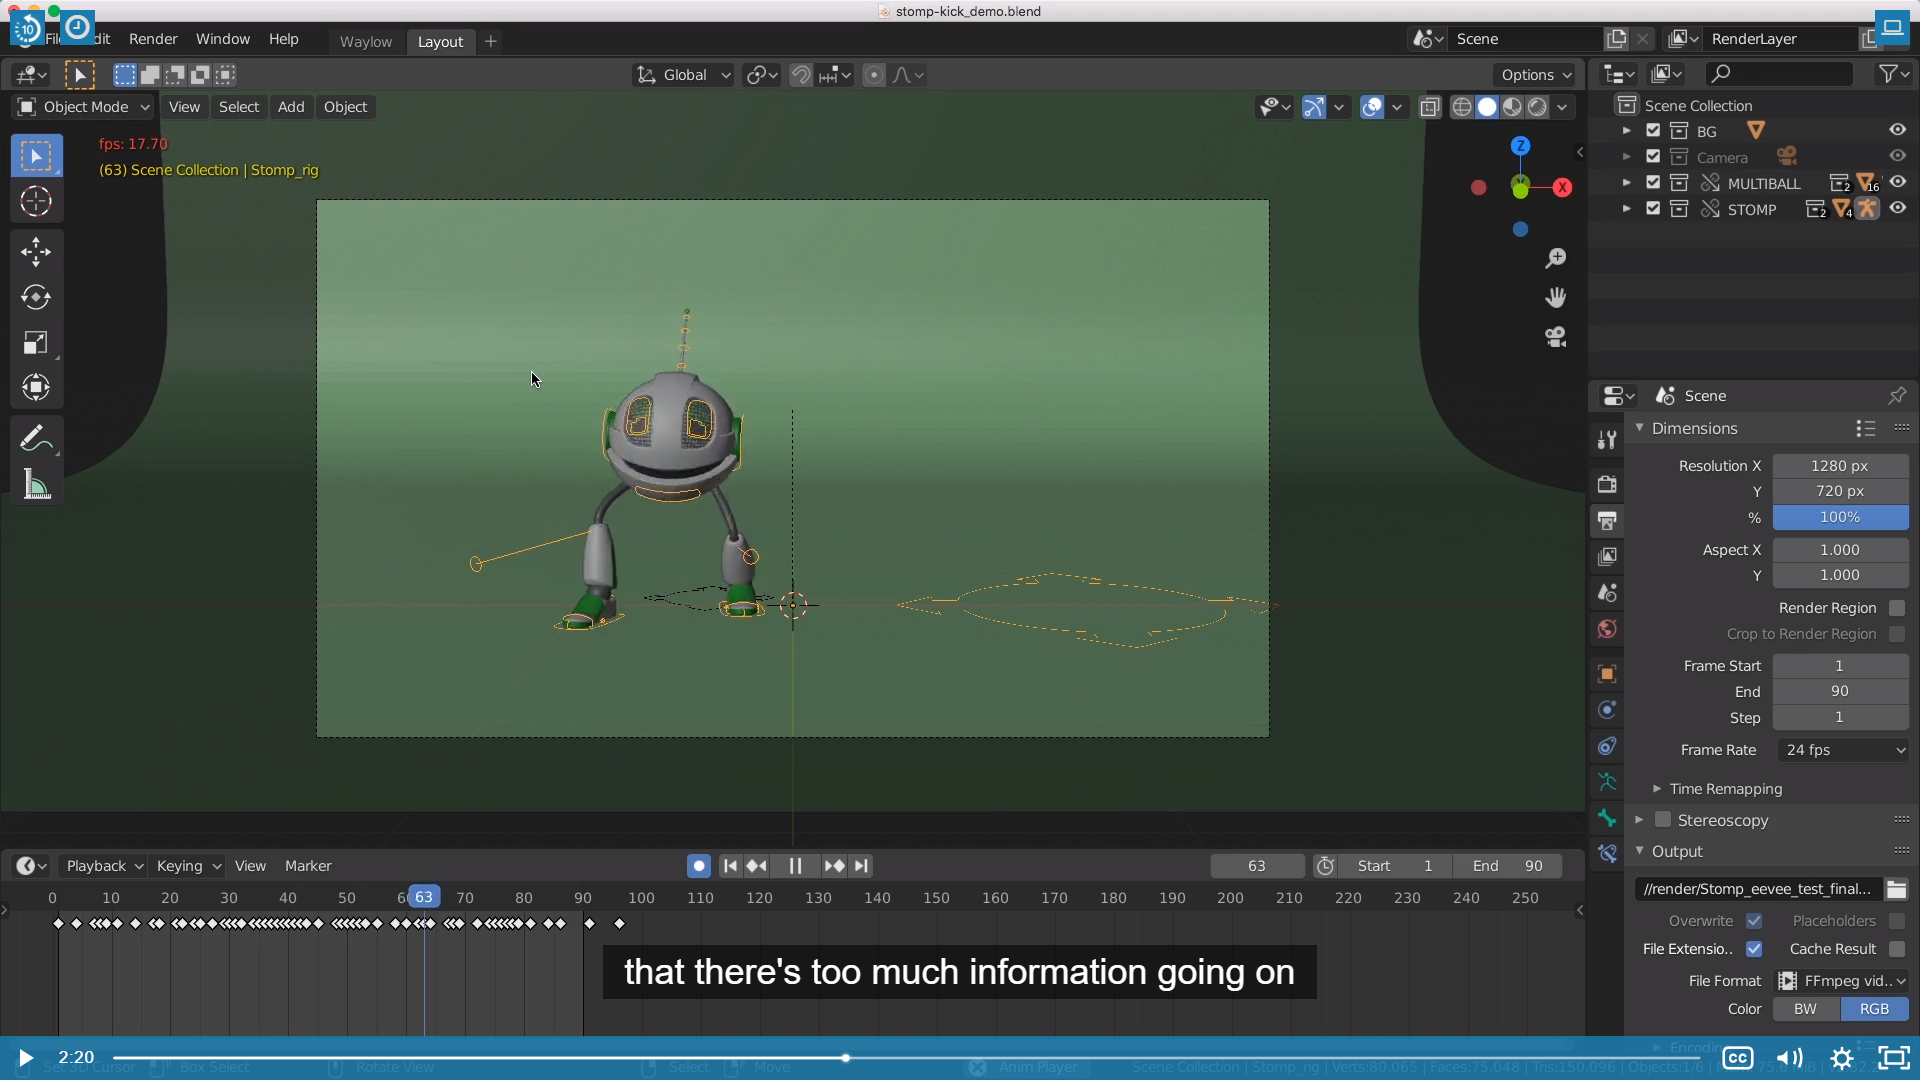
Now this signifies that there's too much information going on for my computer to keep up
and calculate every frame. It can only do about 17 frames out of the 24.
signifies : ~을 상징하다.
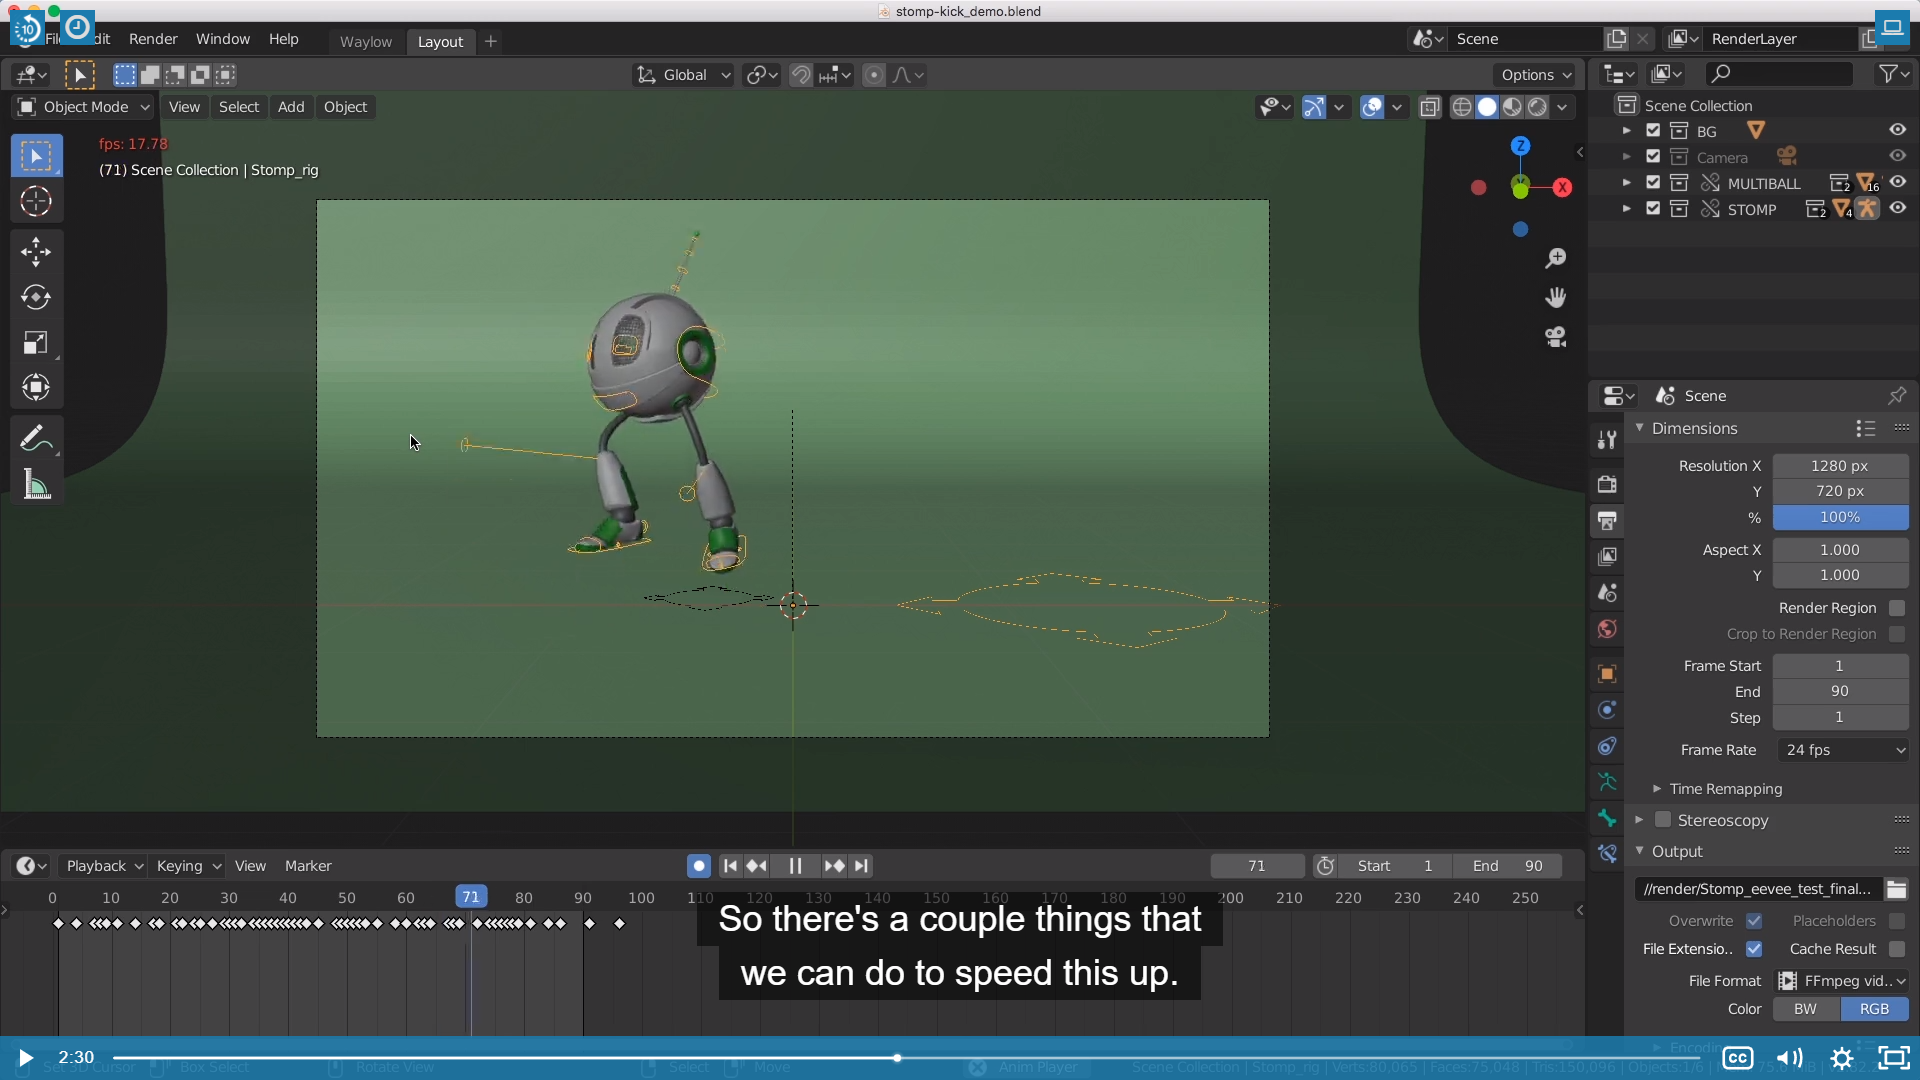
So there's a couple thing that we can do to speed this up.
The first thing that we can do, if this is a really complicated scene, just make sure that you hide anything that isn't necessary.(아마도 빨강색이 뜨면 원래 애니메이션이 안보이기 때문에 숨겨서 Performace를 높여서 원래 애니메이션을 보라는 것인거 같다.)
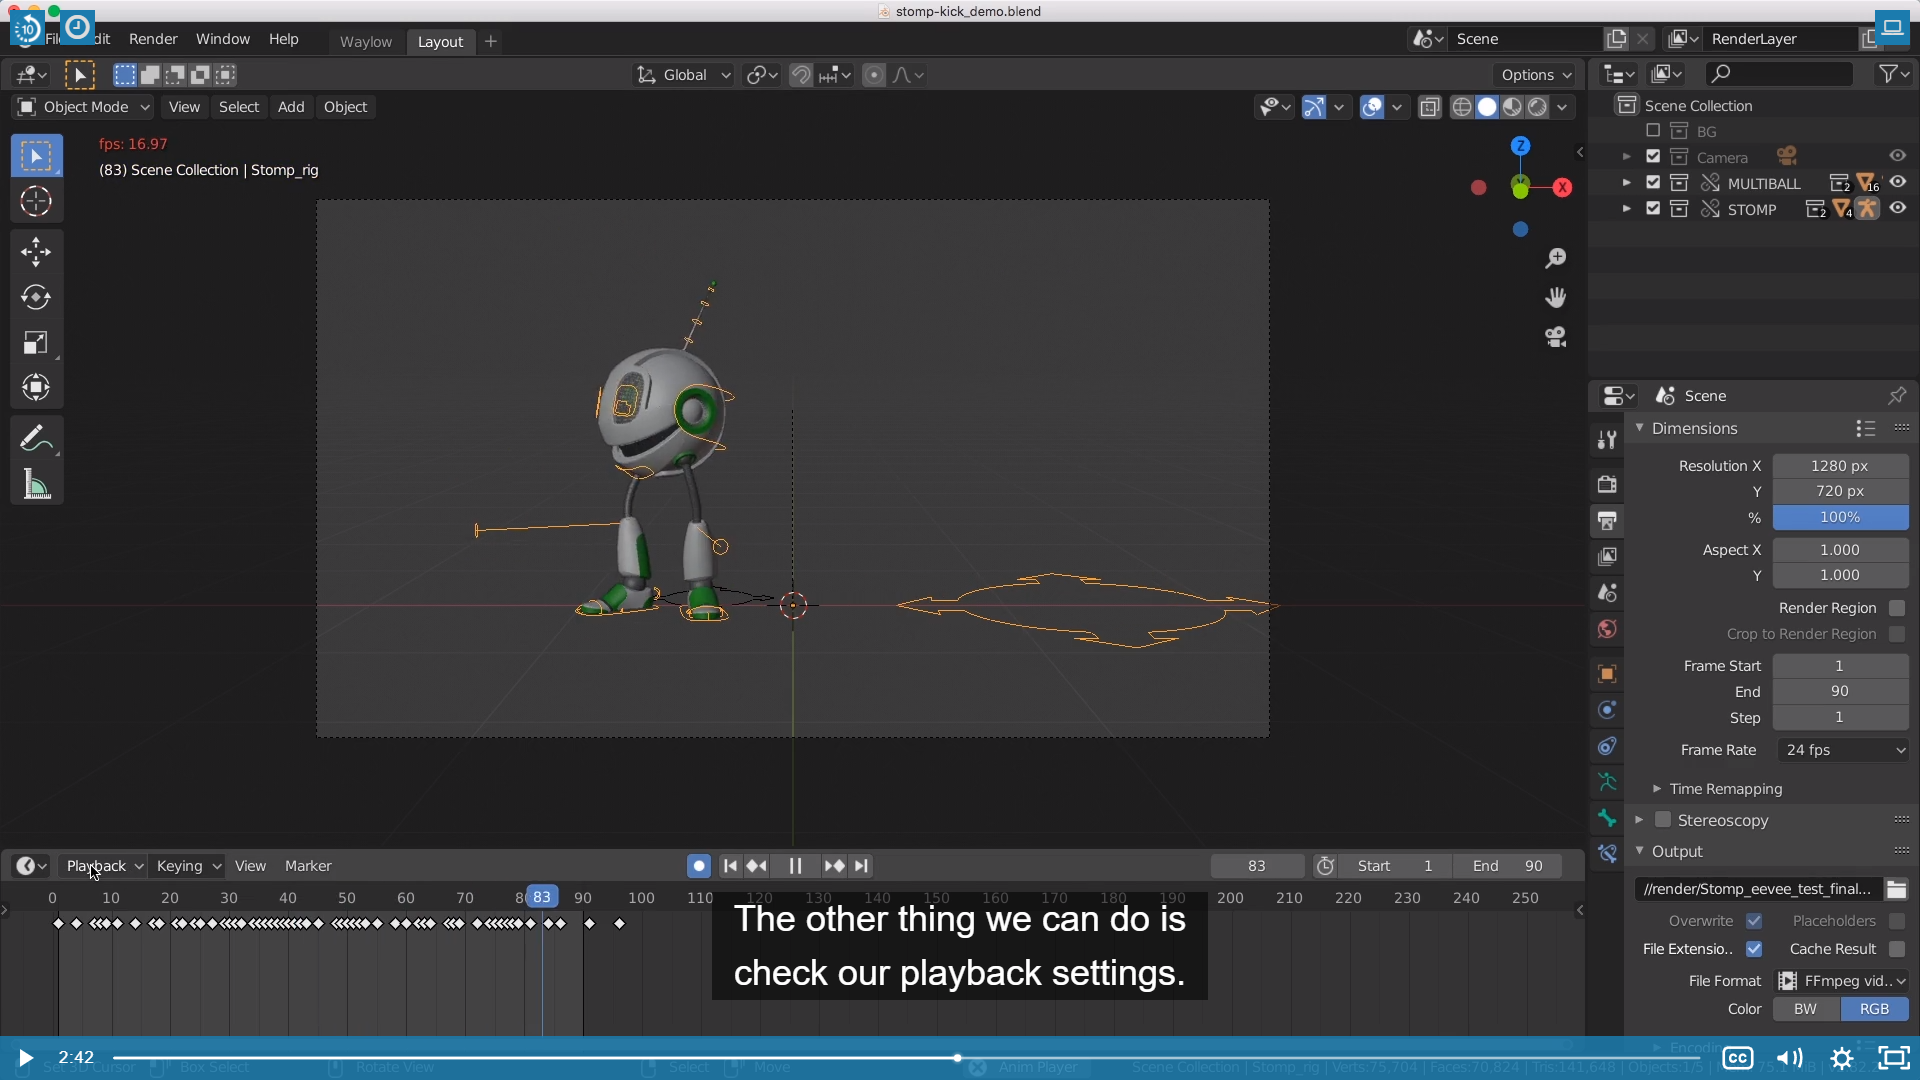
The other thing we can do is check our playback settings.
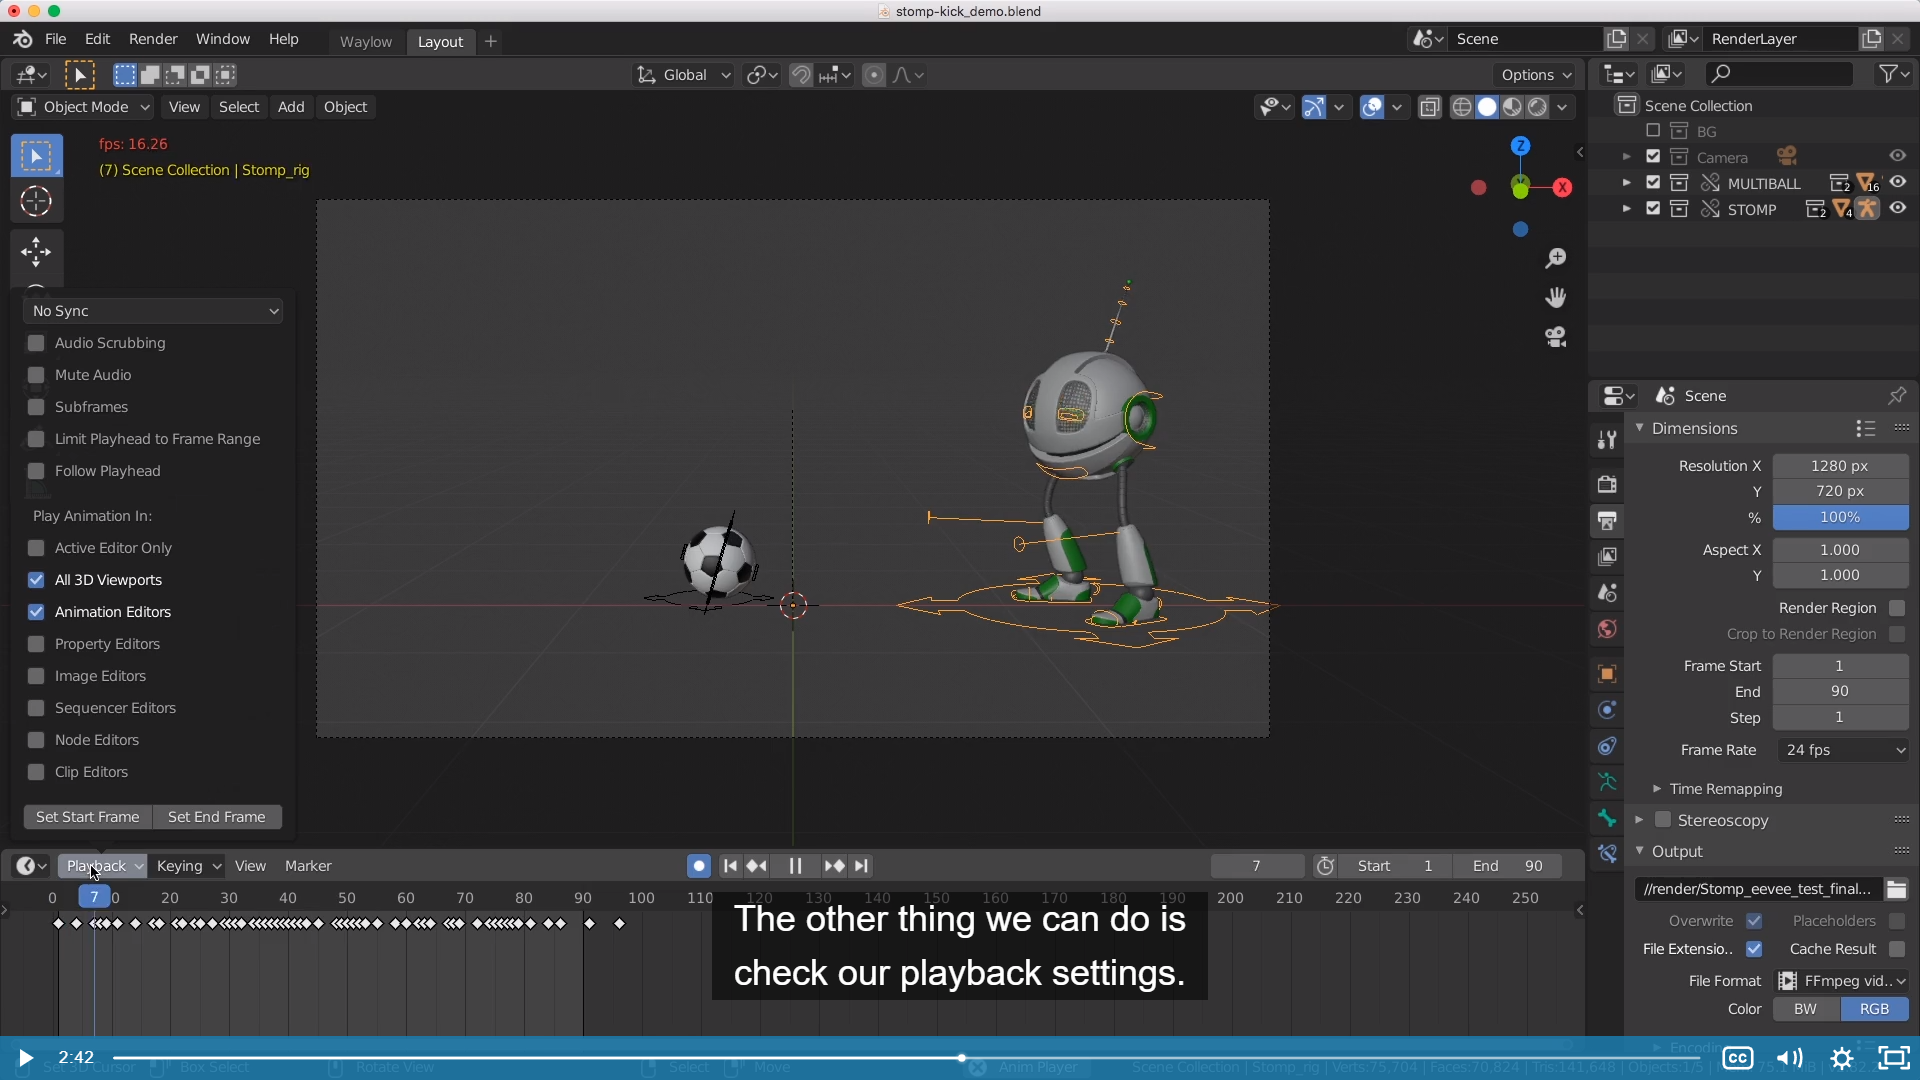
So up here, in our Sync settings, it will most likely, by default, be set to No Sync.
What that does is it's going to force the computer to show you every single frame.
That's why he's running a little bit slow here.
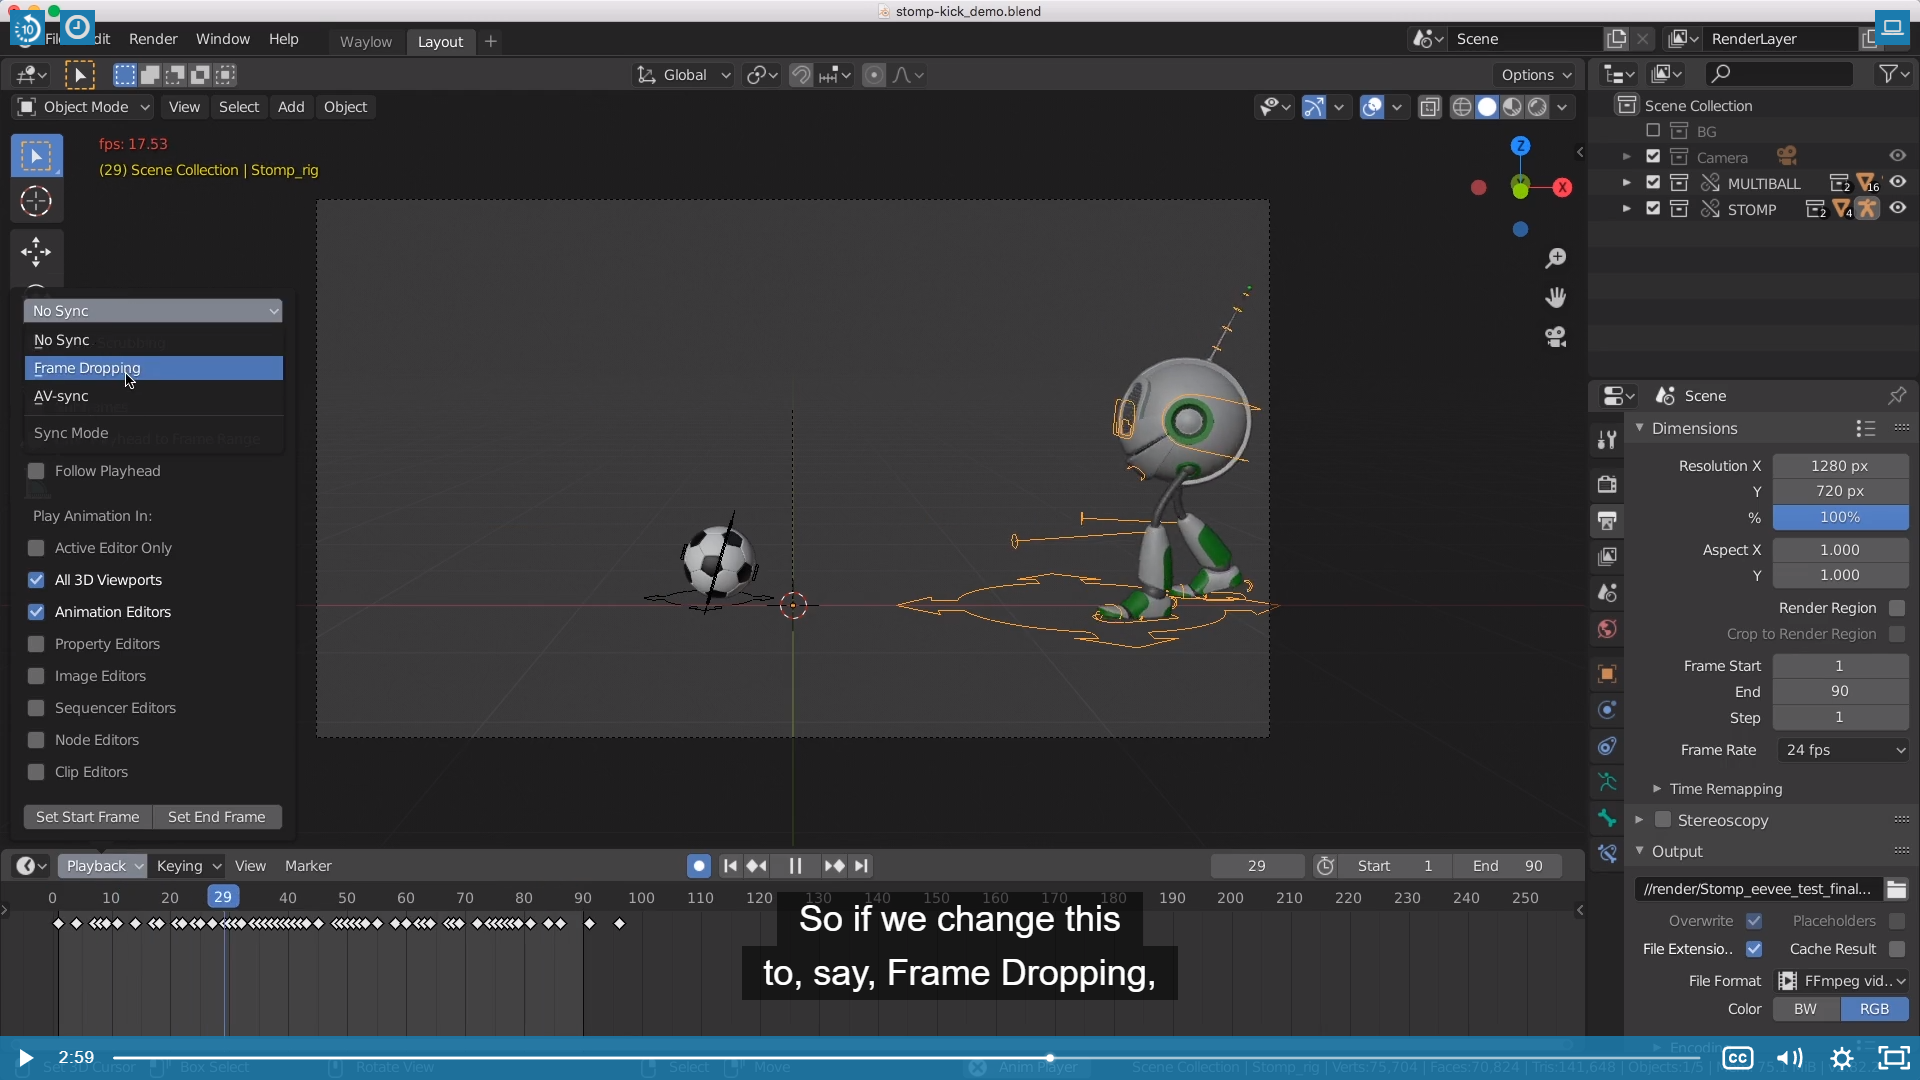
So if we change this to, say, Frame Dropping, what that's meant to do,
although it hasn't helped in this situation, is it's meant to drop frames to keep up with that.
If it's going too slow, get rid of the frames it can't display to give you a better playback.

I have always found that if you change it to AV-Sync, what that does is it uses the audio clock settings
rather than the video clock settings. and it's gonna give you a faster playback,
-------------------------------------------------------------------------------------------------------------------
How do the AV-sync, Frame Dropping and No sync in Timeline work?
How do the AV-sync, Frame Dropping and No Sync options in Timeline work when working with audio and video?
blender.stackexchange.com
여기 까지 확인 해본결과 no sync는 모든 프레임을 숨김없이 보여주는거고
Frame dropping은 말그대로 프레임을 드롭시켜 24 프레임 고정, 원하는 프레임을 고정하는 설정을 의미한다.
-------------------------------------------------------------------------------------
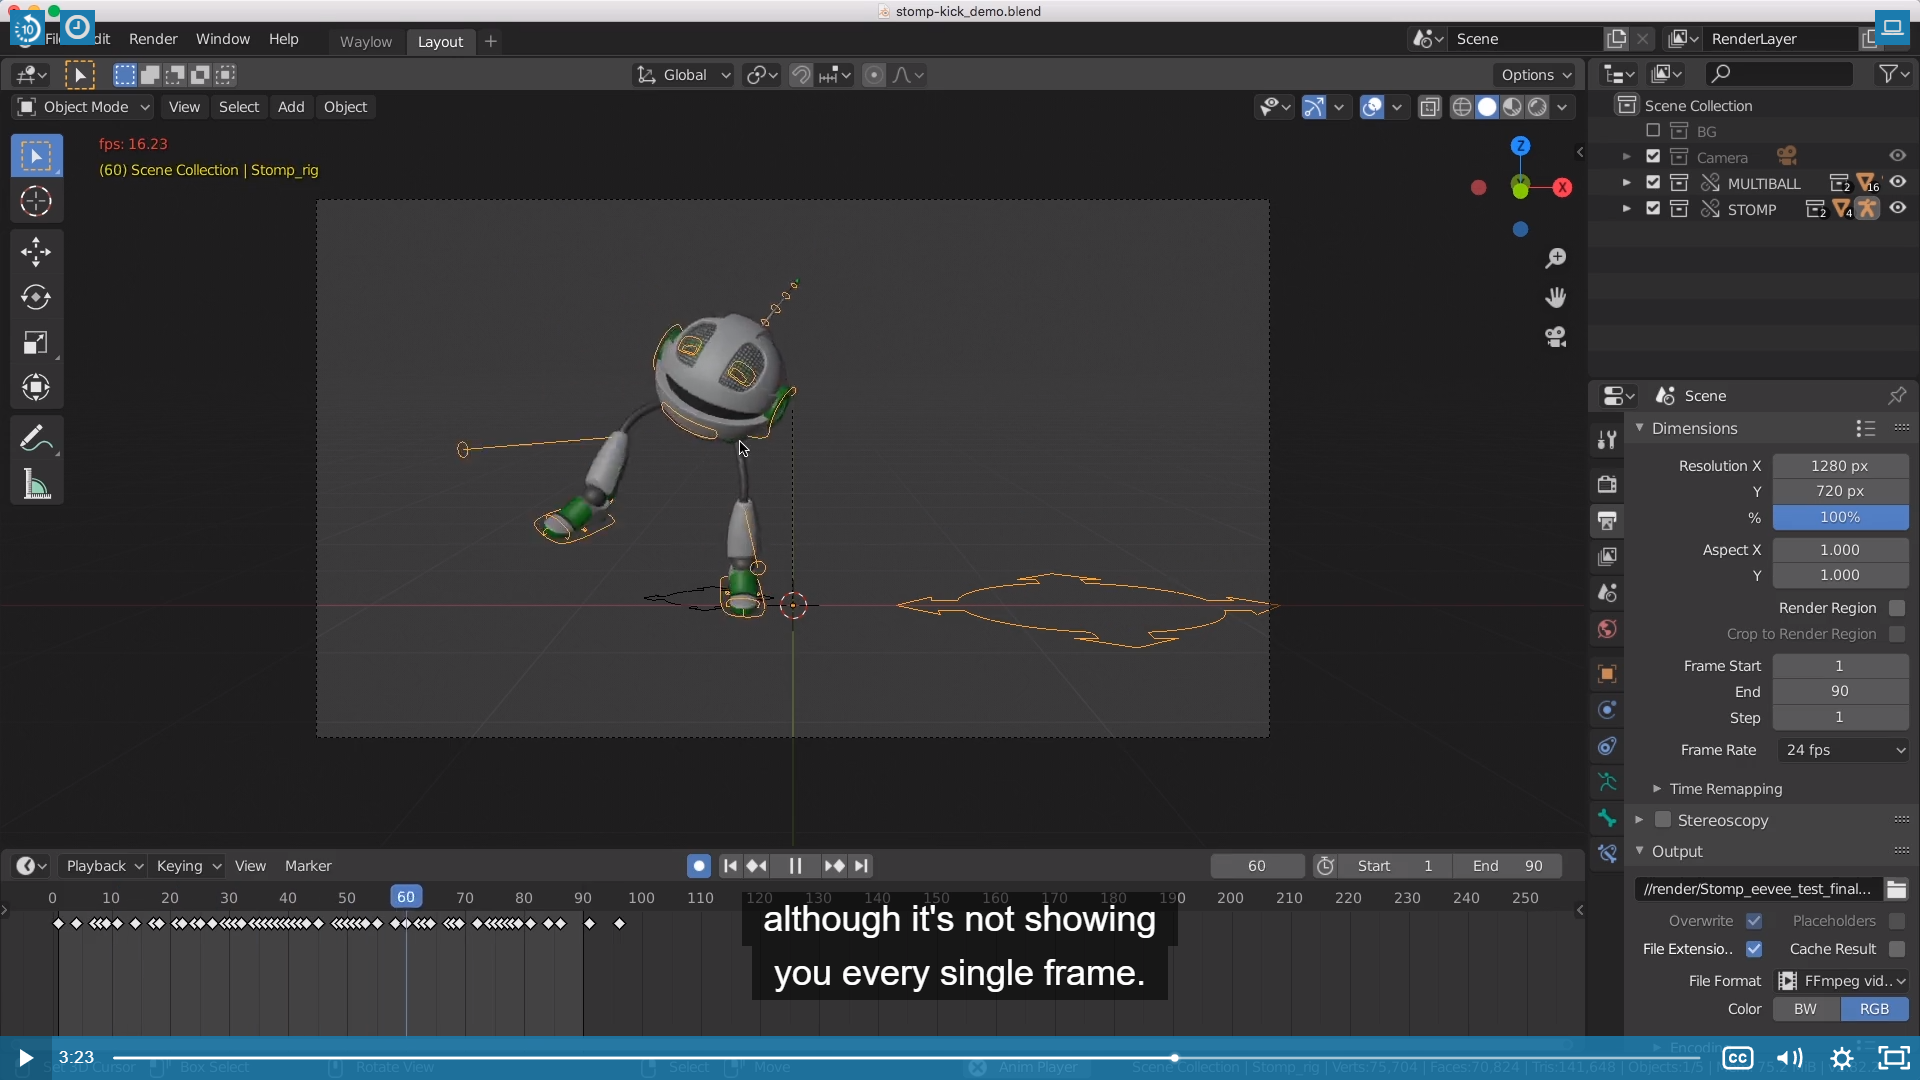
Although it's not showing you every single frame. So we're still getting 16 frames per second,
but it's dropping the ones that it can't display in time.
just to give you a better feedback of actually how fast he is moving and stuff like that.
But you need to remember that not every single frame is actually being disaplayed here.
If we want every frame to be displayed, it is alway nice to get the 24 frames per second that we are after.
So one easy way to do that is to force a simplification on the scene,
'cause in this one our character is using a lot of subsurfs and it's actually making the viewport
a lot harder to calculate.
--------------------------------------------------------------------------------------
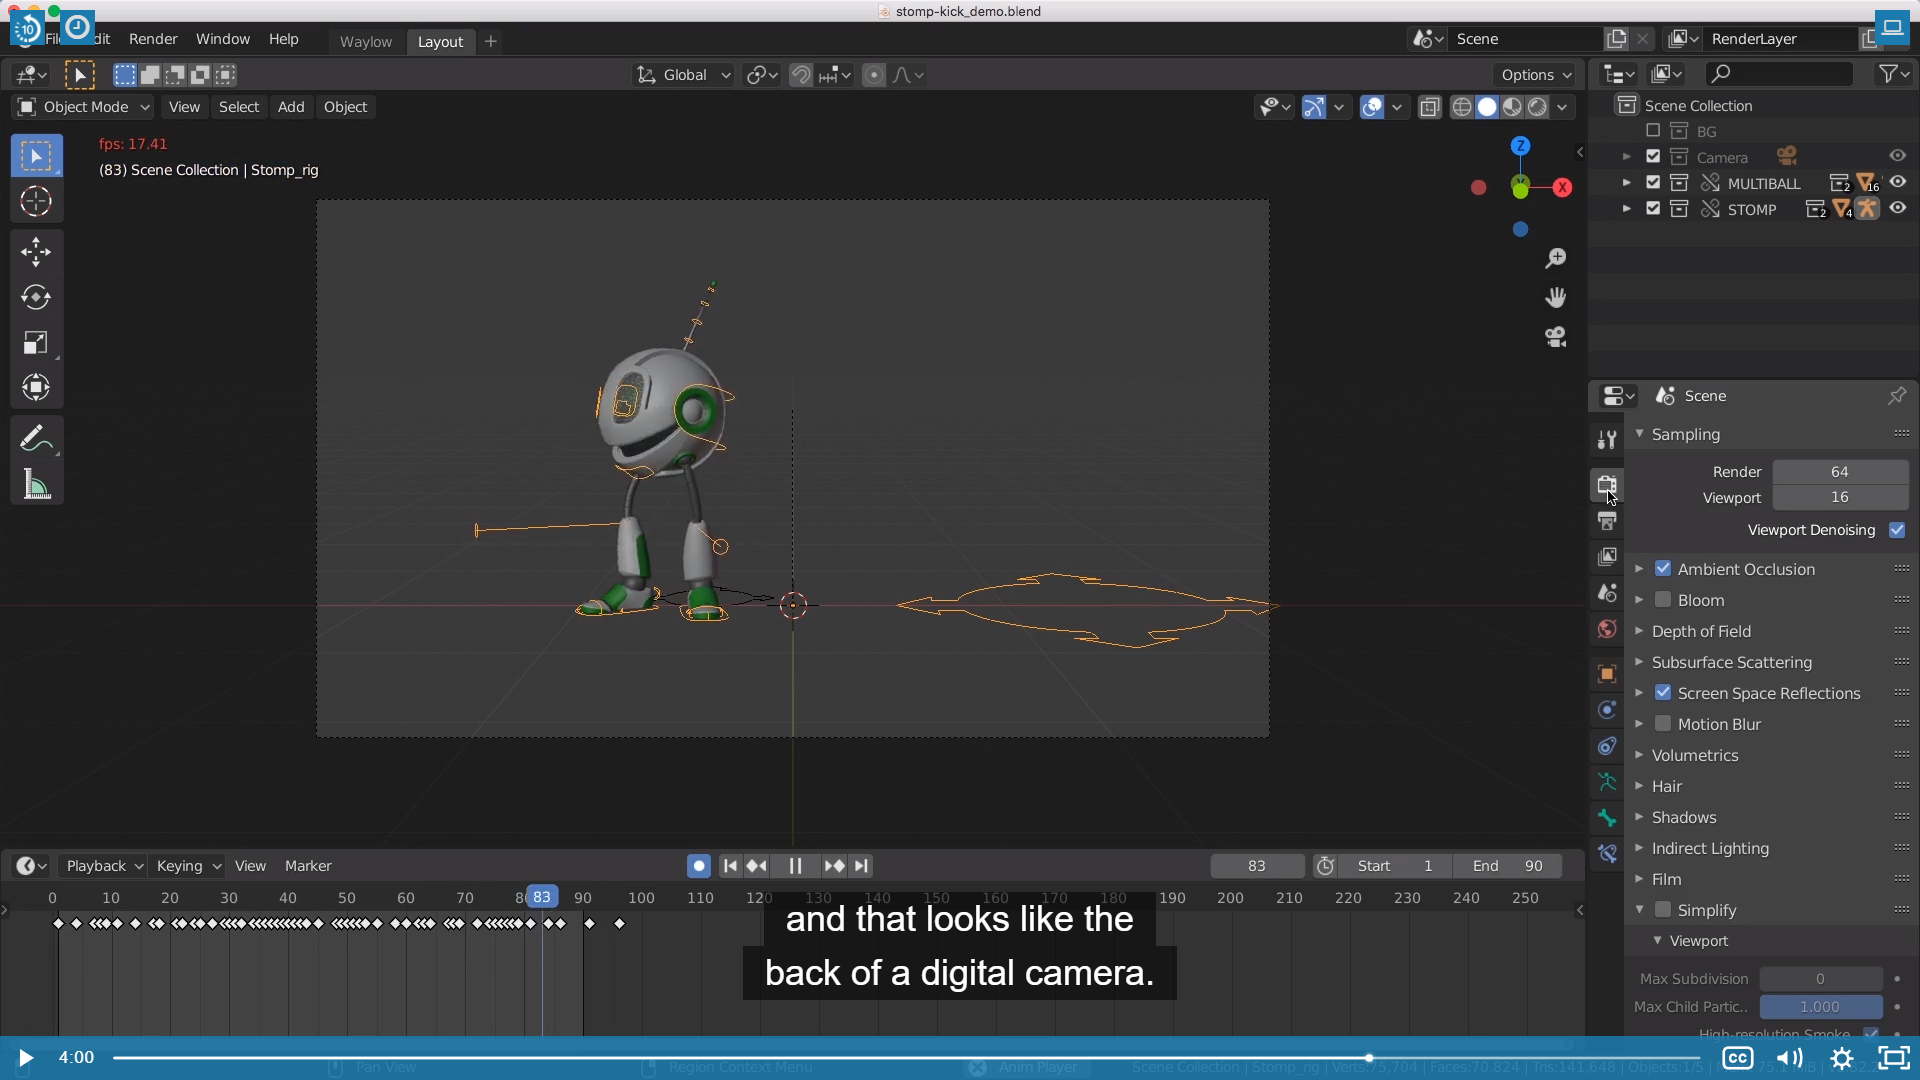
Just gonna jump here into Our Render settings, and that looks like the back of a digital camera.
That 's what that one is. And down here, you will see Simplify.
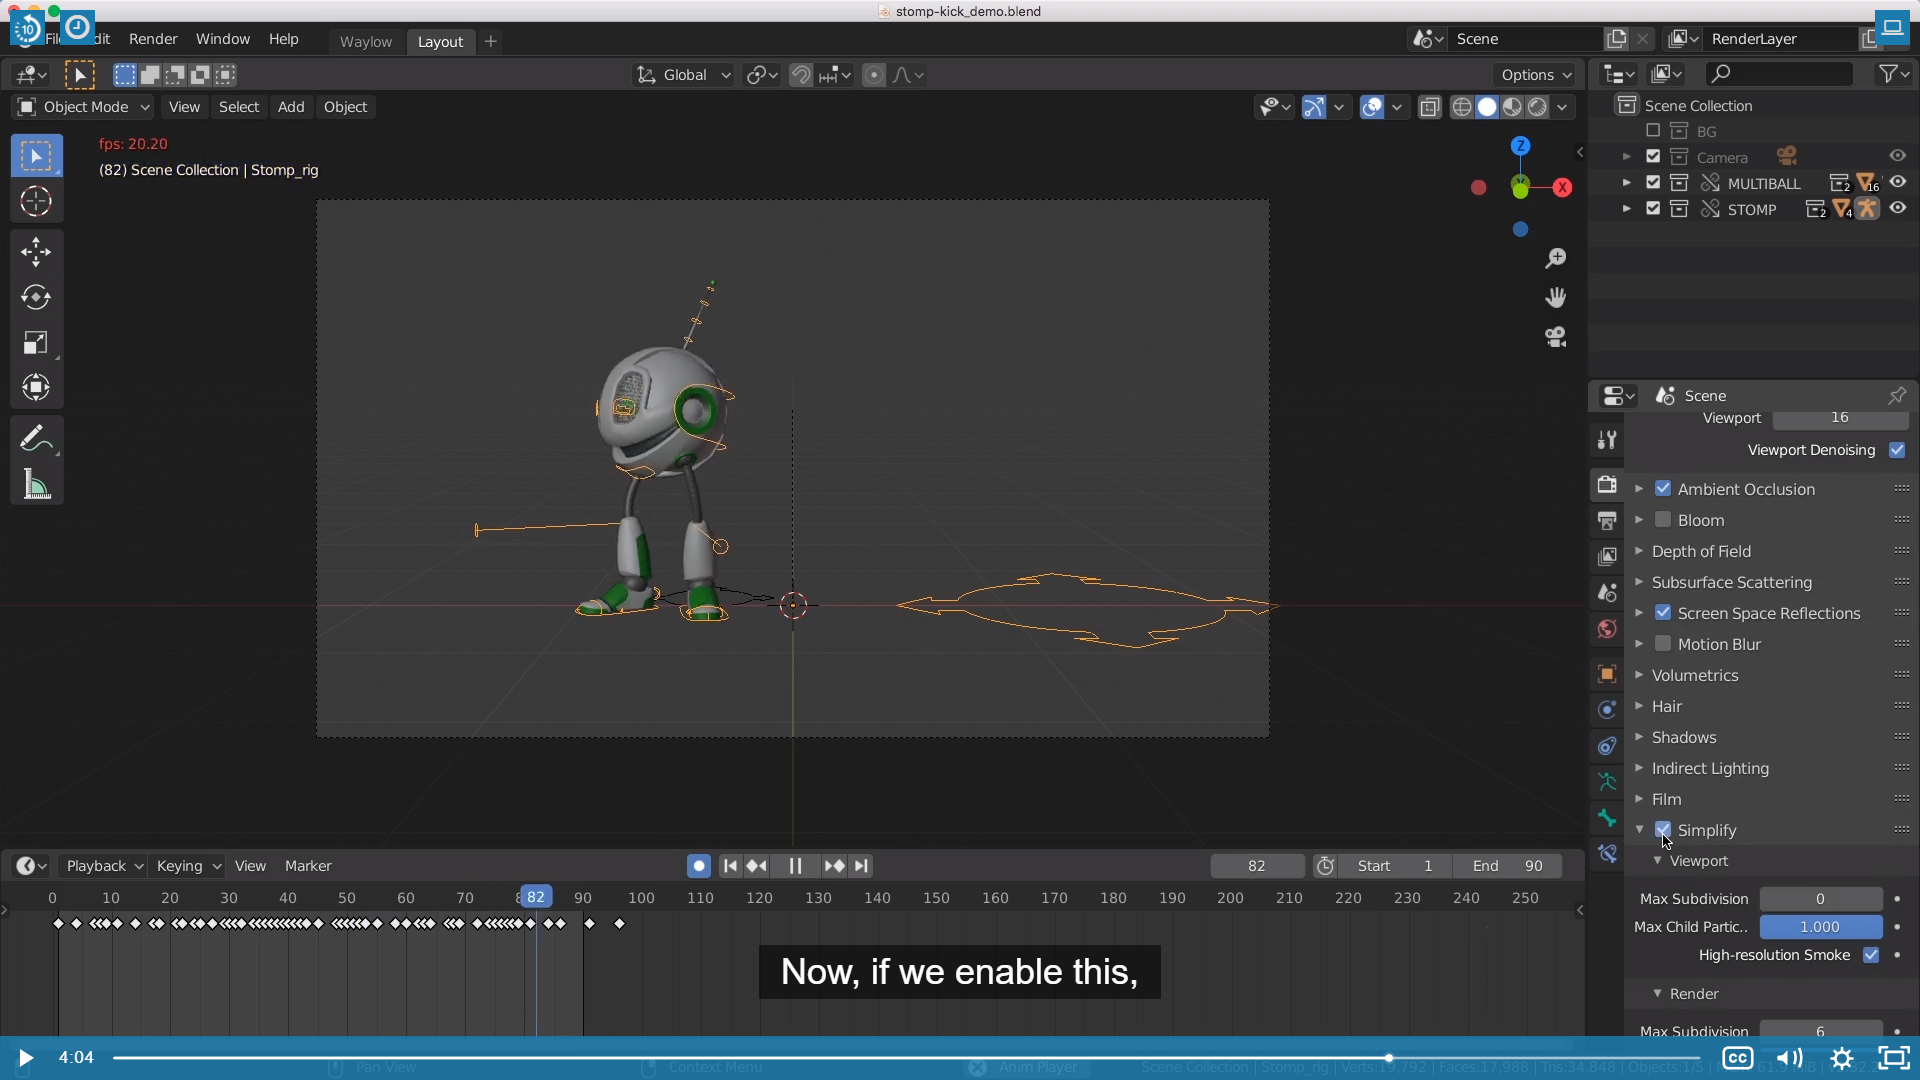
Now, if we enable this, this will probably be set to six by stop, I just drag that down to zero.
And what that's gonna do, it is going to turn off all of our subdivision surfaces.(즉 폴리곤이나 정점들을 간소화 한다는 이야기 인것 같다.)
And now we are getting the 24 frames per second.
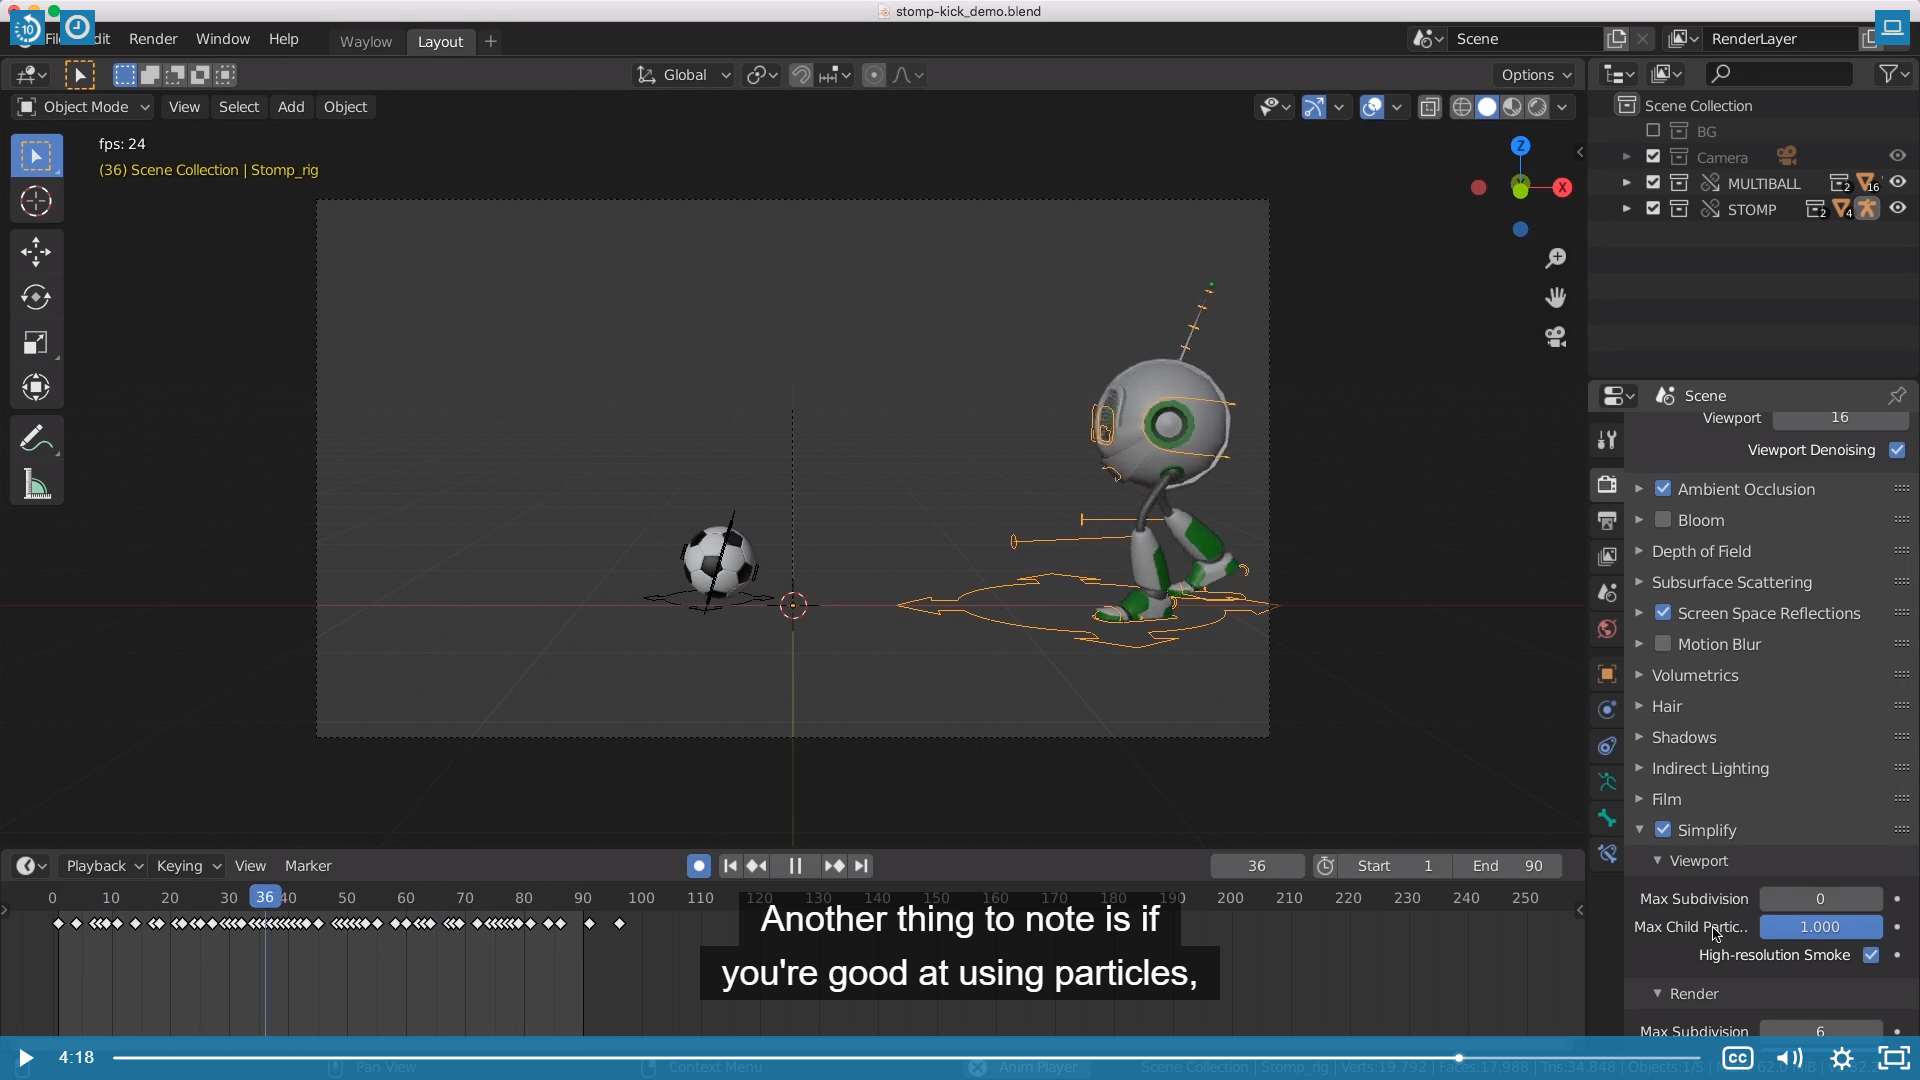
Another thing to note is if you are good at using particles,
particles might actually be slowing it down.
So here 's the setting, if you have got a lot of grass or a lot of fur, you can drag this down to actually simplify the scene.

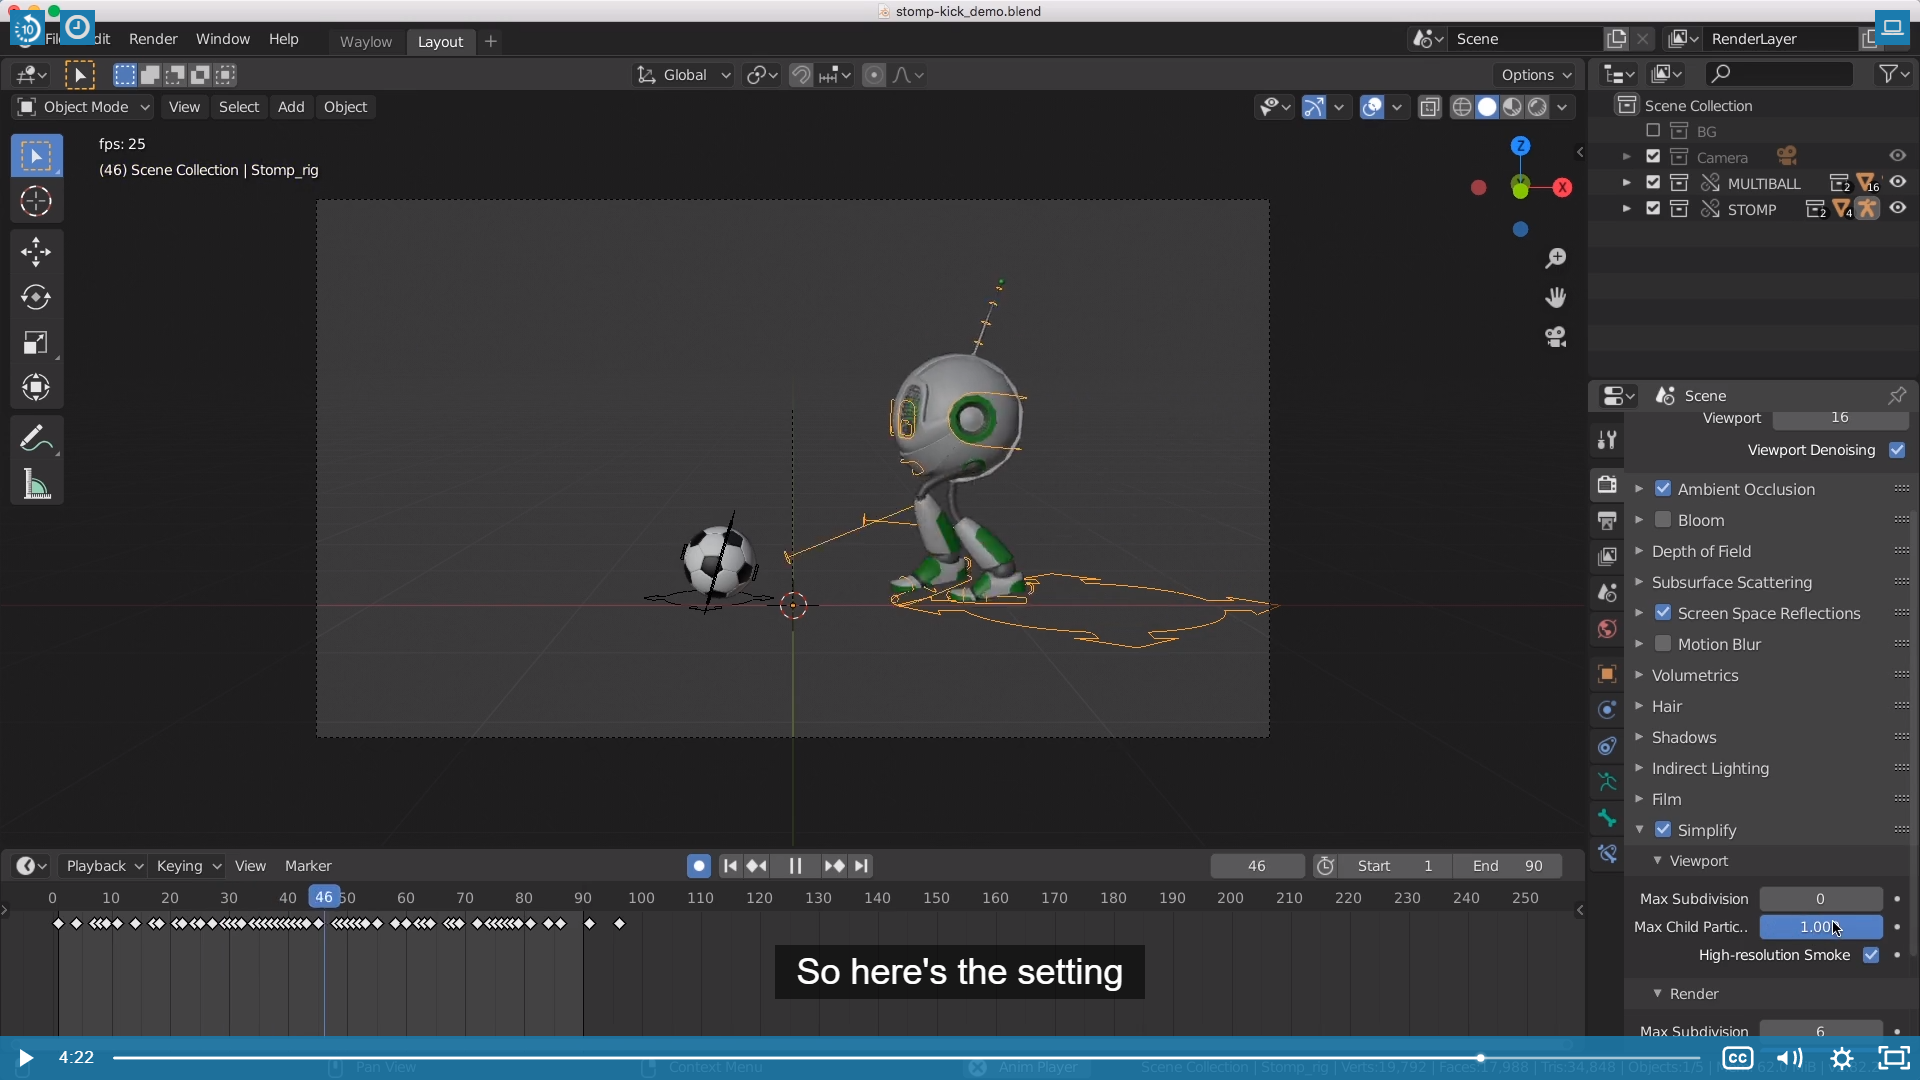
When we activate Simplify, these are the Viewport settings and Render settings, unless we want to(랜더 와 에디터창(뷰포트)에 세팅을 하는 구간이 다르다.) So we can actually disable the subdivision surfaces in our render if we want,
or we can just leave that at default. And if we always wanted to do a playblast or render out our viewport, then
we get a nice-looking OpenGL render with the subdivision surfaces enabled.
So there we go, there's a couple different ways that you can speed up your viewport. Make sure that you hide
anything that isn;t necessary.
Turn on your AV-sync,
and aslo turn on Simplify to make things run at the desired frame rate.
'Blender_Study > Blender_Animation' 카테고리의 다른 글
| 12_Graph_Editor_and_Interpolation (0) | 2021.05.01 |
|---|---|
| 10 Outputting Animation (0) | 2021.04.26 |
| 8 Animation Practice,9 Auto Keying (0) | 2021.04.14 |
| Animation_Fundmentals_2021.04.05(Keyframes and Channels) (0) | 2021.04.05 |
| Animation_Fundmentals_2021.04.03(Timeline) (0) | 2021.04.04 |


