
https://www.youtube.com/watch?v=mg75kSkKkug&ab_channel=RakizFarooq
0. Unreal Engine Rigging
You might wonder why don't I use this Skeleton that is already has one you will be locked out of a lot of functionality that the engine offers if you don't have the correct bone hierarchy hierarchy also the most important reason is that this skeleton is not suitable for creating animations if you want to make new animations you need a proper animation rig like the one that prigify provides 요약 : 언리얼 엔진으로 애니메이션을 임포트하거나 새로 만든 애니메이션을 적용 시키고 싶다면 본의 계층 구조를 언리얼 엔진과 동일시 시킬 필요가 있다. a brief overview There are three stages to rigging this character
Stage One
In the first stage we will rename
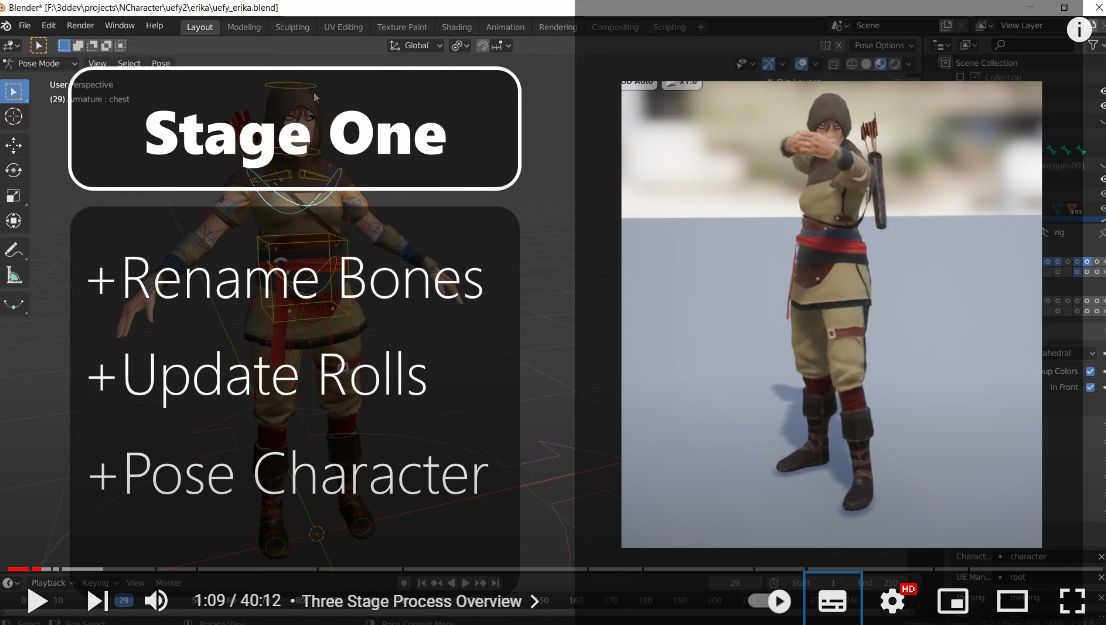
1. In the first stage we will rename the bones (본 이름 재정의)
2. Update the bone rolls (추측으로는 본의 회전축, xyz 축을 알맞게 하는걸로 생각됨)
()
3.and get this characater to be in the same as unreal engine
mannequin
we have tools in ue5 to helps us do this
Stage Two
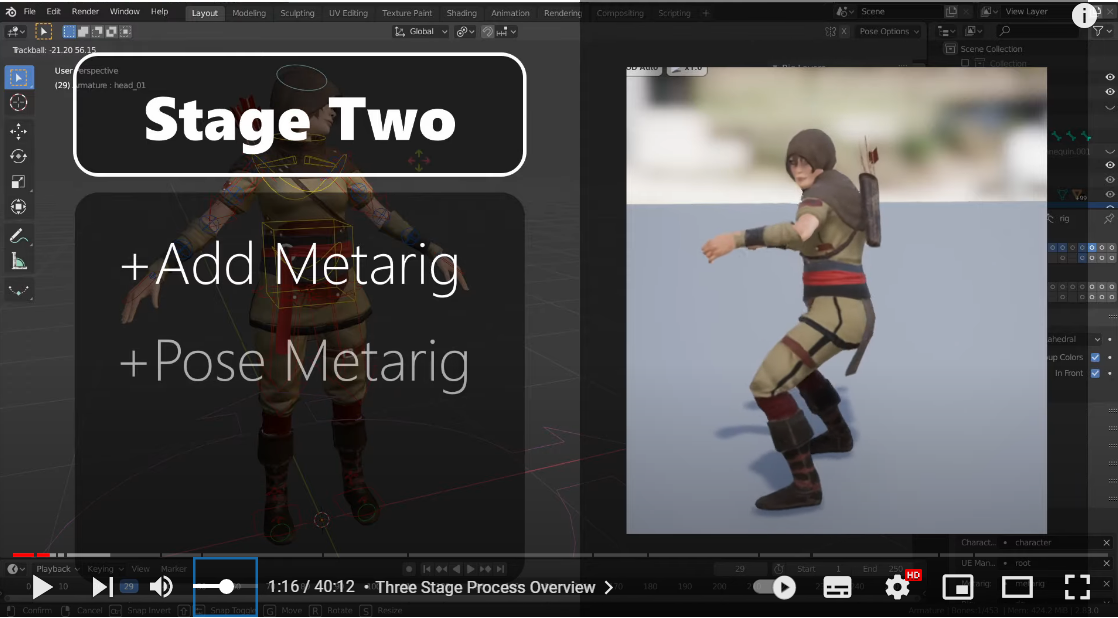
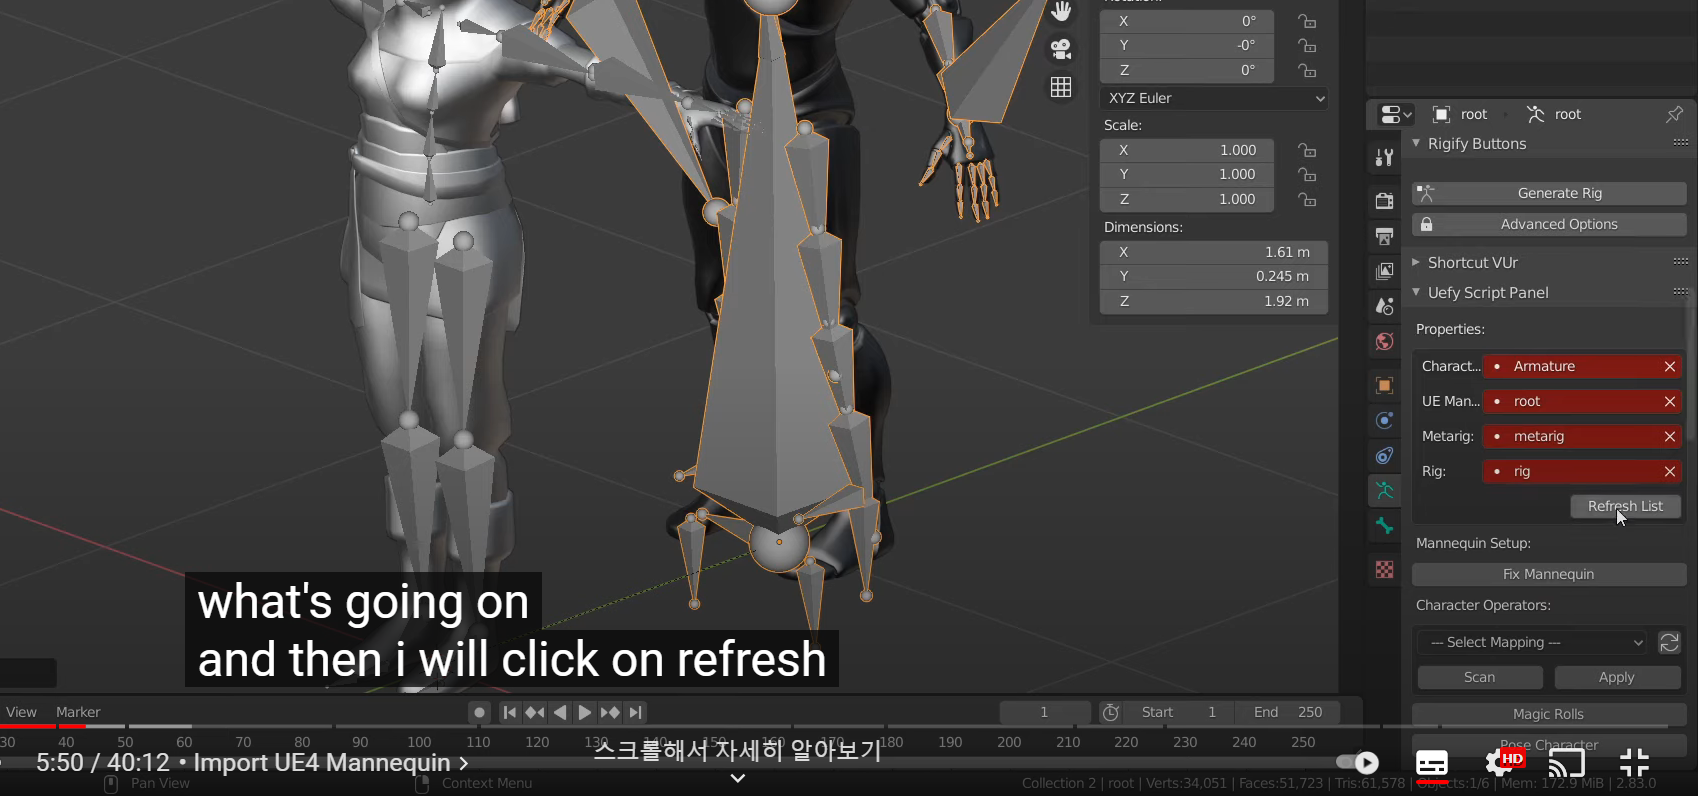
1. In the second stage we add a metarig
2. and adjust its pose to match the character
it s nearly automatic we just adjust spine a little.
Third Stage
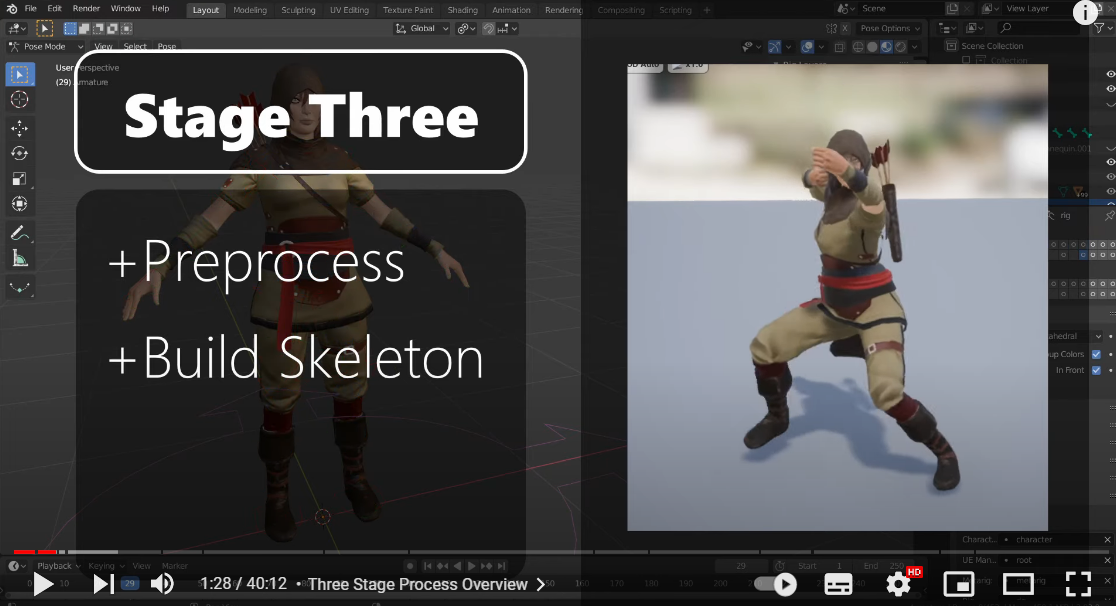
and the third stage is almost completely automatic
you just tell ue5 to make the rig compatible for unreal and it's taken
care of((추측)아마도 이과정에서 애니메이션 Hierarchy를 언리얼 엔진 시스템과
블렌더에서 만든거를 일치화 시키는 과정 같음)
먼저 블렌더의 default scale과 언리얼 엔진의 스케일이 다르기 때문에
cm로 통일 시켜준다.
캐릭터를 제외한 모든것을 삭제해주고
오브젝트 데이타 탭에서
uefy라는 애드온을 사용하여 기존 본과 연결된것을 Extract해주고
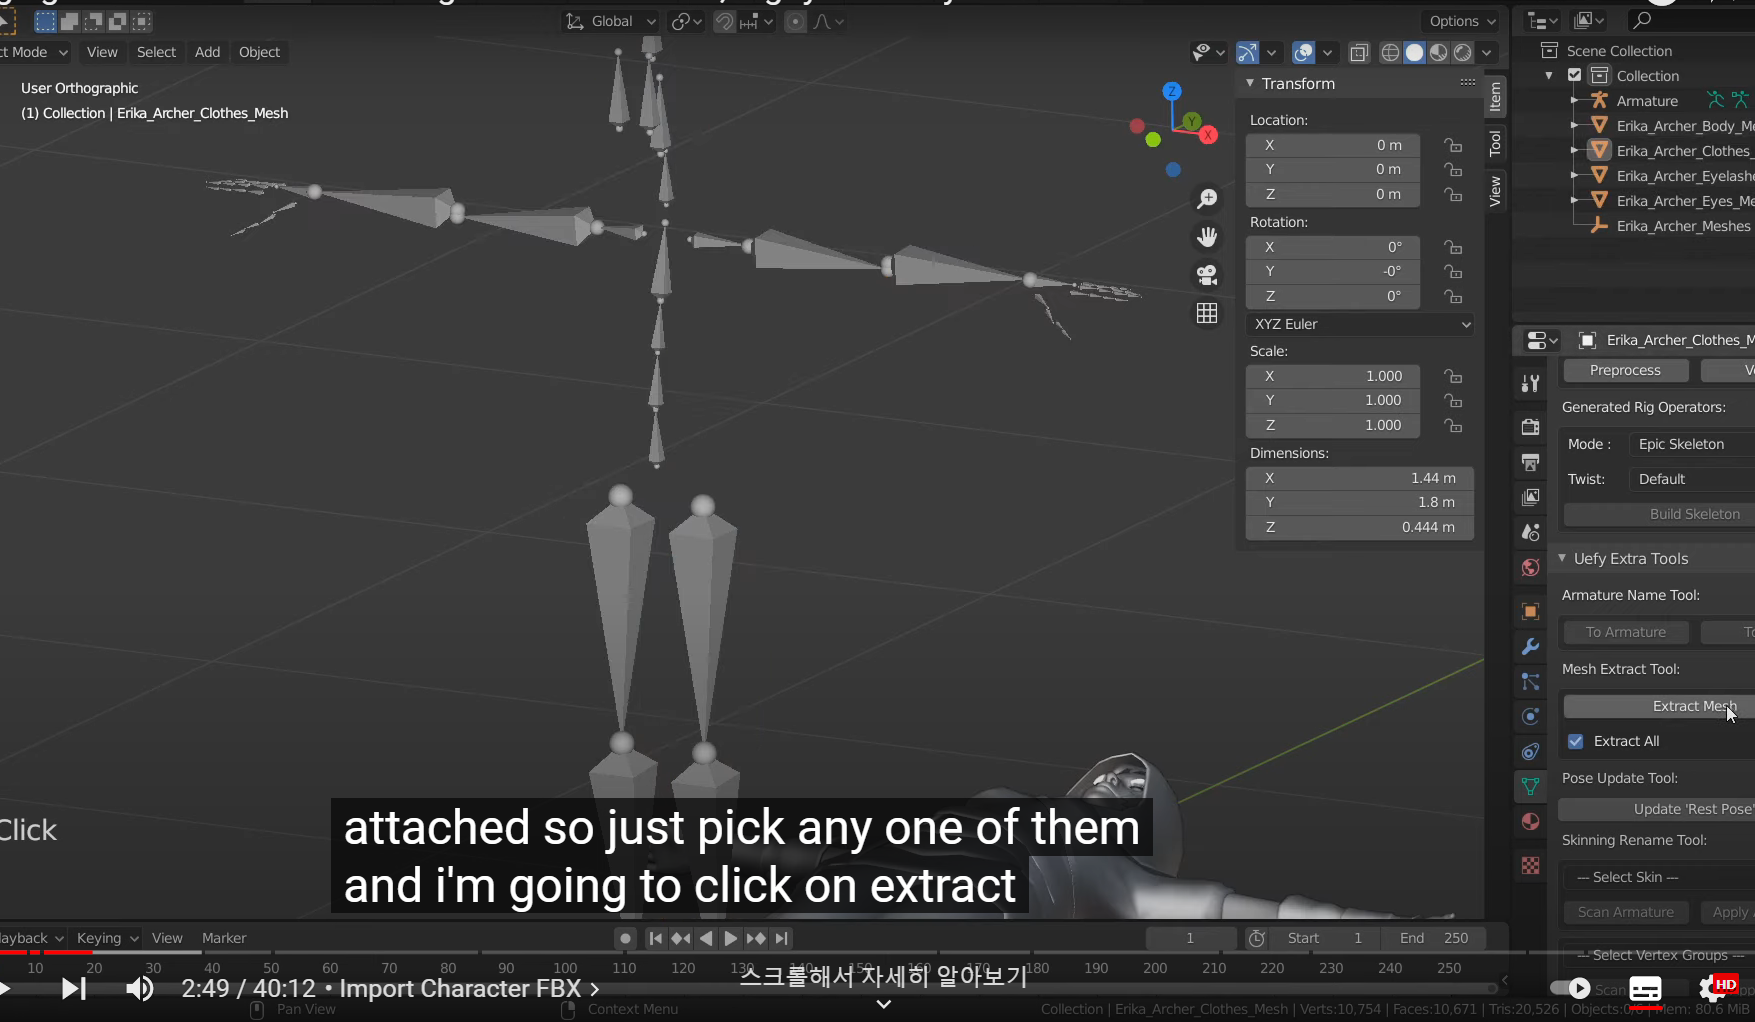
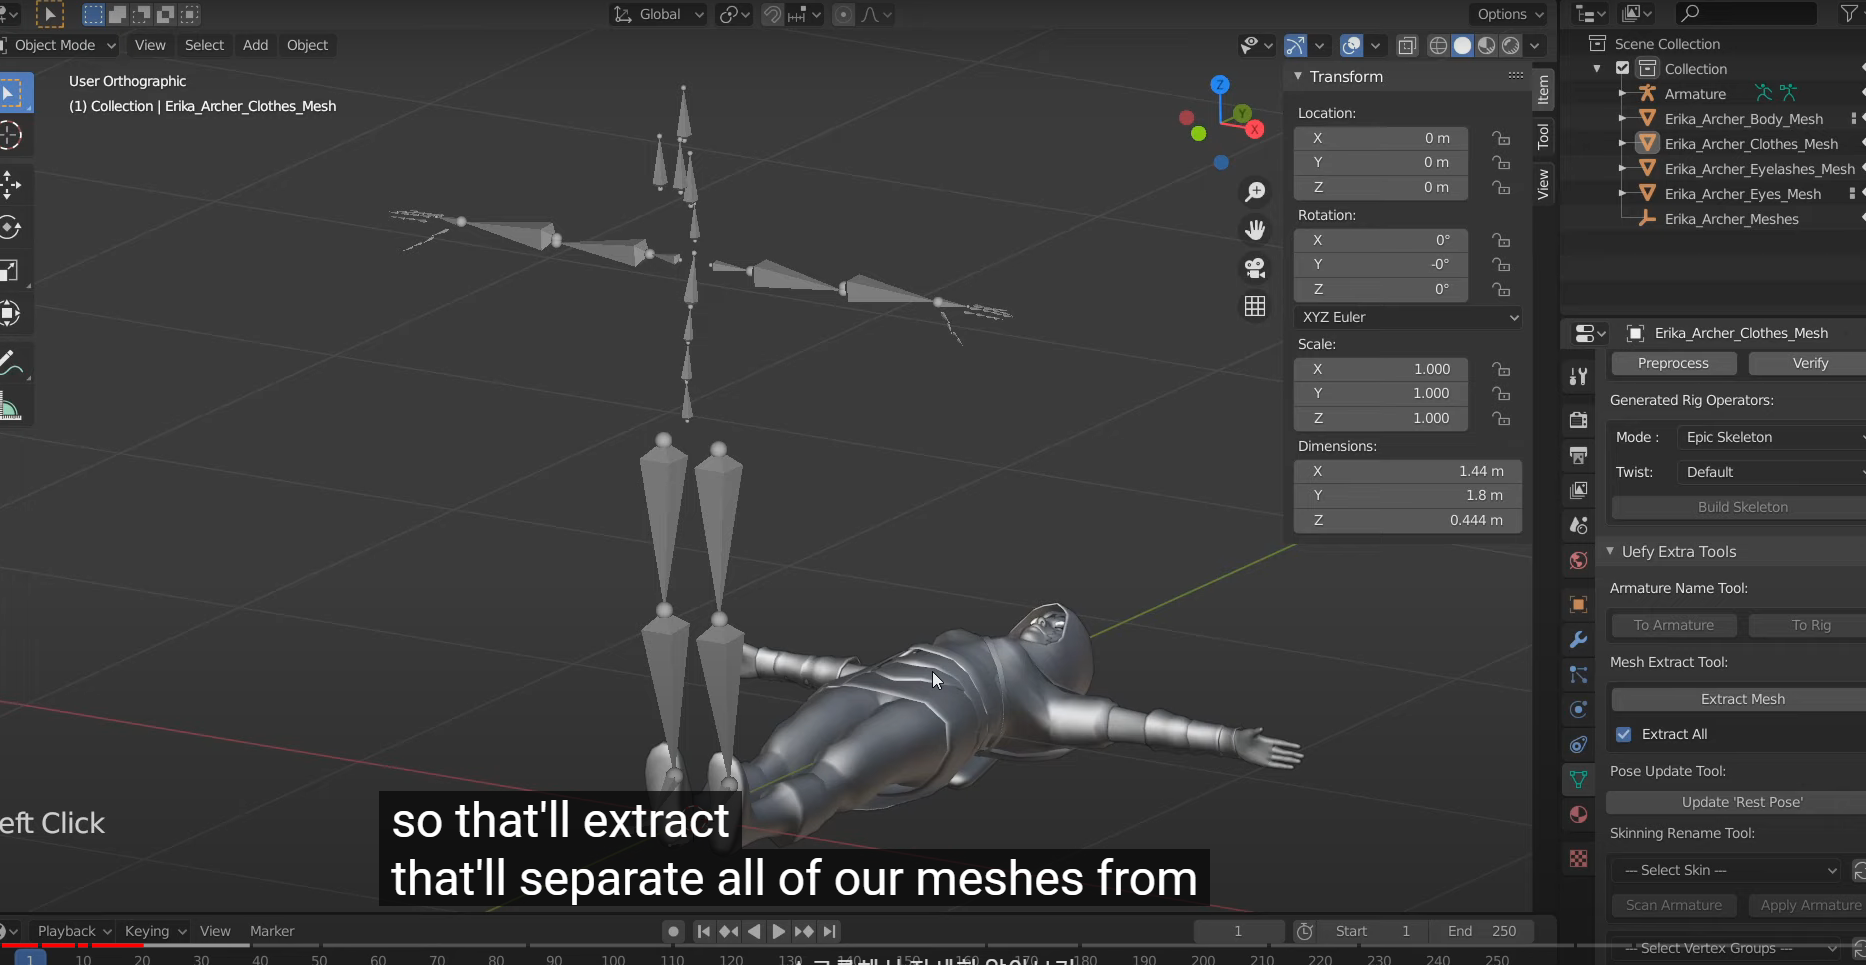
So that will extract that'll separate all of our meshs from the armature so
they are all now stand alone.(완벽히 뼈와 살이 분리됬다는걸 설명하고 있고) Objects
and I don't wanna deal with multiple meshes in this video
So I am just going to join them together (일반적으로는 하나의 오브젝트로 합치지 않고
오브젝트 데이터 프로퍼티에서 버텍스 그룹별로 영향을 주는 본이 따로 있고, 이때 웨이트 페인트에 영향을 주고 받는건
오브젝트 기준으로 보이지만 반대로 본 기준으로 어느 오브젝트에 영향을 줄지도 생각해봐야 할필요가 있음,
예를들어 치마,헤어,아이템 본은 인체 바디에 직접적인 영향을 주면 안됨
즉, 다시말해 일반적으로는 어떤 본이 어떤 오브젝트에 영향을 줄지 정확히 재정의 해야할 필요가 있다.)
but this process works just as well with multiple mesh objects
so you can keep them apart if you want and I will just select
everything there and do ctrl J(이 사람은 그 과정이 귀찮아서 하나로 합쳤고 원하면은 앞서내가 언급한거와 같이
따로 분류해서 웨이트 페인츠를 잘 할당해주면 된다.)

분리 되었을때 눕혀진 캐릭터를 다시 r x 90 (맥스에는 없는 블렌더의 엄청 편리한 타이핑기능)
Apply를 해서 All transforms를해서 다시, 0,0,0 으로 맞추는것을 잊지 말자
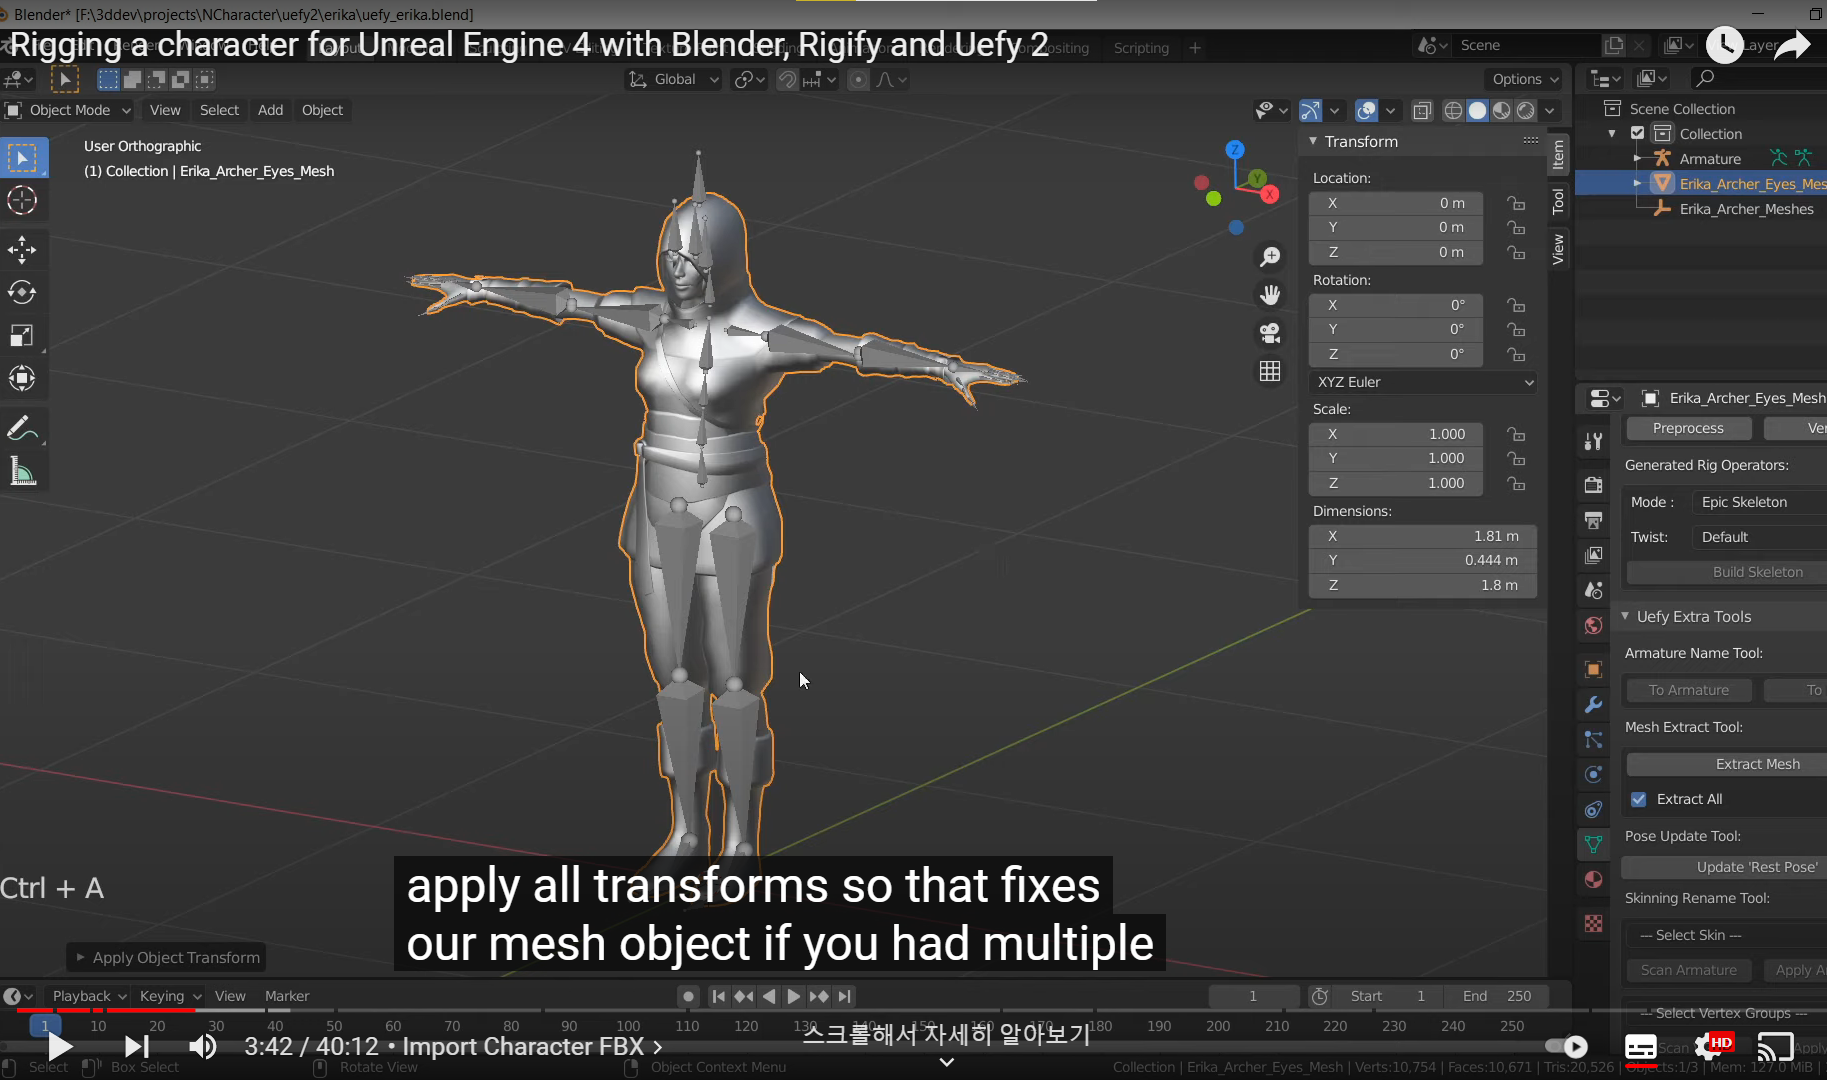
Meshes you need to repeat individually
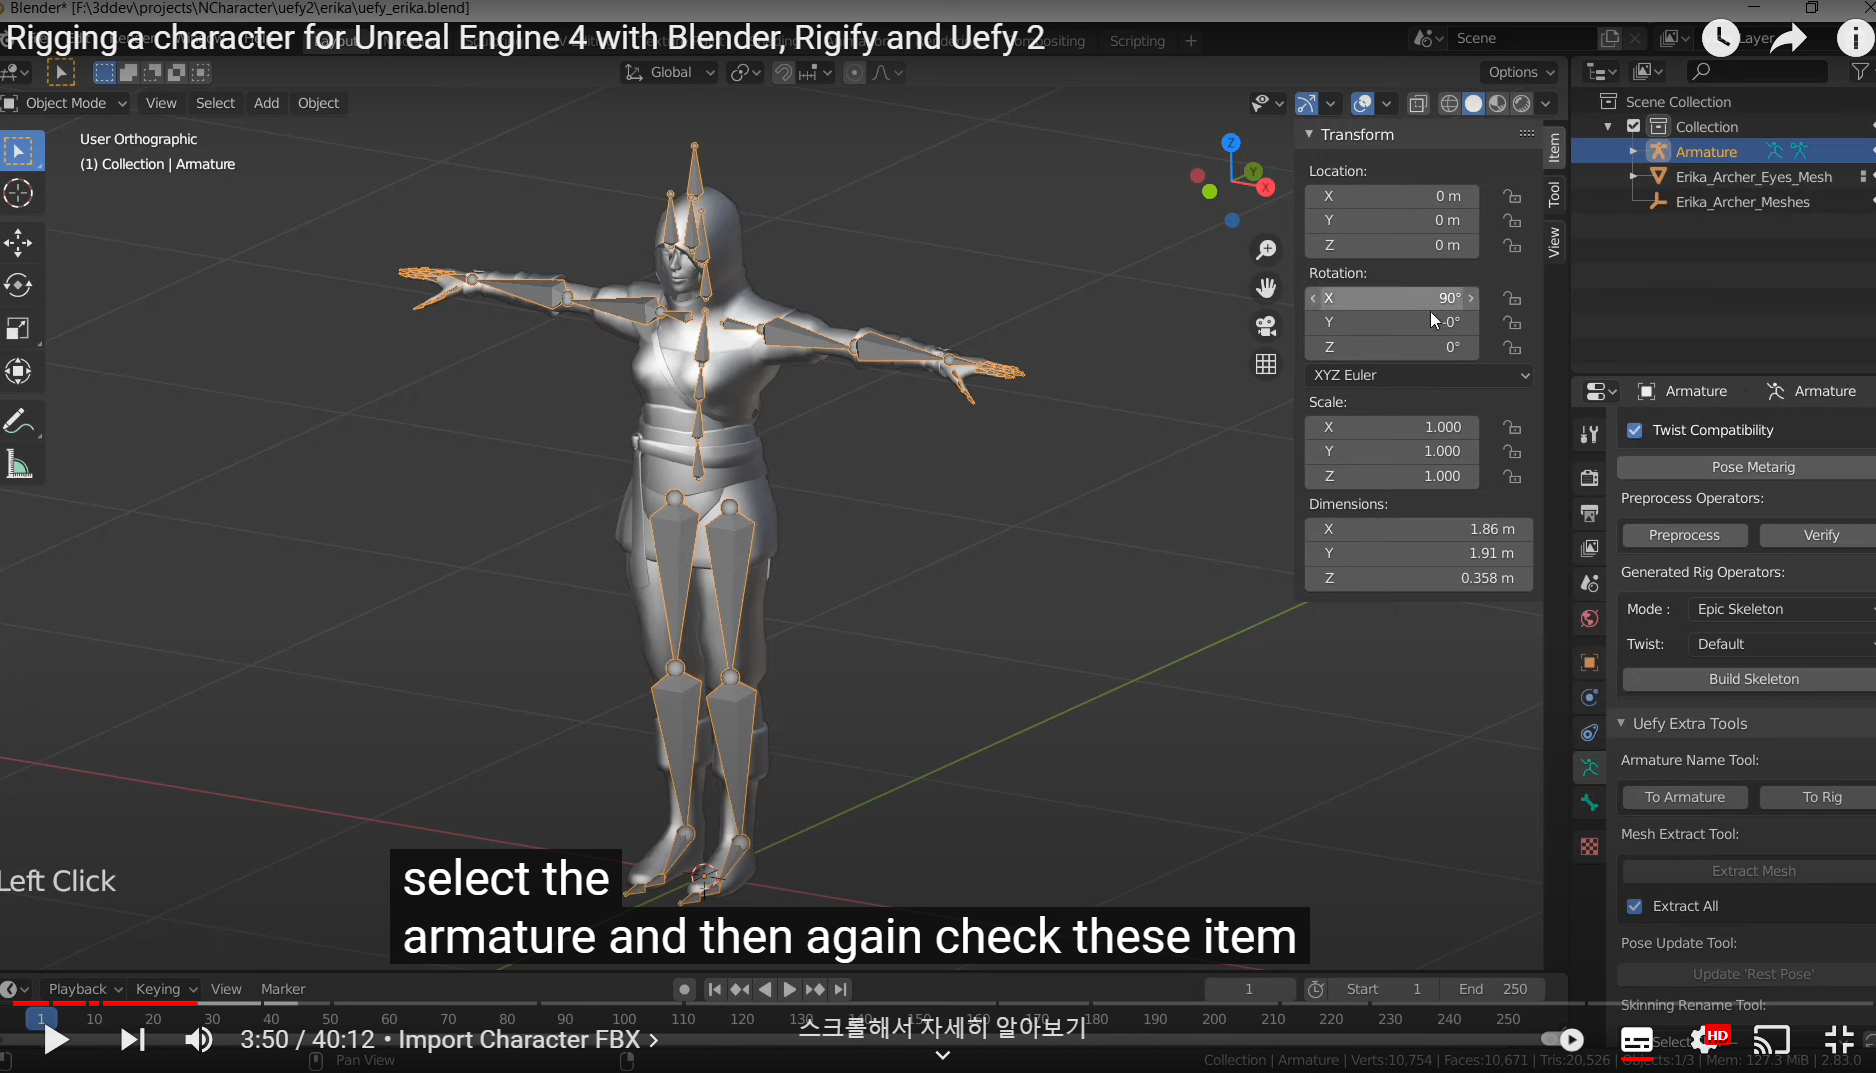
Mesh 뿐만 아니라 Armature 도 확인해서 Apply
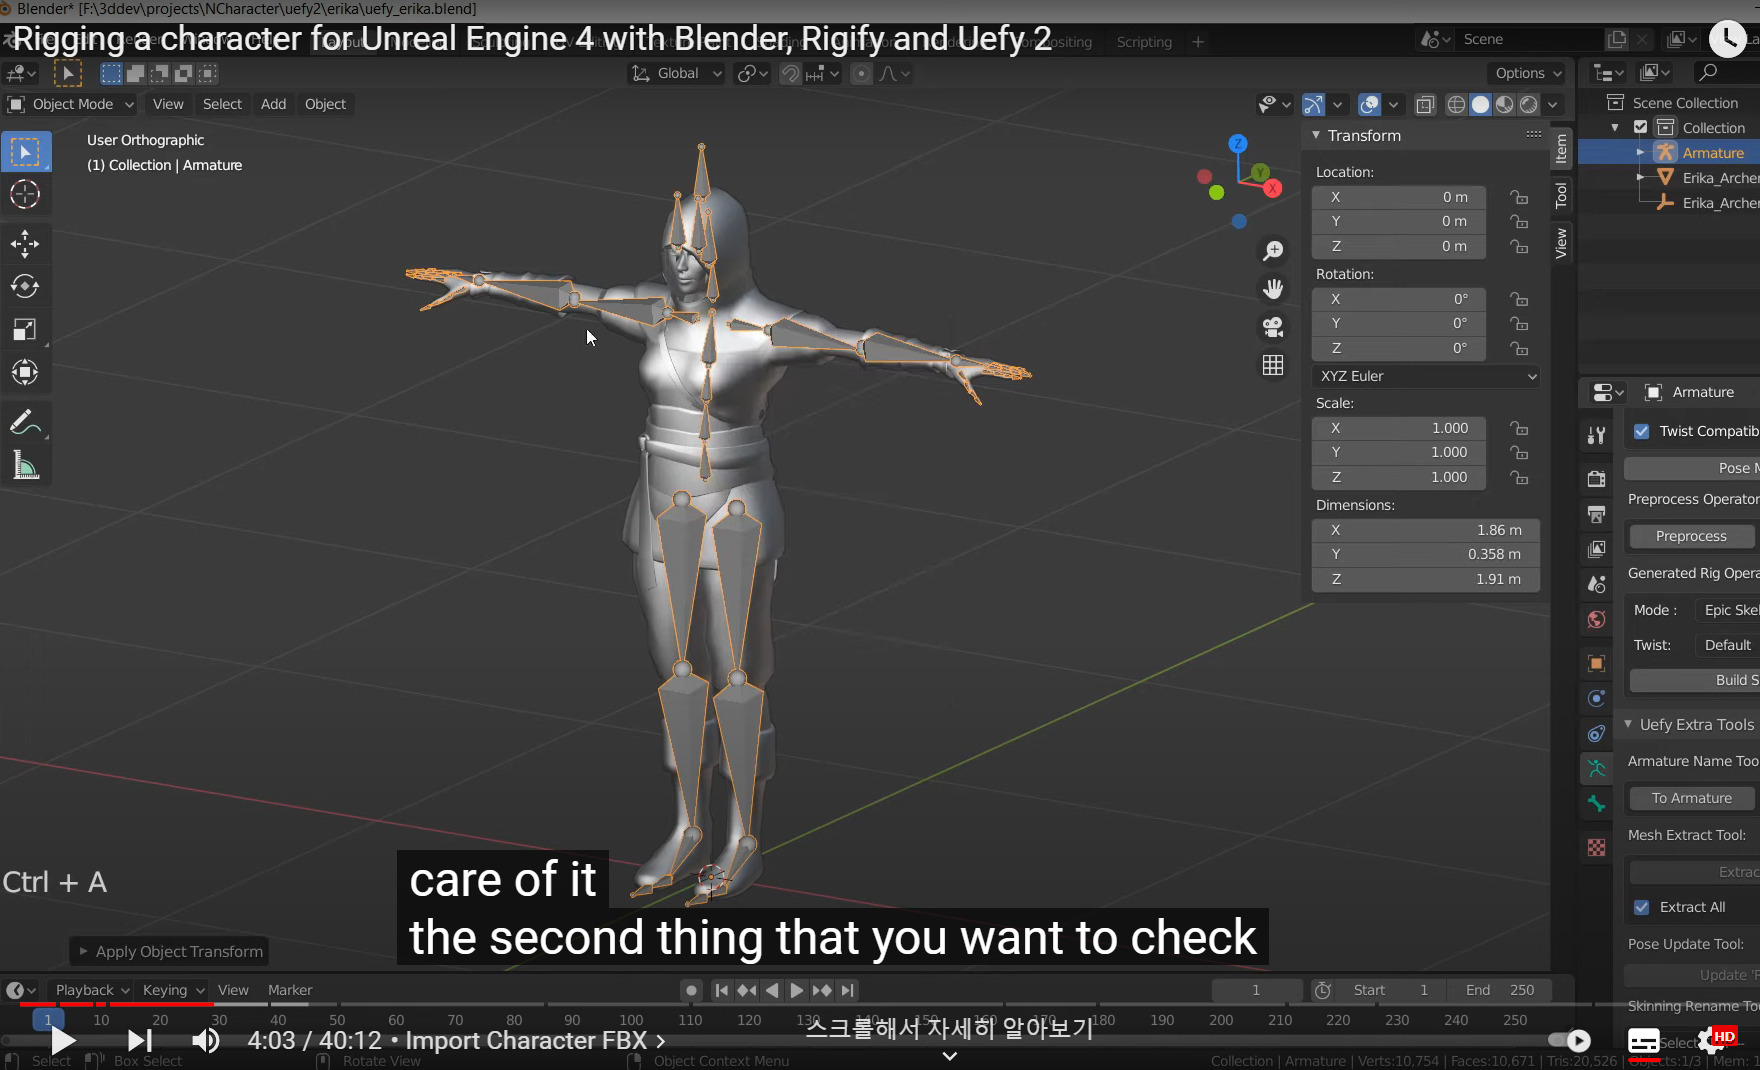
The second thing that you want to check for your armature object you go to edit mode
and then go to pose mode.
****중요****
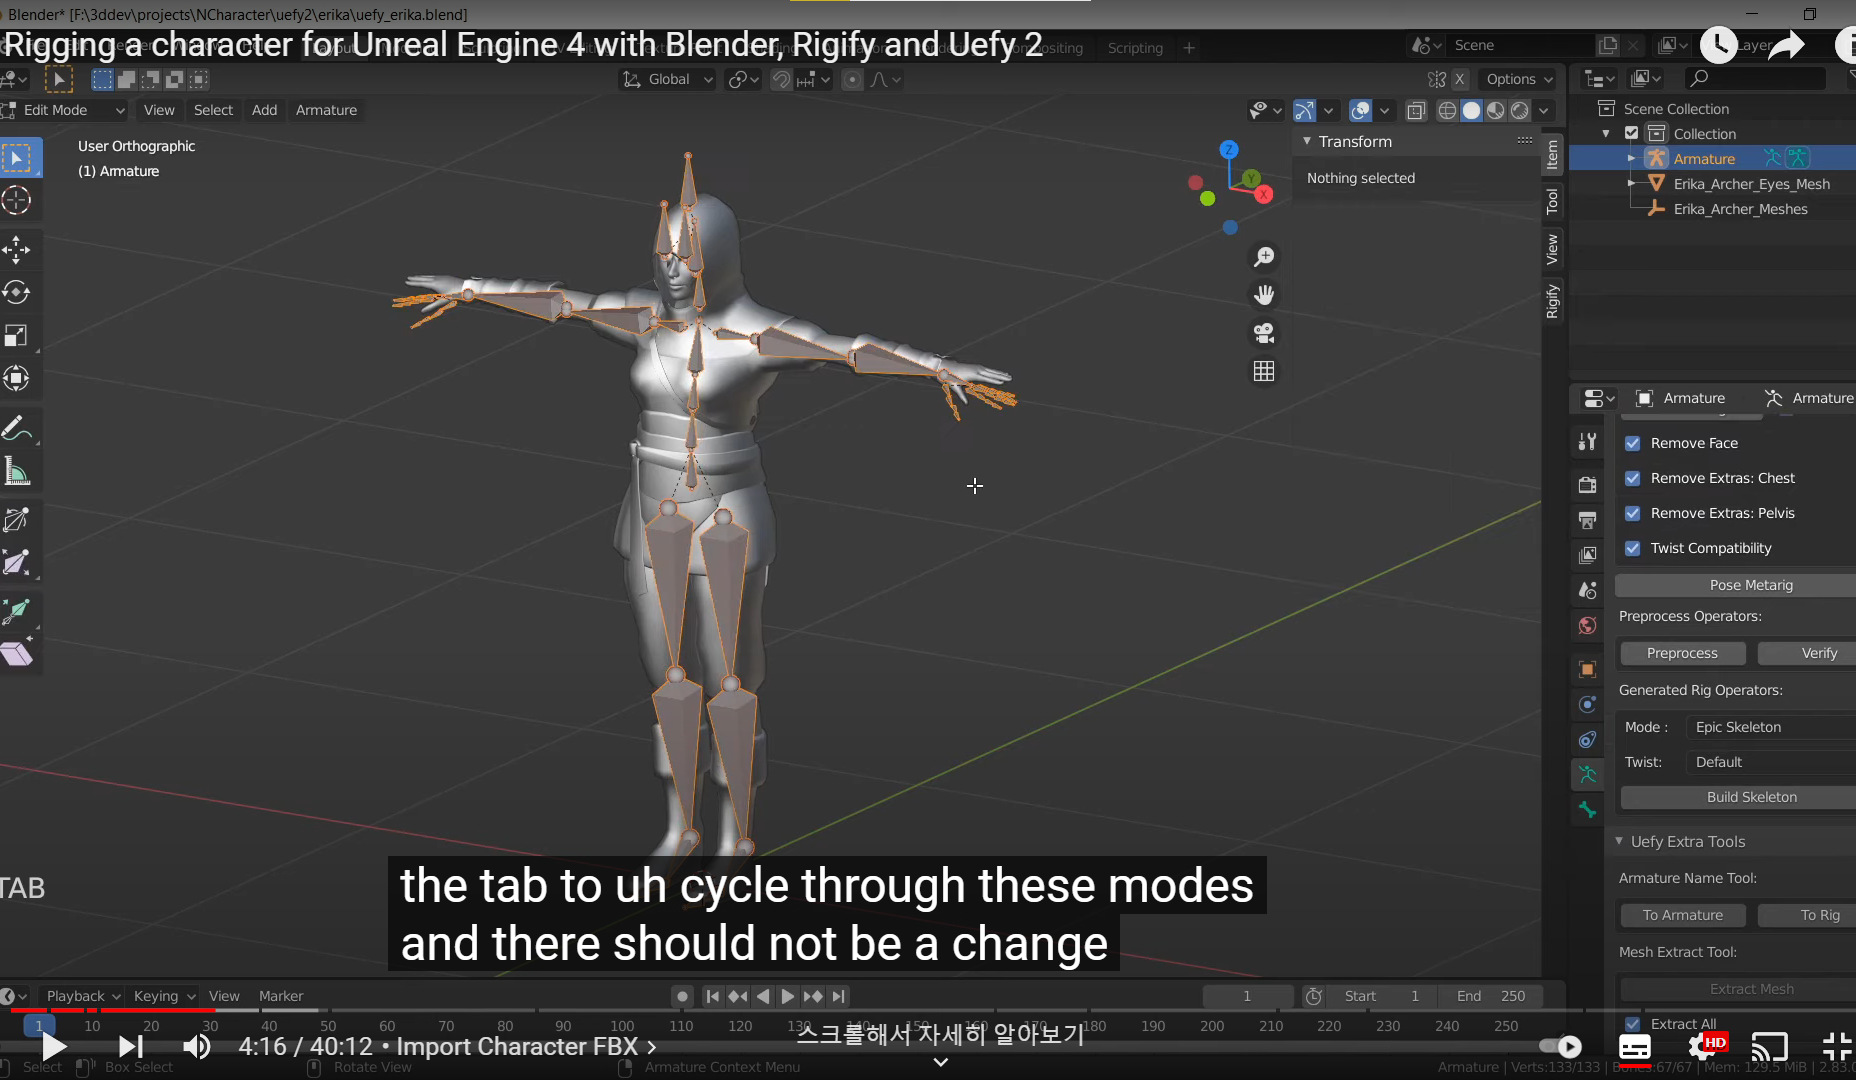
오브젝트 모드에서 에딧모드로 갈때 본의 변화가 없어야 한다.
if your armature is moving about that means that your rest pose is not the same as
your animation pose.
So what I will do is i'll go to Pose mode
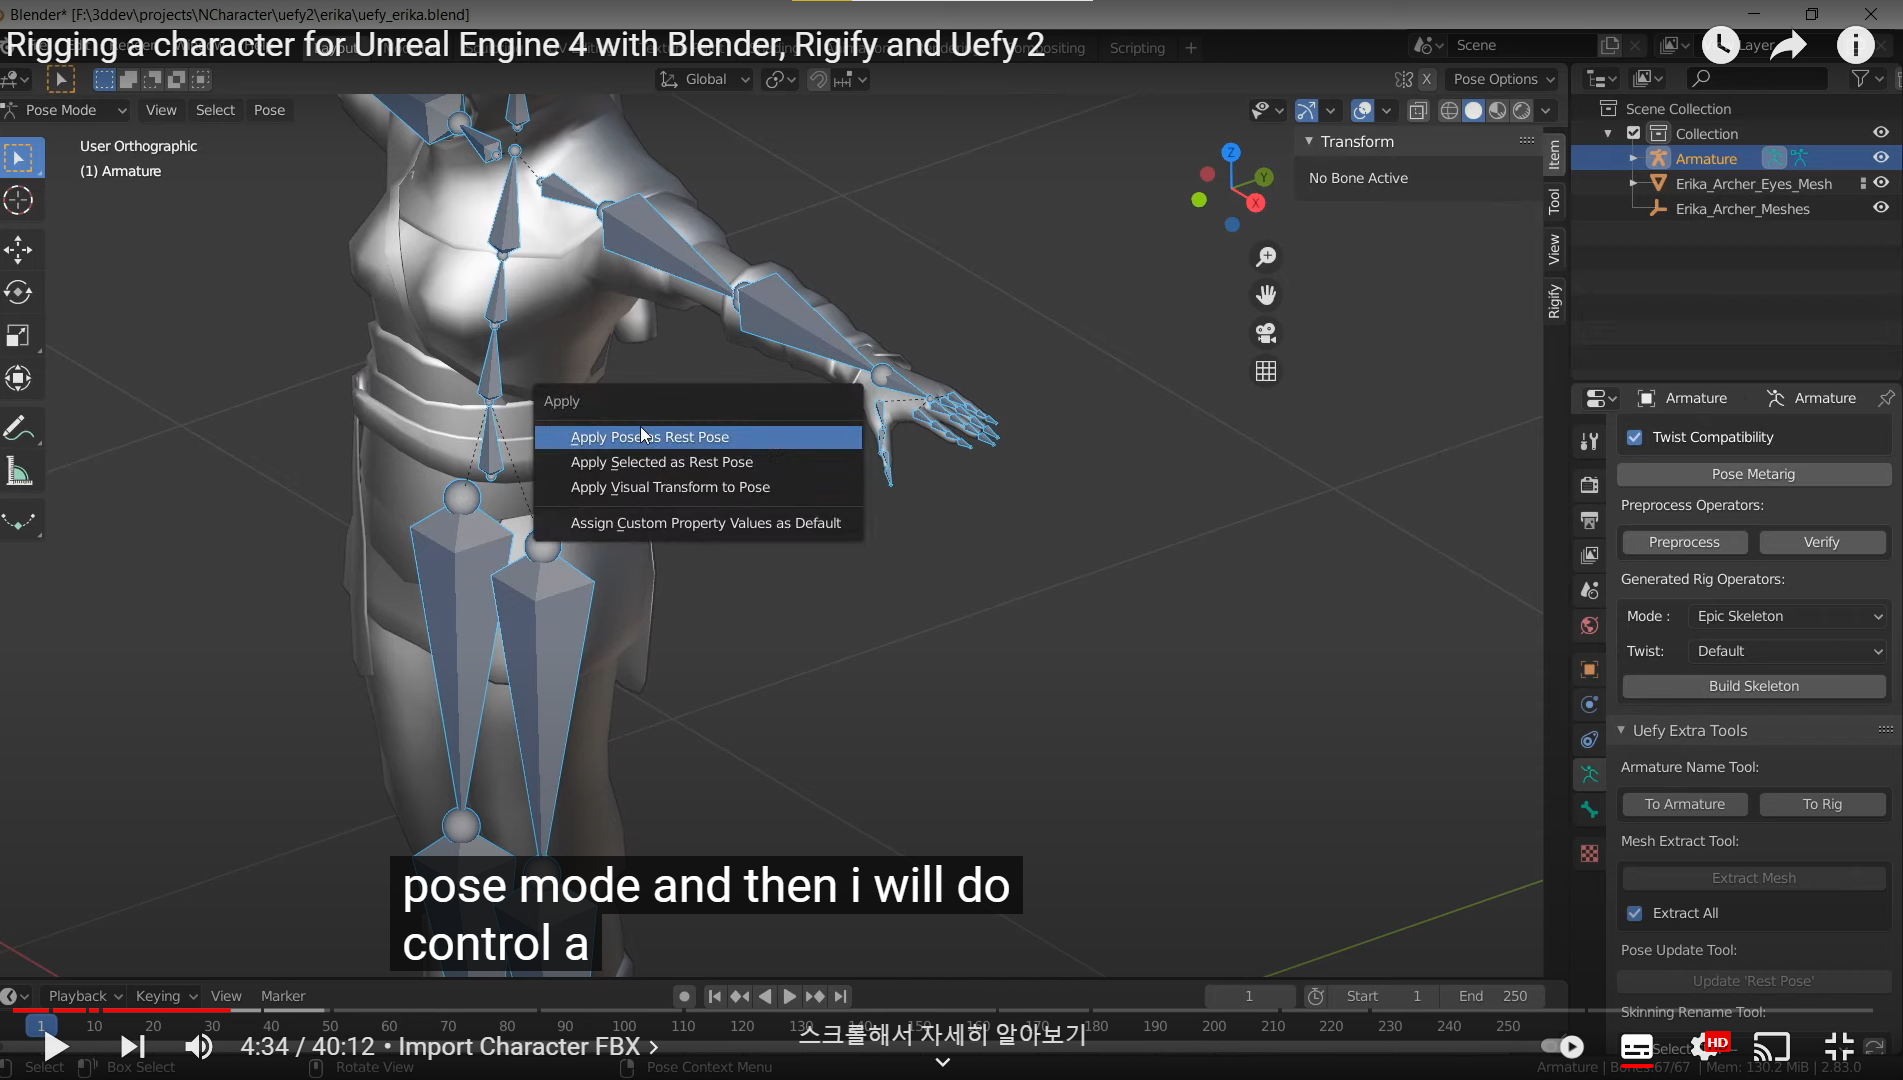
and then I will do ctrl + A a apply pose as rest pose
So now the two should(약한 추측) be the same if I go back to edit mode or pose mode.
(여기서 서술한 방법은 포즈모드를 에딧모드로 돌리는 방법이고)
Making the "Object mode" pose and the Edit mode" pose the same?
I don't know the correct language to use, but I've got a rigged model and I've positioned it how I want it to be in Pose mode. Everything looks great in Object mode, but when I go to Edit mode my m...
blender.stackexchange.com
Pose 모드를 수정해서 Edit 모드로 적용하고 싶을때 참고
1.Ctrl+A
2. apply pose as reset pose
3.Ctrl+p
Pose 모드를 Edit 모드로 적용할때 마지막으로 Ctrl +p Armature Deform을 잊지말자.
(모디파이어가 잘 되어있는지 확인하고,오브젝트 프로퍼티에서 관계 설정도 확인해주고, 스케일
로케이션 등등)
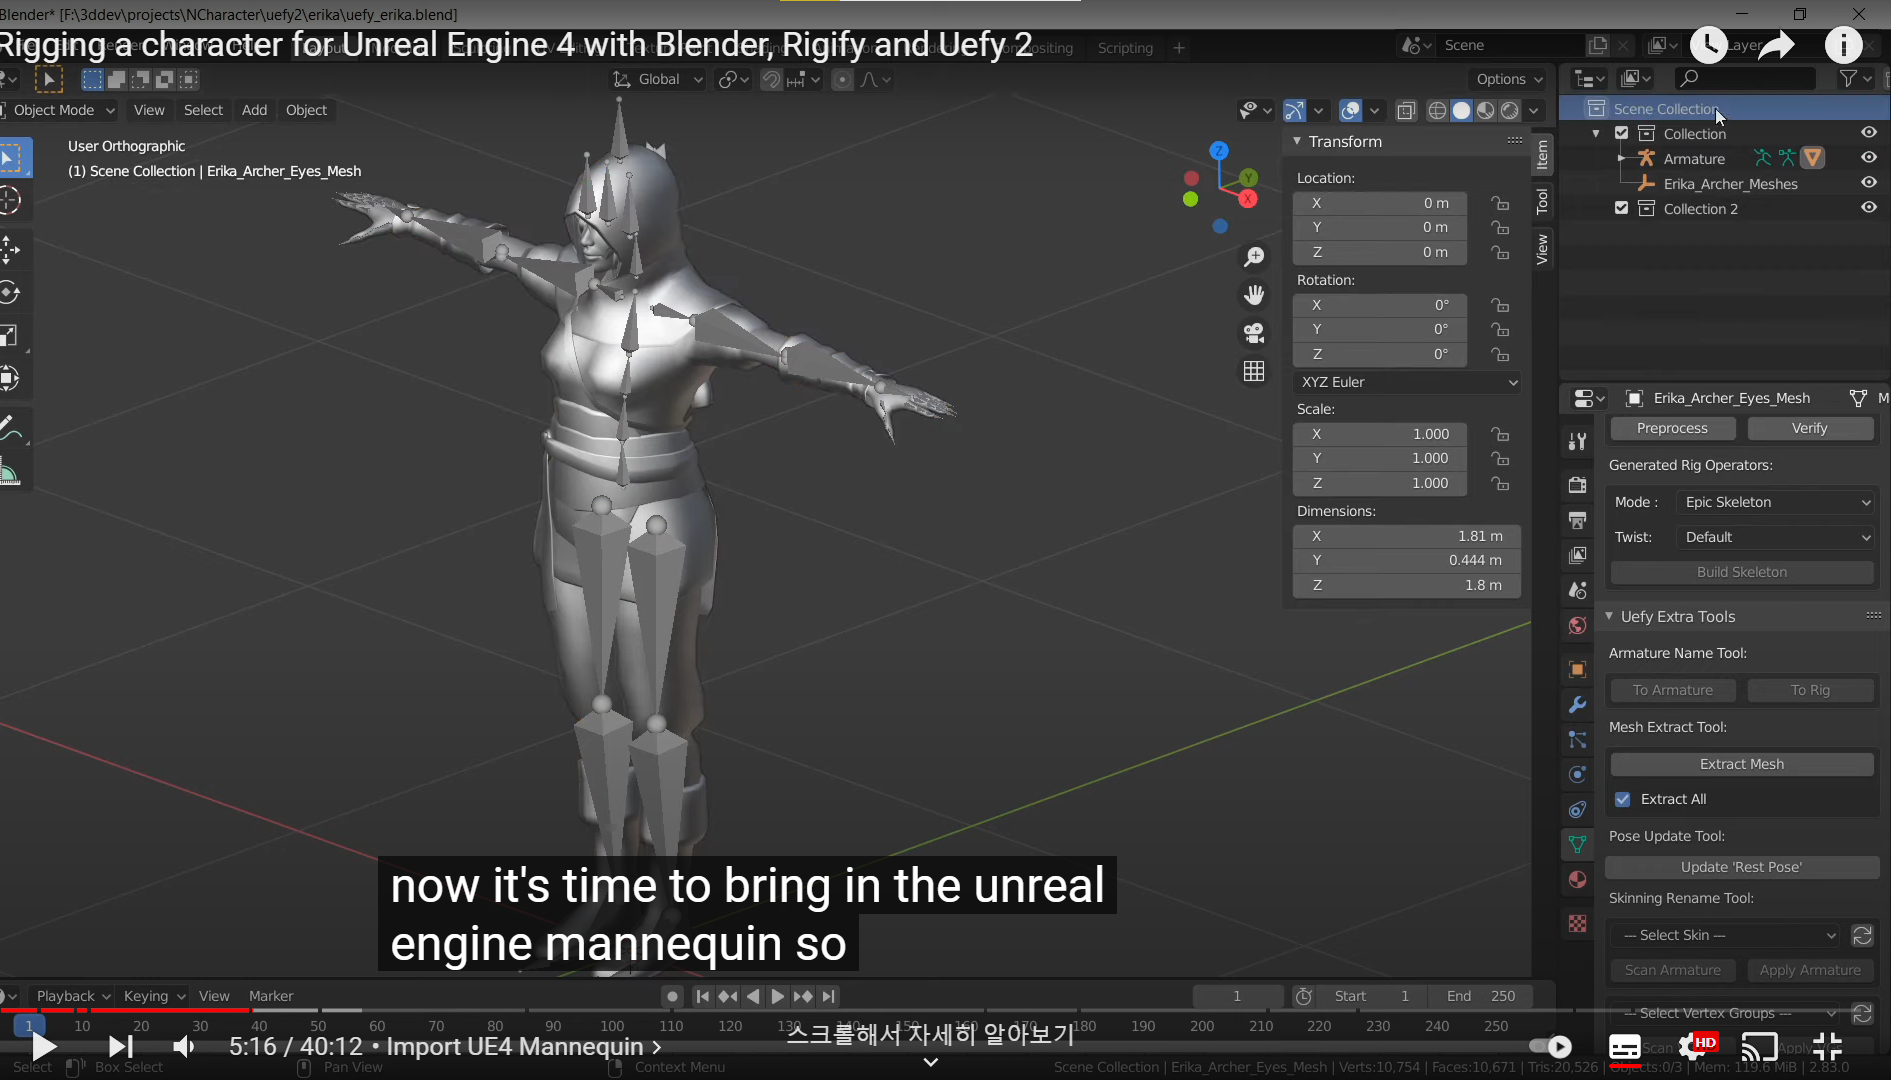
다음으로는 언리얼 엔진에 마네킹 뼈대를 가져오기 위해 따로 컬렉션을
만들어 놓고 FBX를 임포트 한다.
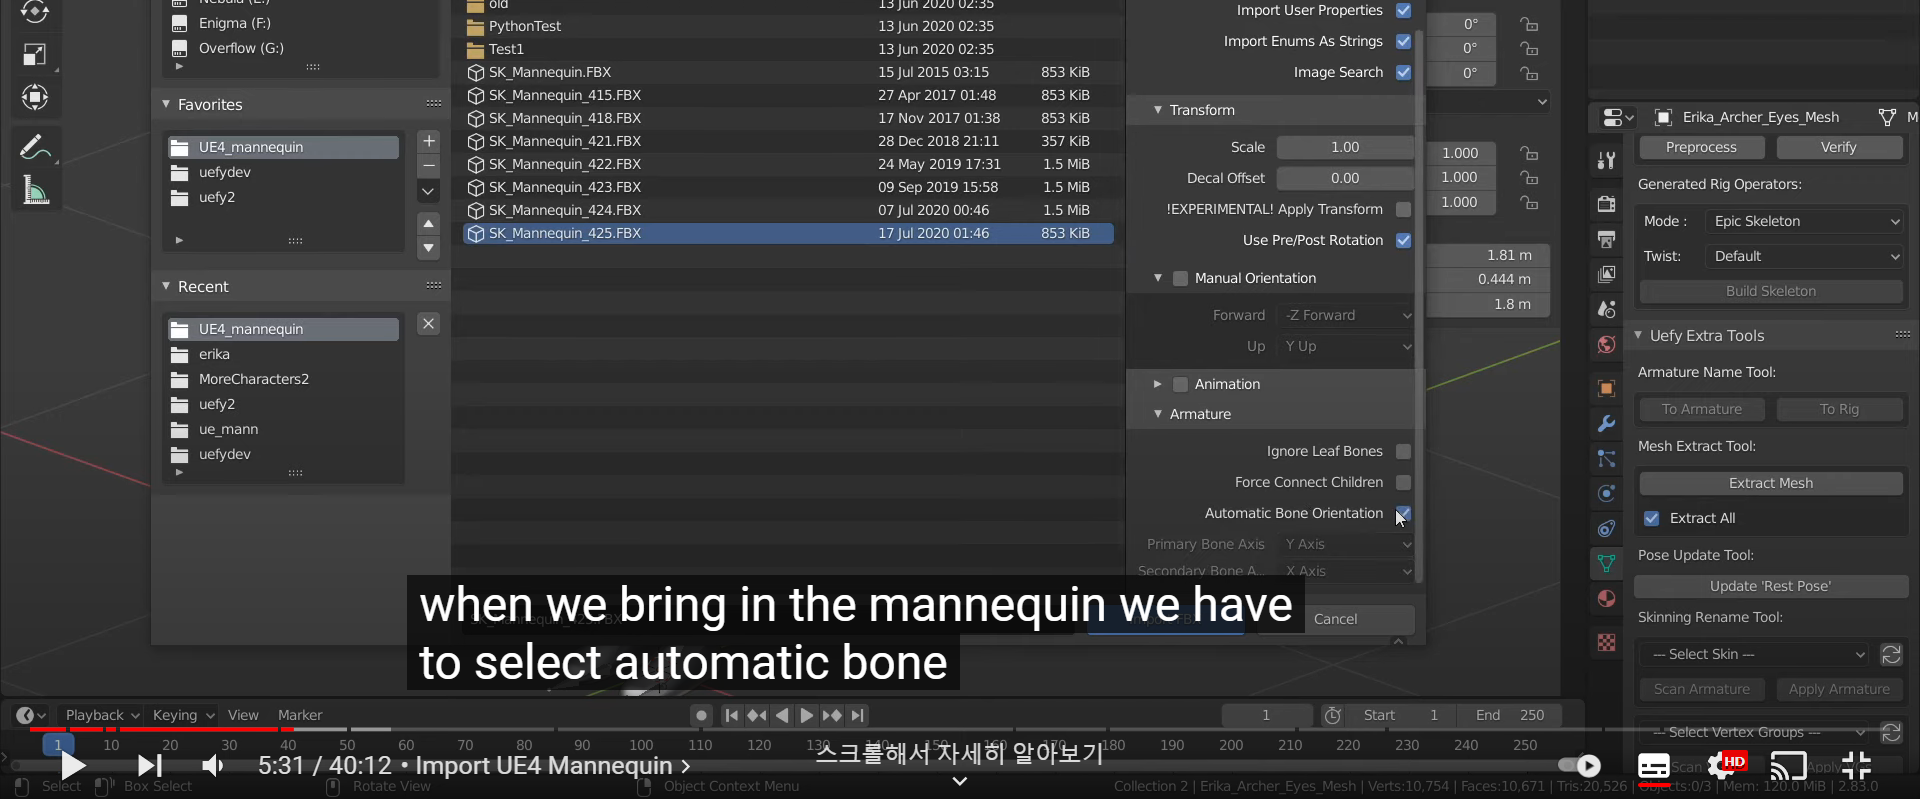

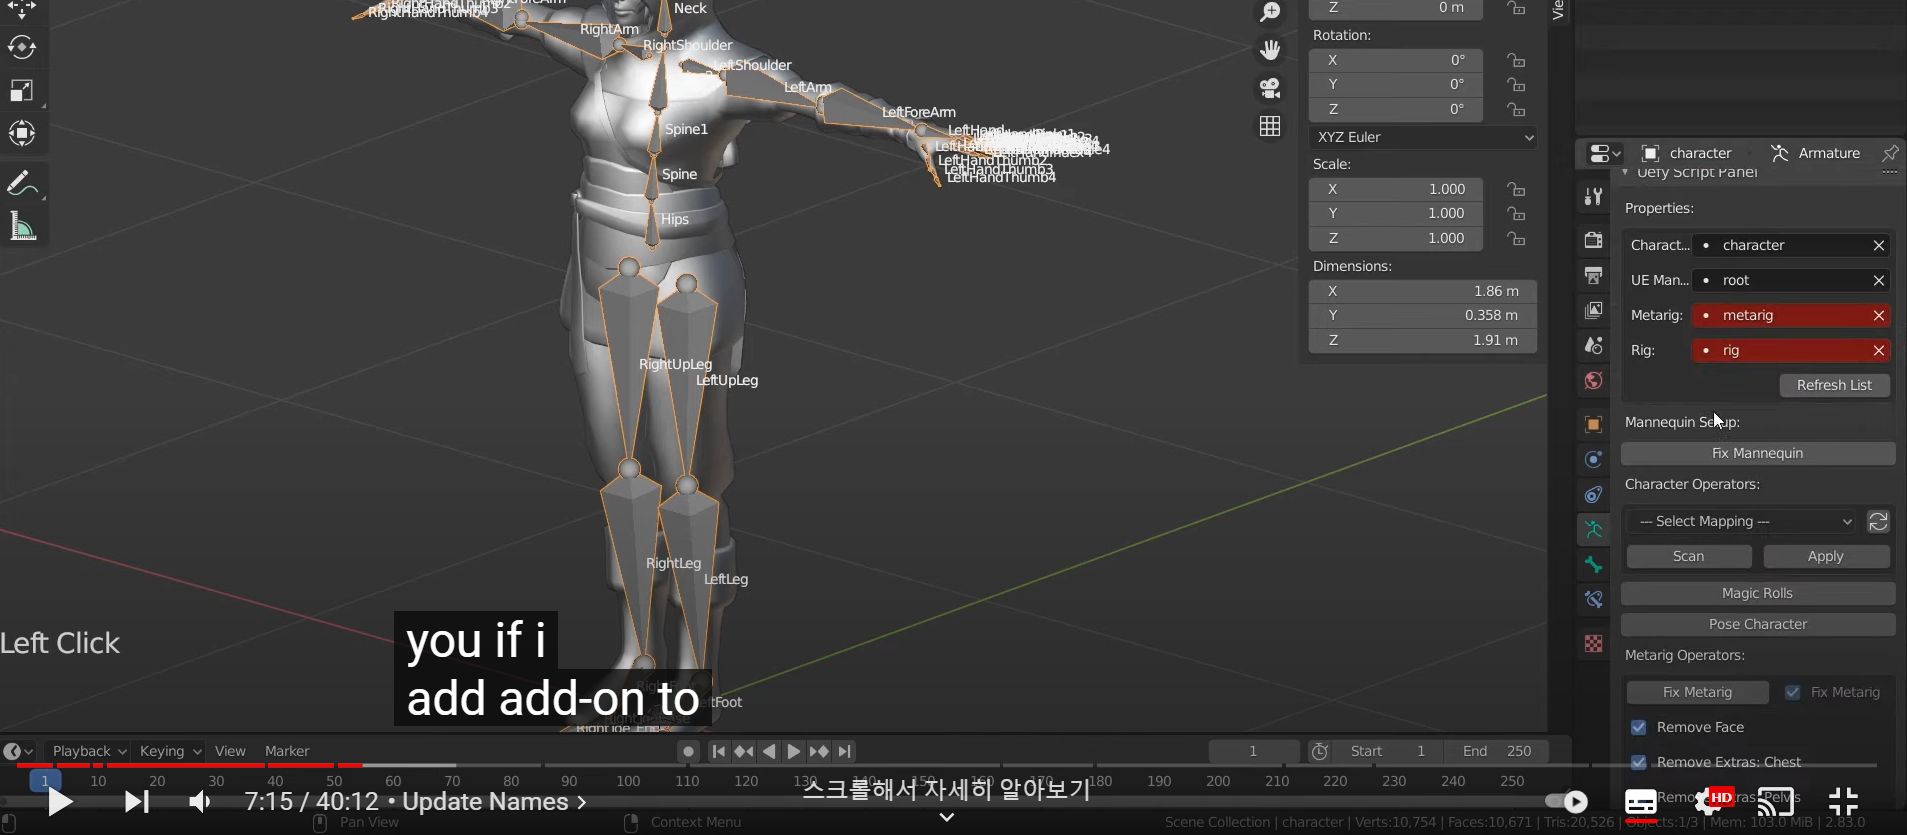
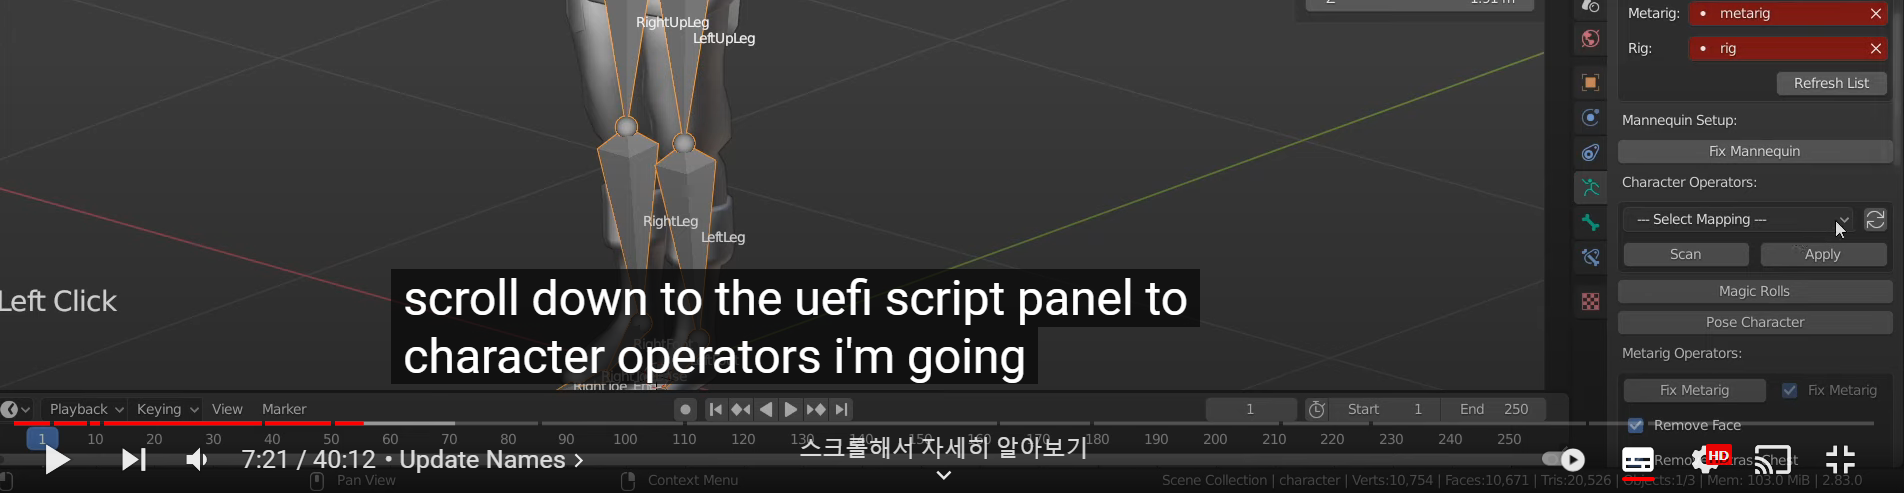
uefy 애드온에서 이름을 재정의할 몇가지 툴이있다.
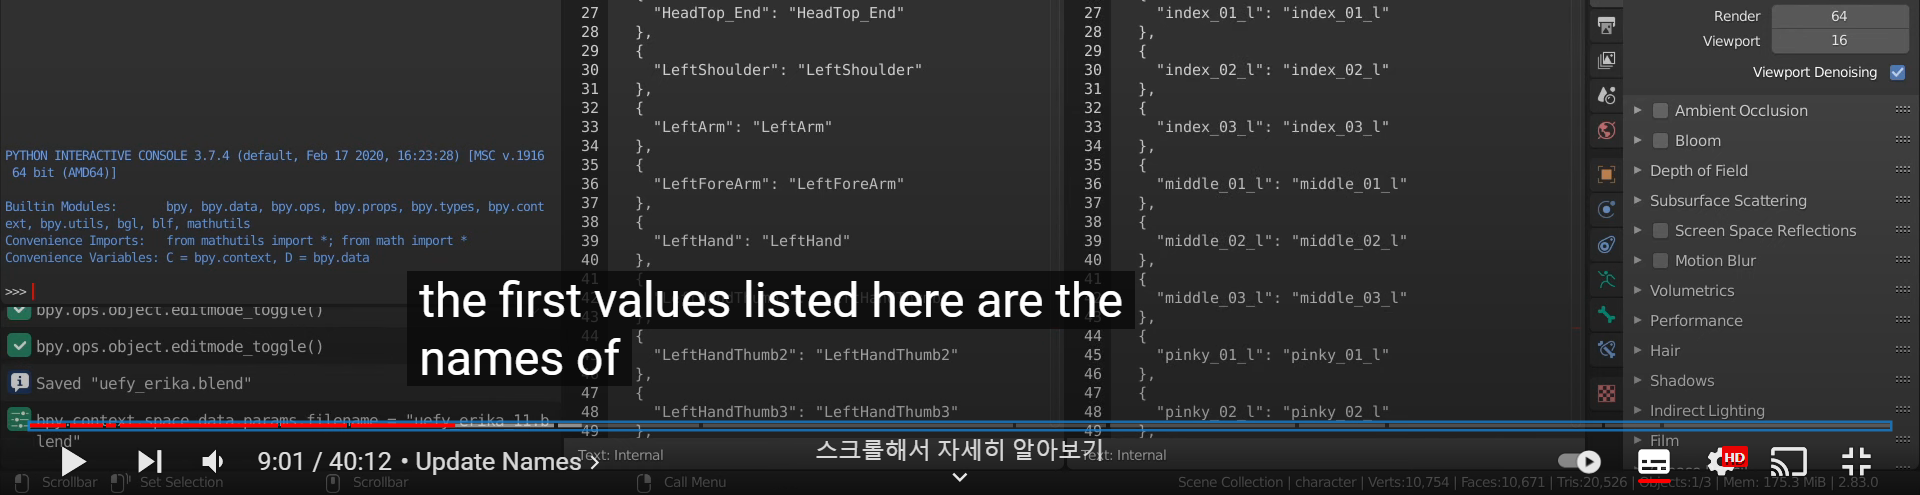
The first values listed here are the names of the bones
as they are in the armature and the second values
are what we would like them to be

Magic Rolls를 누르면 Axes를 자동으로 맞춰줌
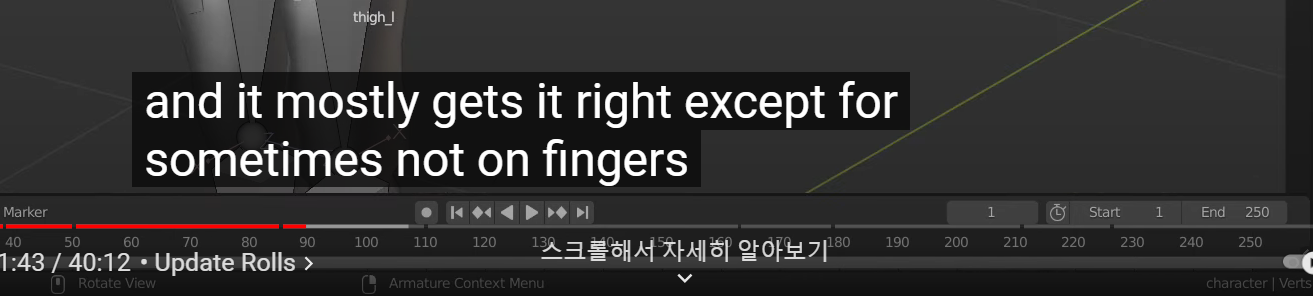
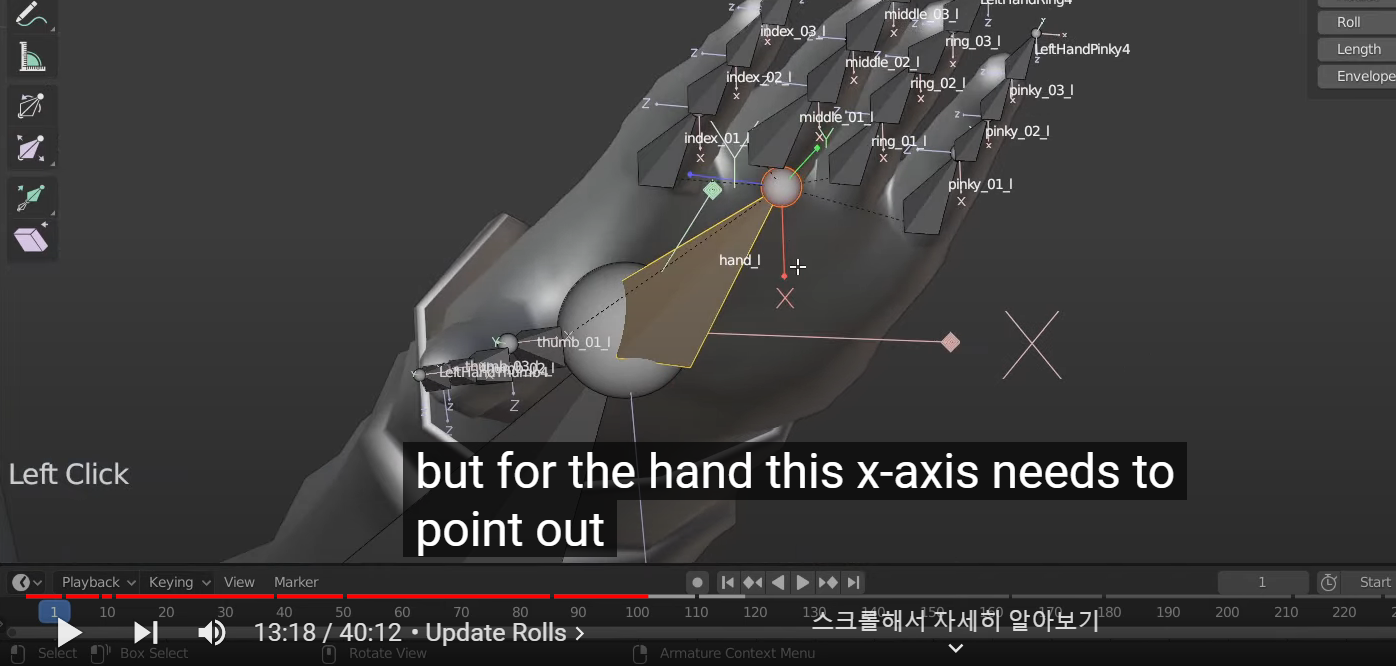
이 사람이 만든 애드온도 완벽하지는 않거나 마이너한 버그가 있는지 손가락 부분은 축을 못 맞출수 있다고 함
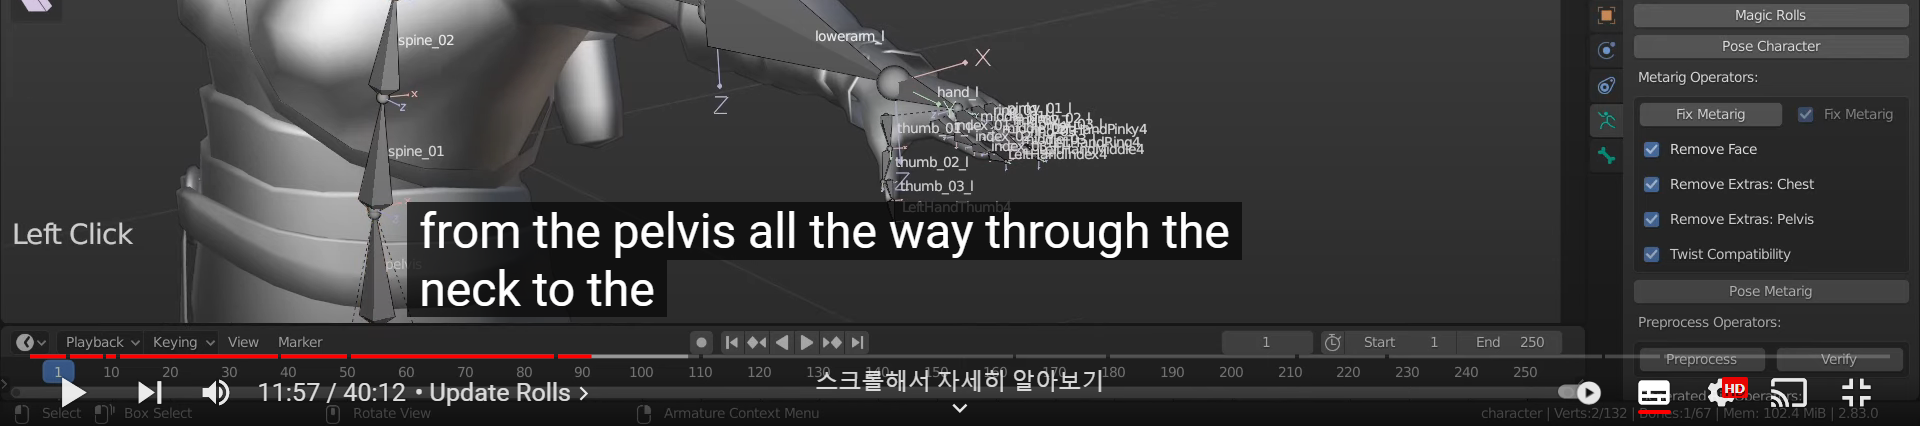
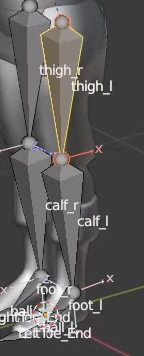
from the pelvis all the way through the neck to the head everything has the x- Axis pointing towards
the back of neck
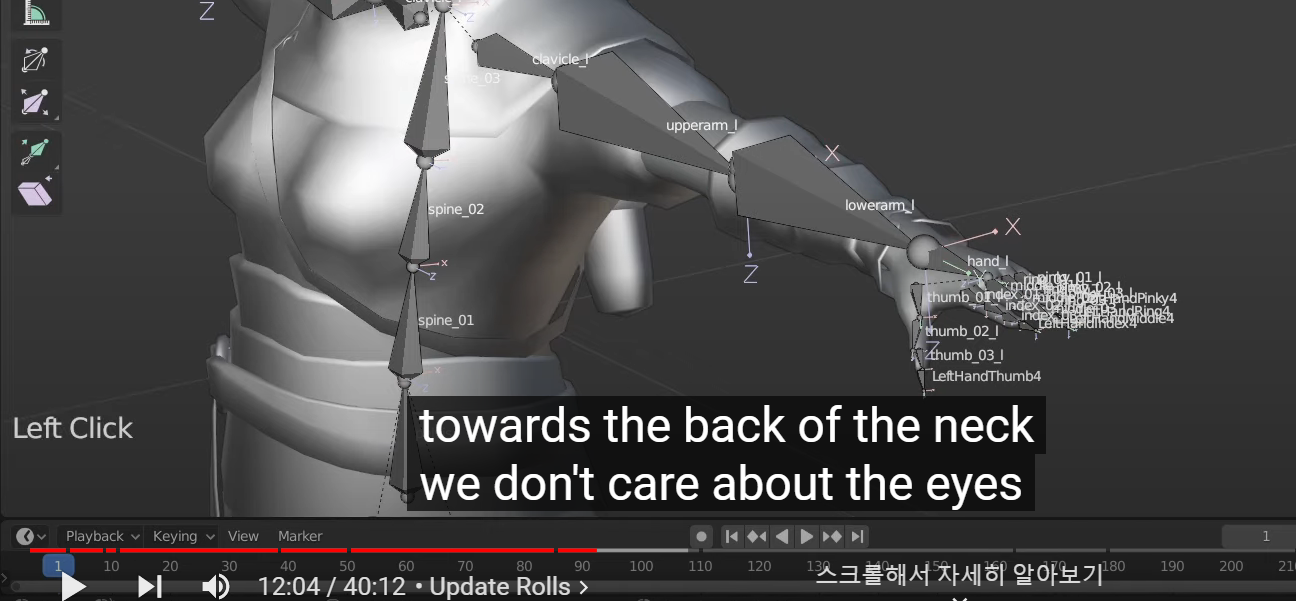
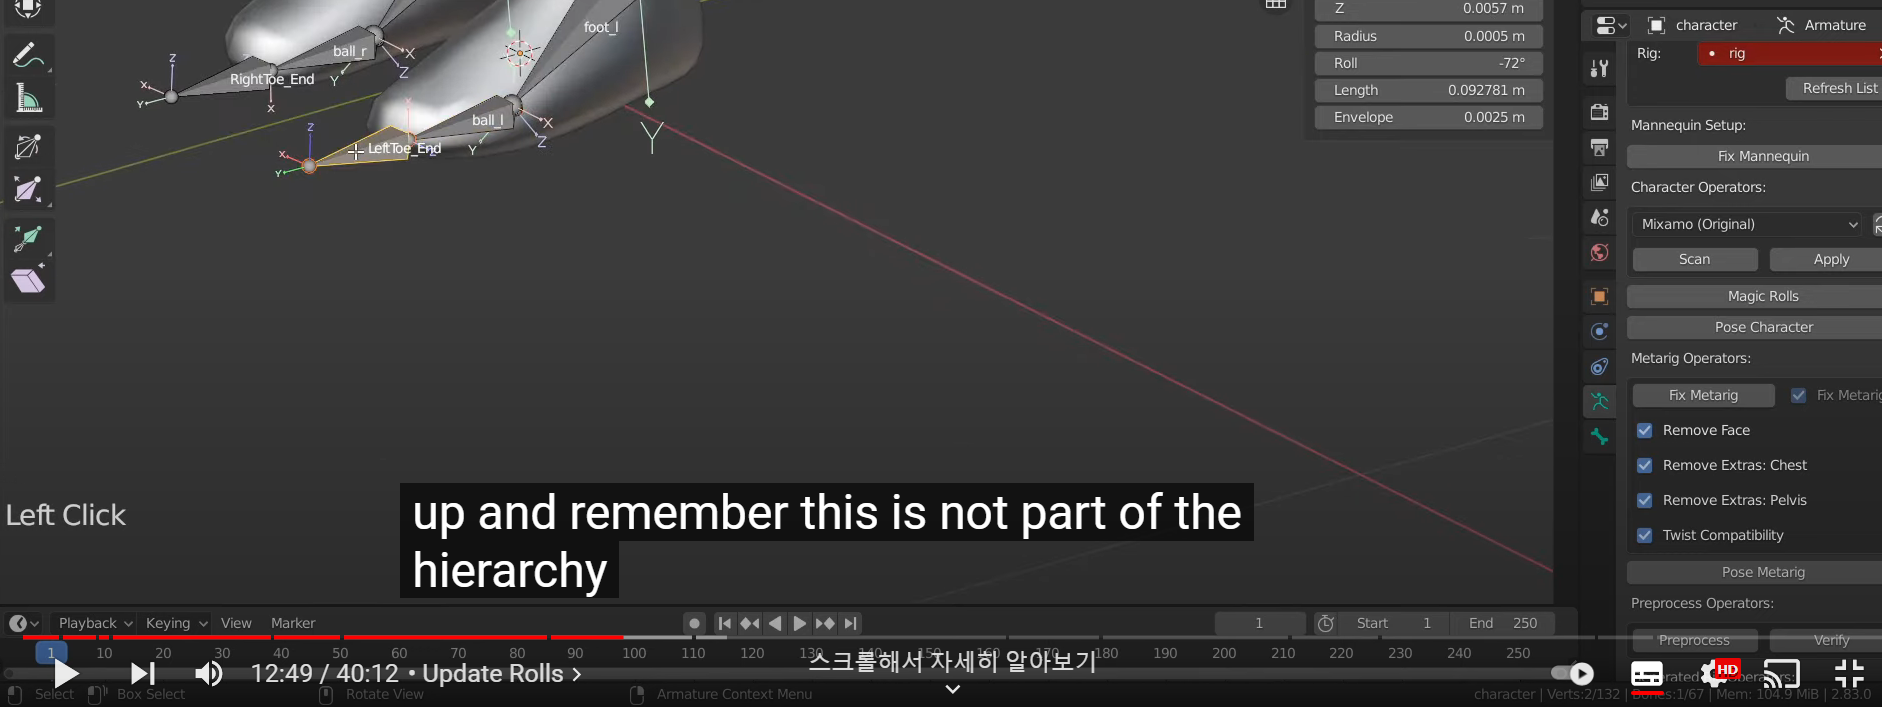
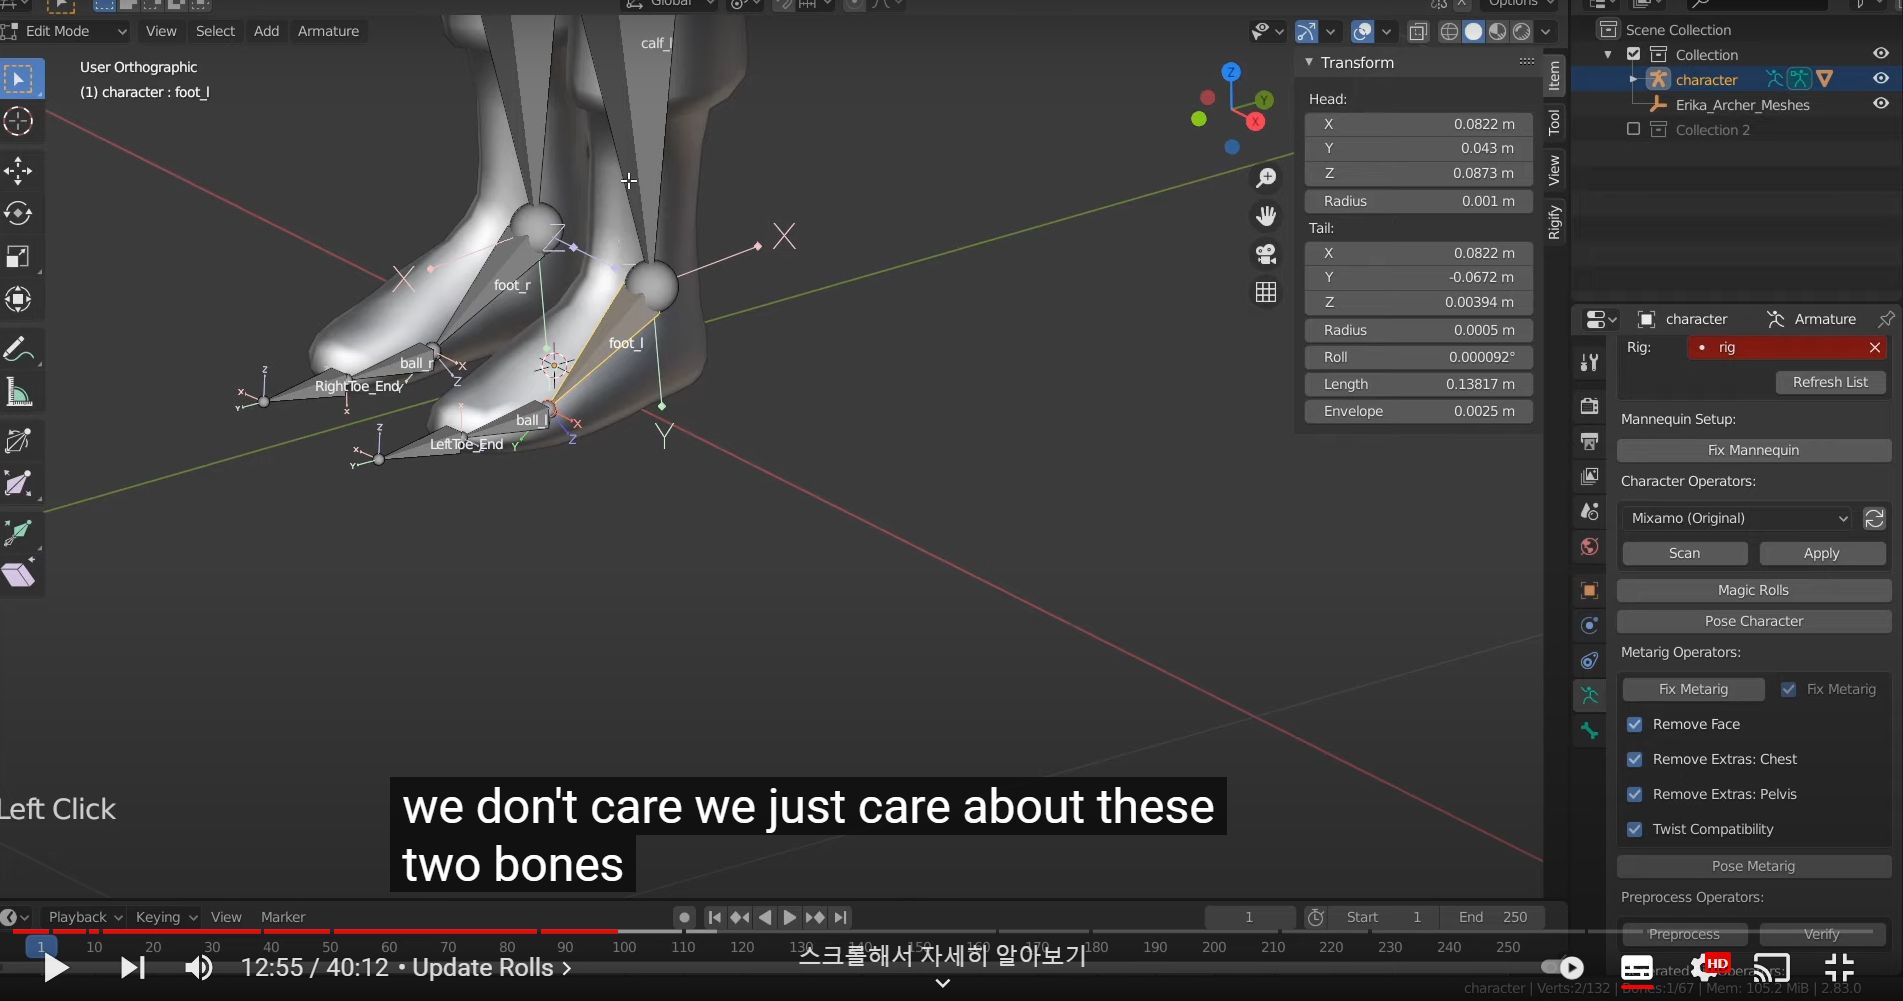
and these two.
Point out Bottom.

여기까지 확인한결과 손바닥, 손가락, 엄지 모두 구부리는 방향으로 x 축이 향하는것 같다.
신체는 x축이 뒷면으로 할당된다.
이러한 결과로 유추해볼떄 x축이 뒤를 향하든 앞을 향하든
보통 일반적으로 구부리는 동작의 회전은 z축으로하게 된다.
추측하건대 수학적으로 시계 방향으로 회전하는게 + 각도가 되니까
그거랑 연관이 있지 않은가 싶다. 인체의 동작을 처음부터
- 값으로 계산하게 된다면
복잡해질수 있음으로

'Blender_Study > Blender_Animation' 카테고리의 다른 글
| Blender to UE4 animation Pipeline_01 (1) | 2022.11.18 |
|---|---|
| Rigging a character for Unreal Engine 4 with Blender, Rigify and Uefy 2 -2 (0) | 2022.05.25 |
| 블렌더 아마추어 Deform 시스템 완벽 정리 (0) | 2022.05.25 |
| 课时24:腰部,课时25:右边肩膀 (0) | 2022.05.16 |
| 课时23:左手手臂(왼쪽 팔) (0) | 2022.05.15 |


