
docs.blender.org/manual/en/latest/editors/3dview/display/overlays.html
Viewport Overlays — Blender Manual
Numerical measures of the selected elements on screen as part of the text info overlay. The Units can be set in the Scene properties. Tip Geometry connected to the selection is shown while transforming, allowing you to move a vertex and see the connected e
docs.blender.org
위는 블렌더 2.90 manual 기준으로 정리한 사이트
Viewport Overlays
Using the Viewport Overlays pop-over settings for the overlays
can be configured.
There is a switch to turn off all overlays for the 3D Viewport.
Viewport options and overlays 우선 뷰포트는 3D에서 보는 시점을 말하고 Overlay 는 커버, 표면에 보이는
층을 관리하는 시스템을 칭하는것 같다.(3D 프로그램 모두가 그러하듯이 영어개념의 것들을 제대로 정리하기는
힘들다. 하지만 추측과 사전적 의미에 나오는것들을 정리하자면 의미는 대충 맞다.)

The first thing right off the bat, is object visibility. 오브젝트 시야 유무
This lets you turn off objects that you don't otherwise want to look at
So you can focus on other things. Of course, if I turn off a mesh, he won't see it.

And I can left click and just drag all the way down and to keep going till
I turn off everything that I don't want.
You can also turn off select stability. So in this case, I won't even be able to
select the mesh, but I can everything else.

Come back here, let s keep going.
Viewport Gizmos, When you select an object,
You can turn on the default Gizmos.

Move just by grabbing one of these sections.
However, after for a while you' ll get pretty good at G,R and S.
Move object : press "g"key
Rotate object : press "r" key
Scale object press "s" key
Nonetheless(그럼에도 불구하고), Viewport Gizmos are really quite handy.
Youy also have the naviagate Gizmo at the top right here,

Next are Viewport overlays.
These are two dimensional overlays over your 3D objects.
The most common is the grid floor. And from here, you can even
scale the grid, (하지만 여기서 또 의문인게 과연 정확한 크기를 젤수 있을까?
3D 오브젝트들을 픽셀의 개념화로도 못 나타낸다면 과연 의미가 있을까? 대충 대충 이정도 크기
라고 지정하면 의미가 없다.)

There's a 3D Cursor, text info updates, annotations,

and all the other extra stuff that goes on top of an object.
- 햇빛 카메라 등 아웃라인 그리고 원점의 UI등을 보여줄지의 유무
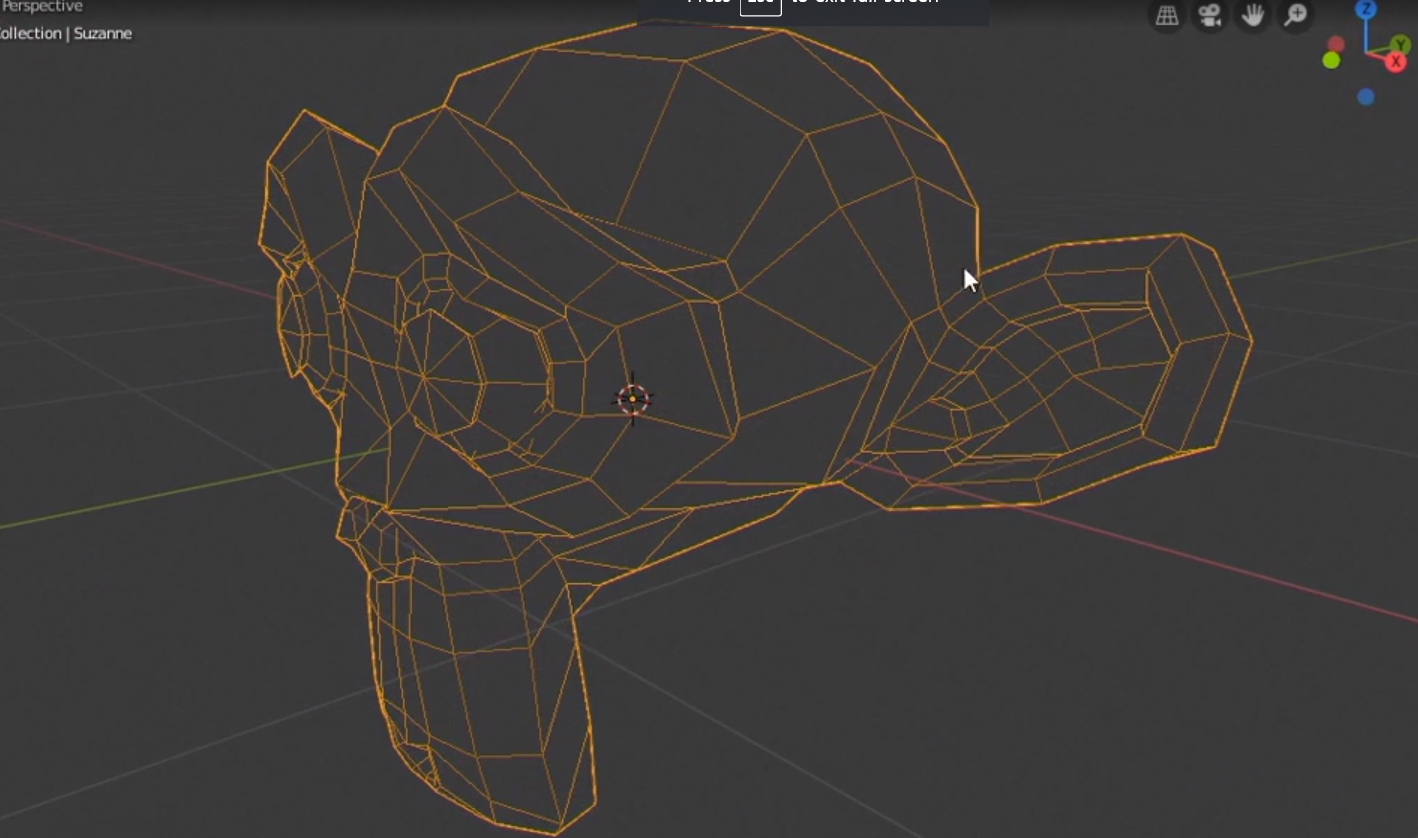
You can also left click drag and hold, can even turn on wireframe.

So, if I X + Delete this shift + A and a monkey,
add obejct shift+ a

Come back up here, you can see different wireframe options.
They'll let you preview your object a little bit better,

Face Orientation is pointing in the correct direction.

Next is X ray mode. This lets you see behind the object,
it's really handy when you hit Z and go to wireframe(shading)


That way you can see the full 3D object. However, you can always turn off x ray.

Over here are the shading mode options.
You can access this by holding down z as I upload the above pictures.
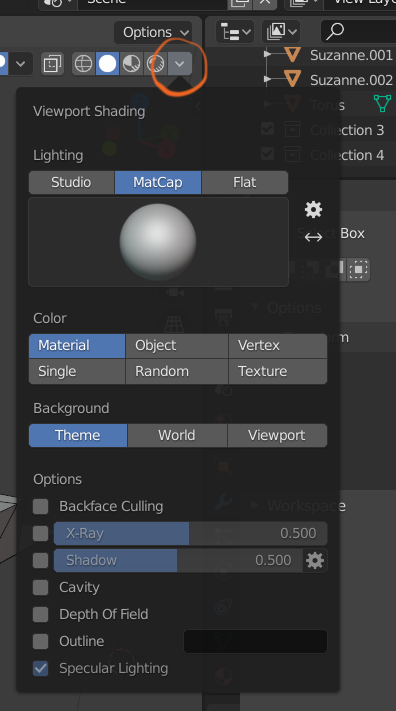
solid by hitting this little drop down button.

There are a lot options here. Matcap is like a quick material
they can put on objects, it won't render, but it'll give you a really
nice idea of what you are looking at.

studio is based on studio lighting.
you can click here and select any different kind of light you 'd like.

And you can even click this little button and move the lights.
Again, this won't affect rendering(아마도 rendering 시스템을 사용하지
않는다는 것을 의미하는것 같다.)
It's just for preview and working inside the Viewport.
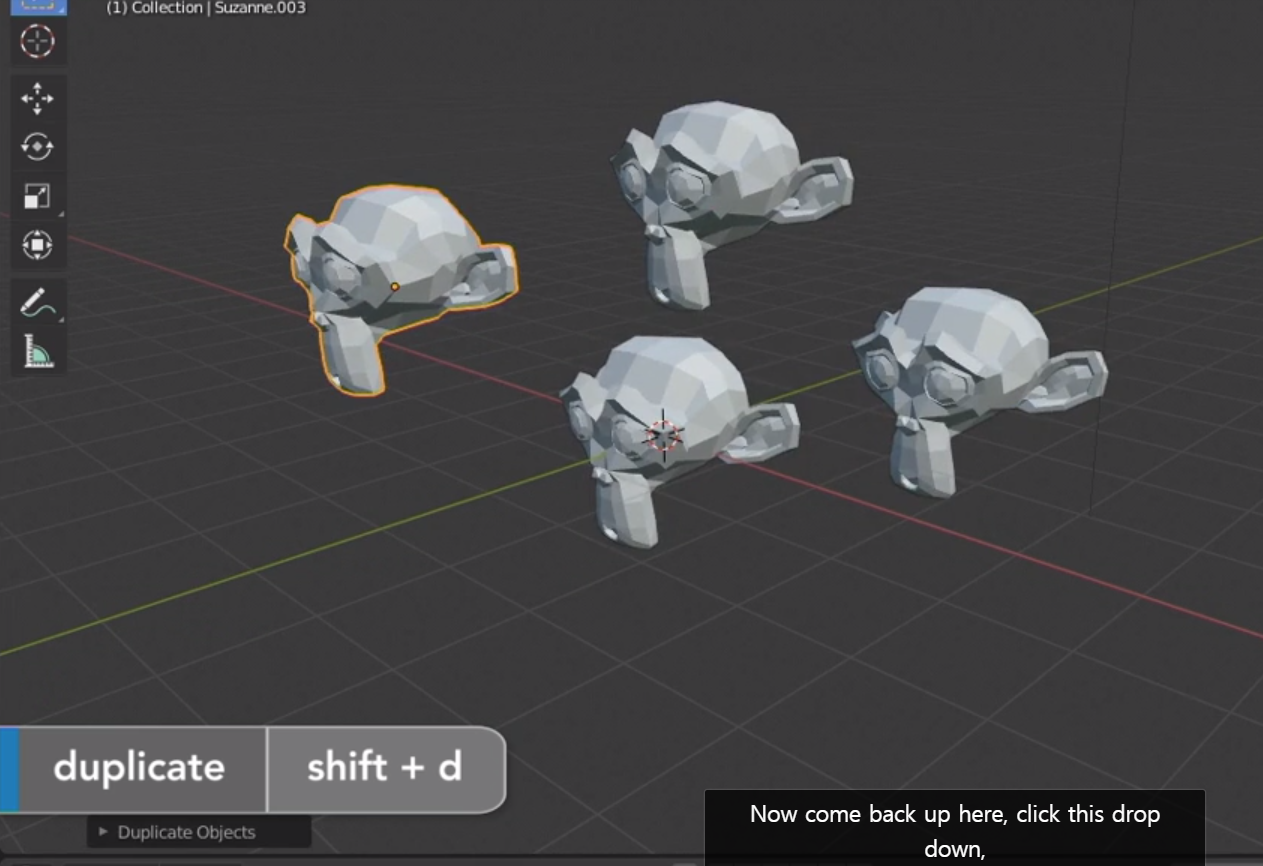
Duplicate Press "Shift + d".

and you can click in random.
and this is really handy, because it' ll randomly assign a color
to each and every single object you create.

Of course, if you 've done any vertex painting you have textures
or material. You can also click on those and have those colors appear.
But when you're constructiong a 3D scene.
Having random on, will help you see each and everty individual object.
For now I'll switch back to object mode.
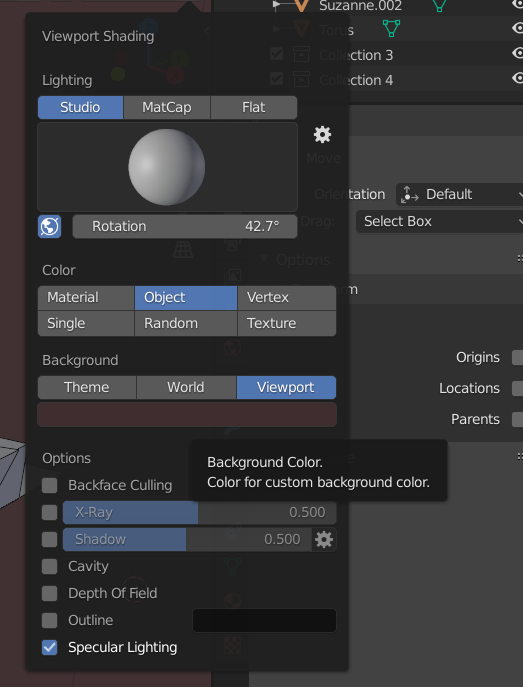
There's also different background that you can pick.
Or you can just psecify whichever one you want color wise.

and finally, a whole bunch of extra options that let you modify
how an object looks inside of the 3D viewport.
오브젝트 안이 투명할지 빛의 영향을 받을지 결정하는 선택 사항이다.

look dev mode, let you quickly preview lights
If these monkeys had any materials on them, or colors or textures, you could use this option
to preview their lighting in different case scenarios.
and just like in solid mode, none of this will render.
It's just for previewing it inside the Viewport.
Finally, there's render mode
if you click and drop down there's nothing because
at this point you are rendering.
If you switch your render engine to cycles,


you will see little pause button on the right of top.
is when I kick up the Viewport to say 200 samples,
I can click on pause , and hopefully I caught it,
대략적으로 이해가는게 많지만 역시 3D 툴은 복잡하고
제대로된 개념의 이해와 활용,응용 까지는 시간이 걸린다.
'Blender_Study' 카테고리의 다른 글
| 블렌더 커브헤어 노말이 뒤집힐때,반대 방향일때 (0) | 2024.07.04 |
|---|---|
| Bake의 기본 개념 Overview (0) | 2022.02.27 |
| 블렌더 스컬핑 다시 복습 기능 정리 (0) | 2021.07.04 |
